Foodie Friday: Cranberry Cream Cheese Bars

Happy Friday everyone! For today’s Foodie Friday, I wanted to share a sweet dessert with you! These delicious Cranberry Cream Cheese bars will be the perfect treat after a long week.  This recipe is courtesy of Allrecipes.com

Picture1Here’s what you’ll need:

Ingredients

  • 2 cups all-purpose flour
  • 1 1/2 cups rolled oats
  • 3/4 cups brown sugar
  • 1 cup butter, softened
  • 1 (8 ounce) package cream cheese
  • 1 (14 ounce) can sweetened condensed milk
  • 1/4 cup lemon juice
  • 1 tablespoon brown sugar
  • 2 tablespoons cornstarch
  • 1 (16 ounce) can whole berry cranberry sauce
Directions
Preheat oven to 250 degrees F.
In a medium bowl, stir together the flour, oats and 3/4 cup of brown sugar. Cut in the butter until the mixture is crumbly. Reserve 1 1/2 cups of this mixture and press the remaining mixture into the bottom of a 9×13 inch pan.
photo (9)
Bake for 15 minutes in the preheated oven. Meanwhile, in a small bowl, beat cream cheese with sweetened condensed milk until light and fluffy. Stir in the lemon juice and spread the mixture evenly over the prepared crust. Empty the can of cranberry sauce into a small bowl and stir in the cornstarch and brown sugar. Spoon over the cream cheese layer.
photo 3 (1)
Sprinkle the top with the reserved crust mixture.
photo 4
Bake for 35 to 40 minutes in the preheated oven, until top is golden. Let cool completely before cutting into bars. Store covered in the refrigerator.
Enjoy!
Happy Cooking 🙂
t-signature-2

Guest Post: How to Effectively Plan and Design Your Small Bathroom

I am so honored to host my very FIRST guest blogger today! Please welcome Sue from My Bathrooms  who will be sharing some great tips on small bathroom design! They’ve got tons of great bathroom products so please be sure to check them out! They’re all yours, Sue 🙂

Hello! I am Sue and I blog over My Bathrooms blog. I am very thankful to Tanisha for giving me a chance to post on her amazing blog today! Small space is an issue for almost everyone especially when it comes to making that small space turn into a utility room like; a bathroom! Here are few of my ideas to make the most of the space available and turn it into a fantastic bathroom.

image 1

Source

Your bathroom is important, so when you are planning a new bathroom layout, it is important not to rush into any decisions or skimp on your fittings and materials. Your bathroom is going to be a high-traffic area and this should be taken into account from the moment the mere idea of a bathroom is conceived.


Quality Wins

5 Chic Little Bath

Source

Do not ever be tempted to skimp on the quality of your bathroom furniture and fittings. With all the use that your bathroom is subject to, you will benefit from buying the strongest and most durable products that you can afford. Solid, well-made and durable should be your watch-words as cheaper, poor quality products will not last very long. Accept this fact and include it in your budget – even if this means that you have to wait a while longer for your dream bathroom

Keep a Tub

image 2

Source

Unless you know for sure that this is going to be your home until you die and that your tastes will not change over the years, do not just have just a shower installed. IF you may sell the property as some stage, it is wise to remember that buyers want bathtubs in their bathrooms! If you can fit both a shower and tub, do so by all means, but if there is only room for one option: choose a bath! You can always install a power shower over the bath so that you can enjoy the benefits of both options!

Call an Expert

Bathroom-4

Source

Unless you are very confident with your plumbing skills, call out a professional to perform the actual installation. You will be glad you did, when your wise action saves you years of needing to call out emergency repairmen and suffering endless damage, annoyance and frustration from never-ending leaks and other problems!

Storage Ideas

image 3

Source

Small bathrooms bring large storage problems. Here the best idea would be to use floating shelves which are really easy to install and does not occupy much space as well. You can install them above your toilet to make the most of the free space available. There is also a lot of space wasted beneath the sink area. You may either install a classic vanity unit with drawers or simply hang a curtain across the sink like a veil to hide your bathroom essentials behind it. The idea here is to utilize the free space for storage as much as possible. So take a good look around your bathroom and make room for your stuff!

 All the Tricks of the Trade

9e7c9bf6e4883d1b9d6993072ec8df6b

Source

Research and then use every applicable decor trick in the book to make your bathroom appear lighter, brighter and more spacious, from large mirrors, to wider tiles to using a light-colored décor scheme and installing a good lighting system in the room. Choose your bathroom colors carefully and make sure that you use the same careful attention to detail for everything, from expensive bathroom suites to cheap and cheerful accessories.

image 4

Source

It cannot be emphasized enough, how much you need to plan each and every step of the way. Even a small unforeseen circumstance can see your new bathroom taking so much longer to create and costing you more than you can comfortably afford!

You may follow us on Facebook, Twitter, Pinterest and Google Plus.


Thanks, Sue, for that amazing advice! Just because your bathroom is small doesn’t mean it can’t be gorgeous!  However, it is so important to make sure you use your limited space as efficiently as possible.  I couldn’t agree more with the quality tip—you can absolutely get a bigger bang for your buck when working in a smaller room. Thanks so much for sharing!


Are you interested in guest posting? Contact me at info@myknottedlife.com!

t-signature-2


Spring Cleaning Challenge: Week 2 Deep Clean (Up High)

Spring Cleaning Challenge week 2 new

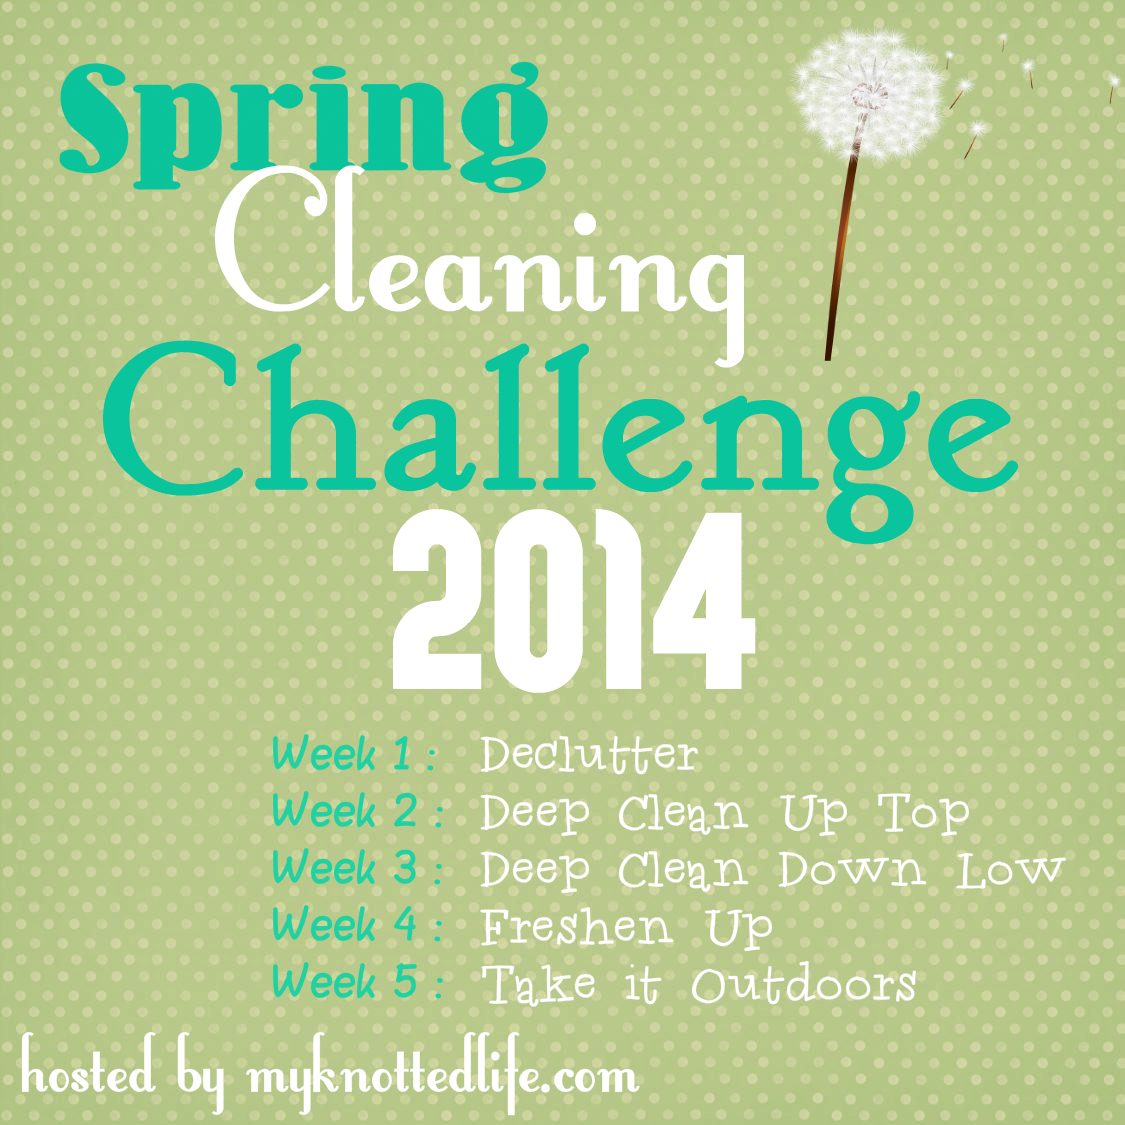
Welcome to week 2 of the Spring Cleaning Challenge! Since you’re reading this, that means that you survived last week which was all about de-cluttering your space. Congratulations!!! (If you’re just joining us, click here to read part one) De-clutters was an essential first step in prepping our homes for the deep cleaning we’ll be doing over the next few weeks.

Here are a few of my favorite before and afters from last week:

refrigerator clutter

fridge

Michelle from Home for Now showed us how to de-clutter and organize using baskets.


DVD Mess | AtwellAdventures

Organized DVD Storage | Atwell Adventures

Rachel from Atwell Adventures organized her impressive DVD collection.

Weren’t those transformations amazing? Hope your spaces came out well too!


Now, let’s get started on this week’s challenge!!!

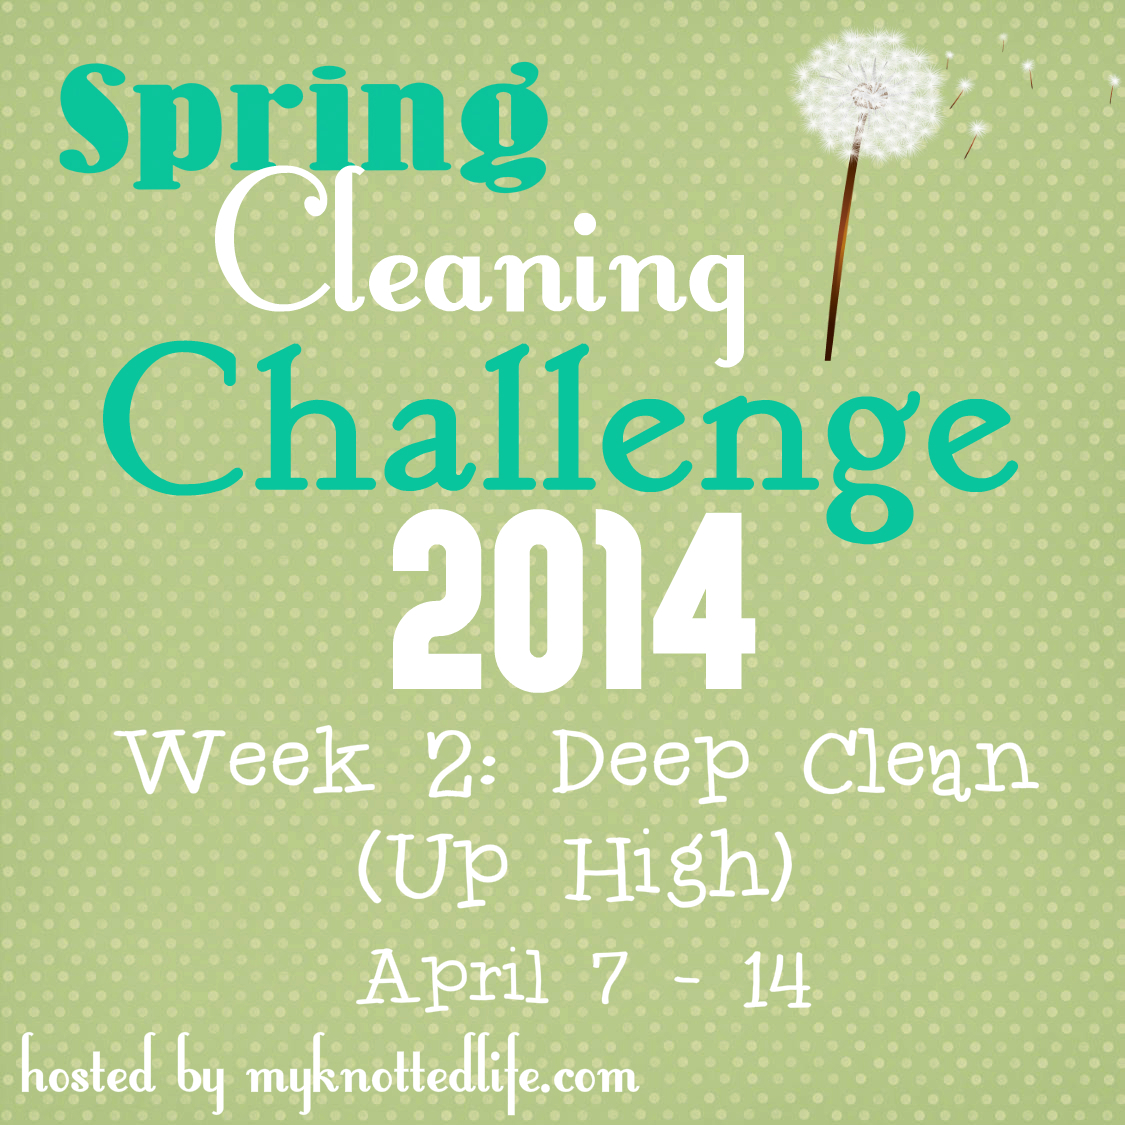
Week 2: Deep Clean-Up High

I’m splitting the deep cleaning portion of the challenge into 2 zones: up high and down low. Up high includes anything and everything that extends above your head. Here are some things that you may want to focus on:

1. Light fixtures and Ceiling Fans

Now that warm nights are ahead, those ceiling fans are going to be used more than ever.  Dust and scrub these fixtures to ensure that they sparkle and shine. You may even want to invest in an extendable duster to facilitate your reach.

2. Walls and Doors

These are probably the most neglected surfaces in the home. Show them some love this  week and remove any smudges or hand prints.

3. Windows

Let’s give our windows a good wash. Take down all blinds and curtains to make sure you’re getting every corner. Don’t forget to clean the windowsills and tracks as well!

4. Blinds and curtains

Since we’ve taken them down to clean the windows, we might as well clean our window treatments while we’re at it! However, before you just toss them in the wash, make sure you read the labels. Many fabrics are dry clean only.


These are just a few suggestions on where to start this week so don’t feel limited to these areas. Wall mounted TVs, fireplace mantles, and the tops of kitchen cabinets are other spots you may want to touch. Just use this rule of thumb: if it’s at eye level or higher, clean it 🙂


Do you need a good all-natural wall cleaner recipe? Here’s one of my favorites courtesy of The Natural Clean Home by Karyn Siegel-Maier:

IMG_1471

All Purpose Citrus Wall Cleaner

  • 1 cup water
  • ½ cup vinegar
  • 6 drops orange, lemon, or grapefruit essential oil

Combine all ingredients in a plastic spray bottle. Shake vigorously before each use. Lightly spray the affected areas of your wall and wipe with a clean damp sponge.

*Although this formula should safely clean your walls, test in a small area before your first use.


If you’re one of my features, please grab my button and share on your blog!

Featured on My Knotted Life

<div align="center"><a href="http://www.myknottedlife.com " title="My Knotted Life"><img src="https://myknottedlife.files.wordpress.com/2014/04/mkl-featuredon.png" alt="My Knotted Life" style="border:none;" /></a></div>


Good luck this week everyone! Please keep me posted on how your week is going. We all need a little motivation to keep us going!!

t-signature-2


Click Here for Week 1


Spring Cleaning Weekly Agenda


Linked up at Coastal CharmNot Just a HousewifeA Stroll Thru LifeCozy Little HouseMy Uncommon Slice of SuburbiaGreen Willow Pond