Guest Post: How to Effectively Plan and Design Your Small Bathroom

I am so honored to host my very FIRST guest blogger today! Please welcome Sue from My Bathrooms  who will be sharing some great tips on small bathroom design! They’ve got tons of great bathroom products so please be sure to check them out! They’re all yours, Sue 🙂

Hello! I am Sue and I blog over My Bathrooms blog. I am very thankful to Tanisha for giving me a chance to post on her amazing blog today! Small space is an issue for almost everyone especially when it comes to making that small space turn into a utility room like; a bathroom! Here are few of my ideas to make the most of the space available and turn it into a fantastic bathroom.

image 1

Source

Your bathroom is important, so when you are planning a new bathroom layout, it is important not to rush into any decisions or skimp on your fittings and materials. Your bathroom is going to be a high-traffic area and this should be taken into account from the moment the mere idea of a bathroom is conceived.


Quality Wins

5 Chic Little Bath

Source

Do not ever be tempted to skimp on the quality of your bathroom furniture and fittings. With all the use that your bathroom is subject to, you will benefit from buying the strongest and most durable products that you can afford. Solid, well-made and durable should be your watch-words as cheaper, poor quality products will not last very long. Accept this fact and include it in your budget – even if this means that you have to wait a while longer for your dream bathroom
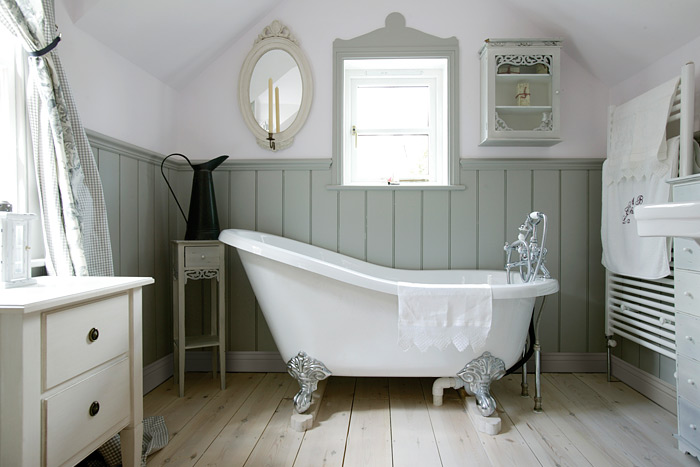
Keep a Tub

image 2

Source

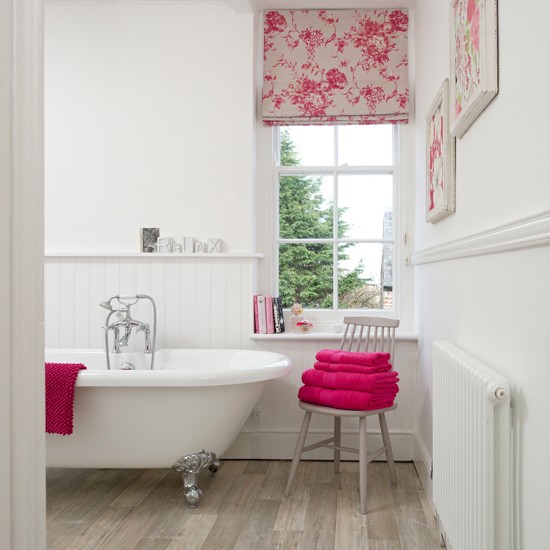
Unless you know for sure that this is going to be your home until you die and that your tastes will not change over the years, do not just have just a shower installed. IF you may sell the property as some stage, it is wise to remember that buyers want bathtubs in their bathrooms! If you can fit both a shower and tub, do so by all means, but if there is only room for one option: choose a bath! You can always install a power shower over the bath so that you can enjoy the benefits of both options!

Call an Expert

Bathroom-4

Source

Unless you are very confident with your plumbing skills, call out a professional to perform the actual installation. You will be glad you did, when your wise action saves you years of needing to call out emergency repairmen and suffering endless damage, annoyance and frustration from never-ending leaks and other problems!
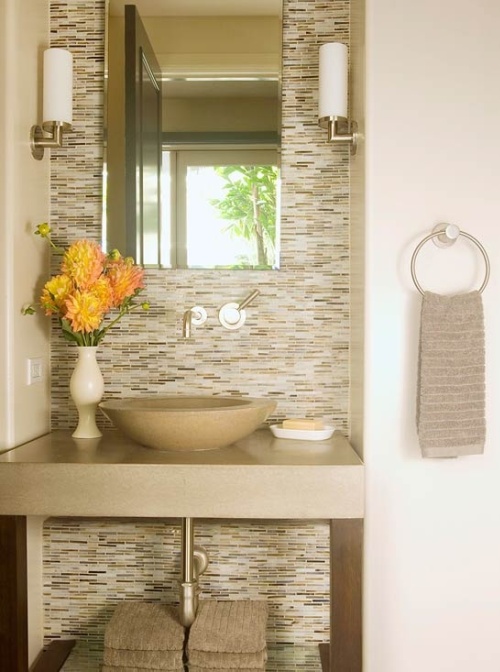
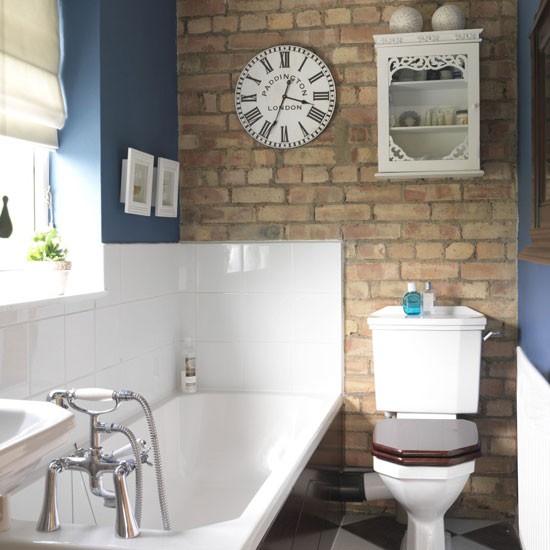
Storage Ideas

image 3

Source

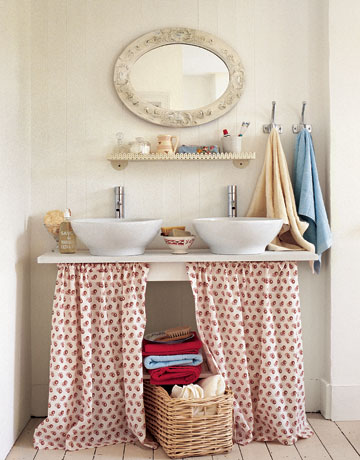
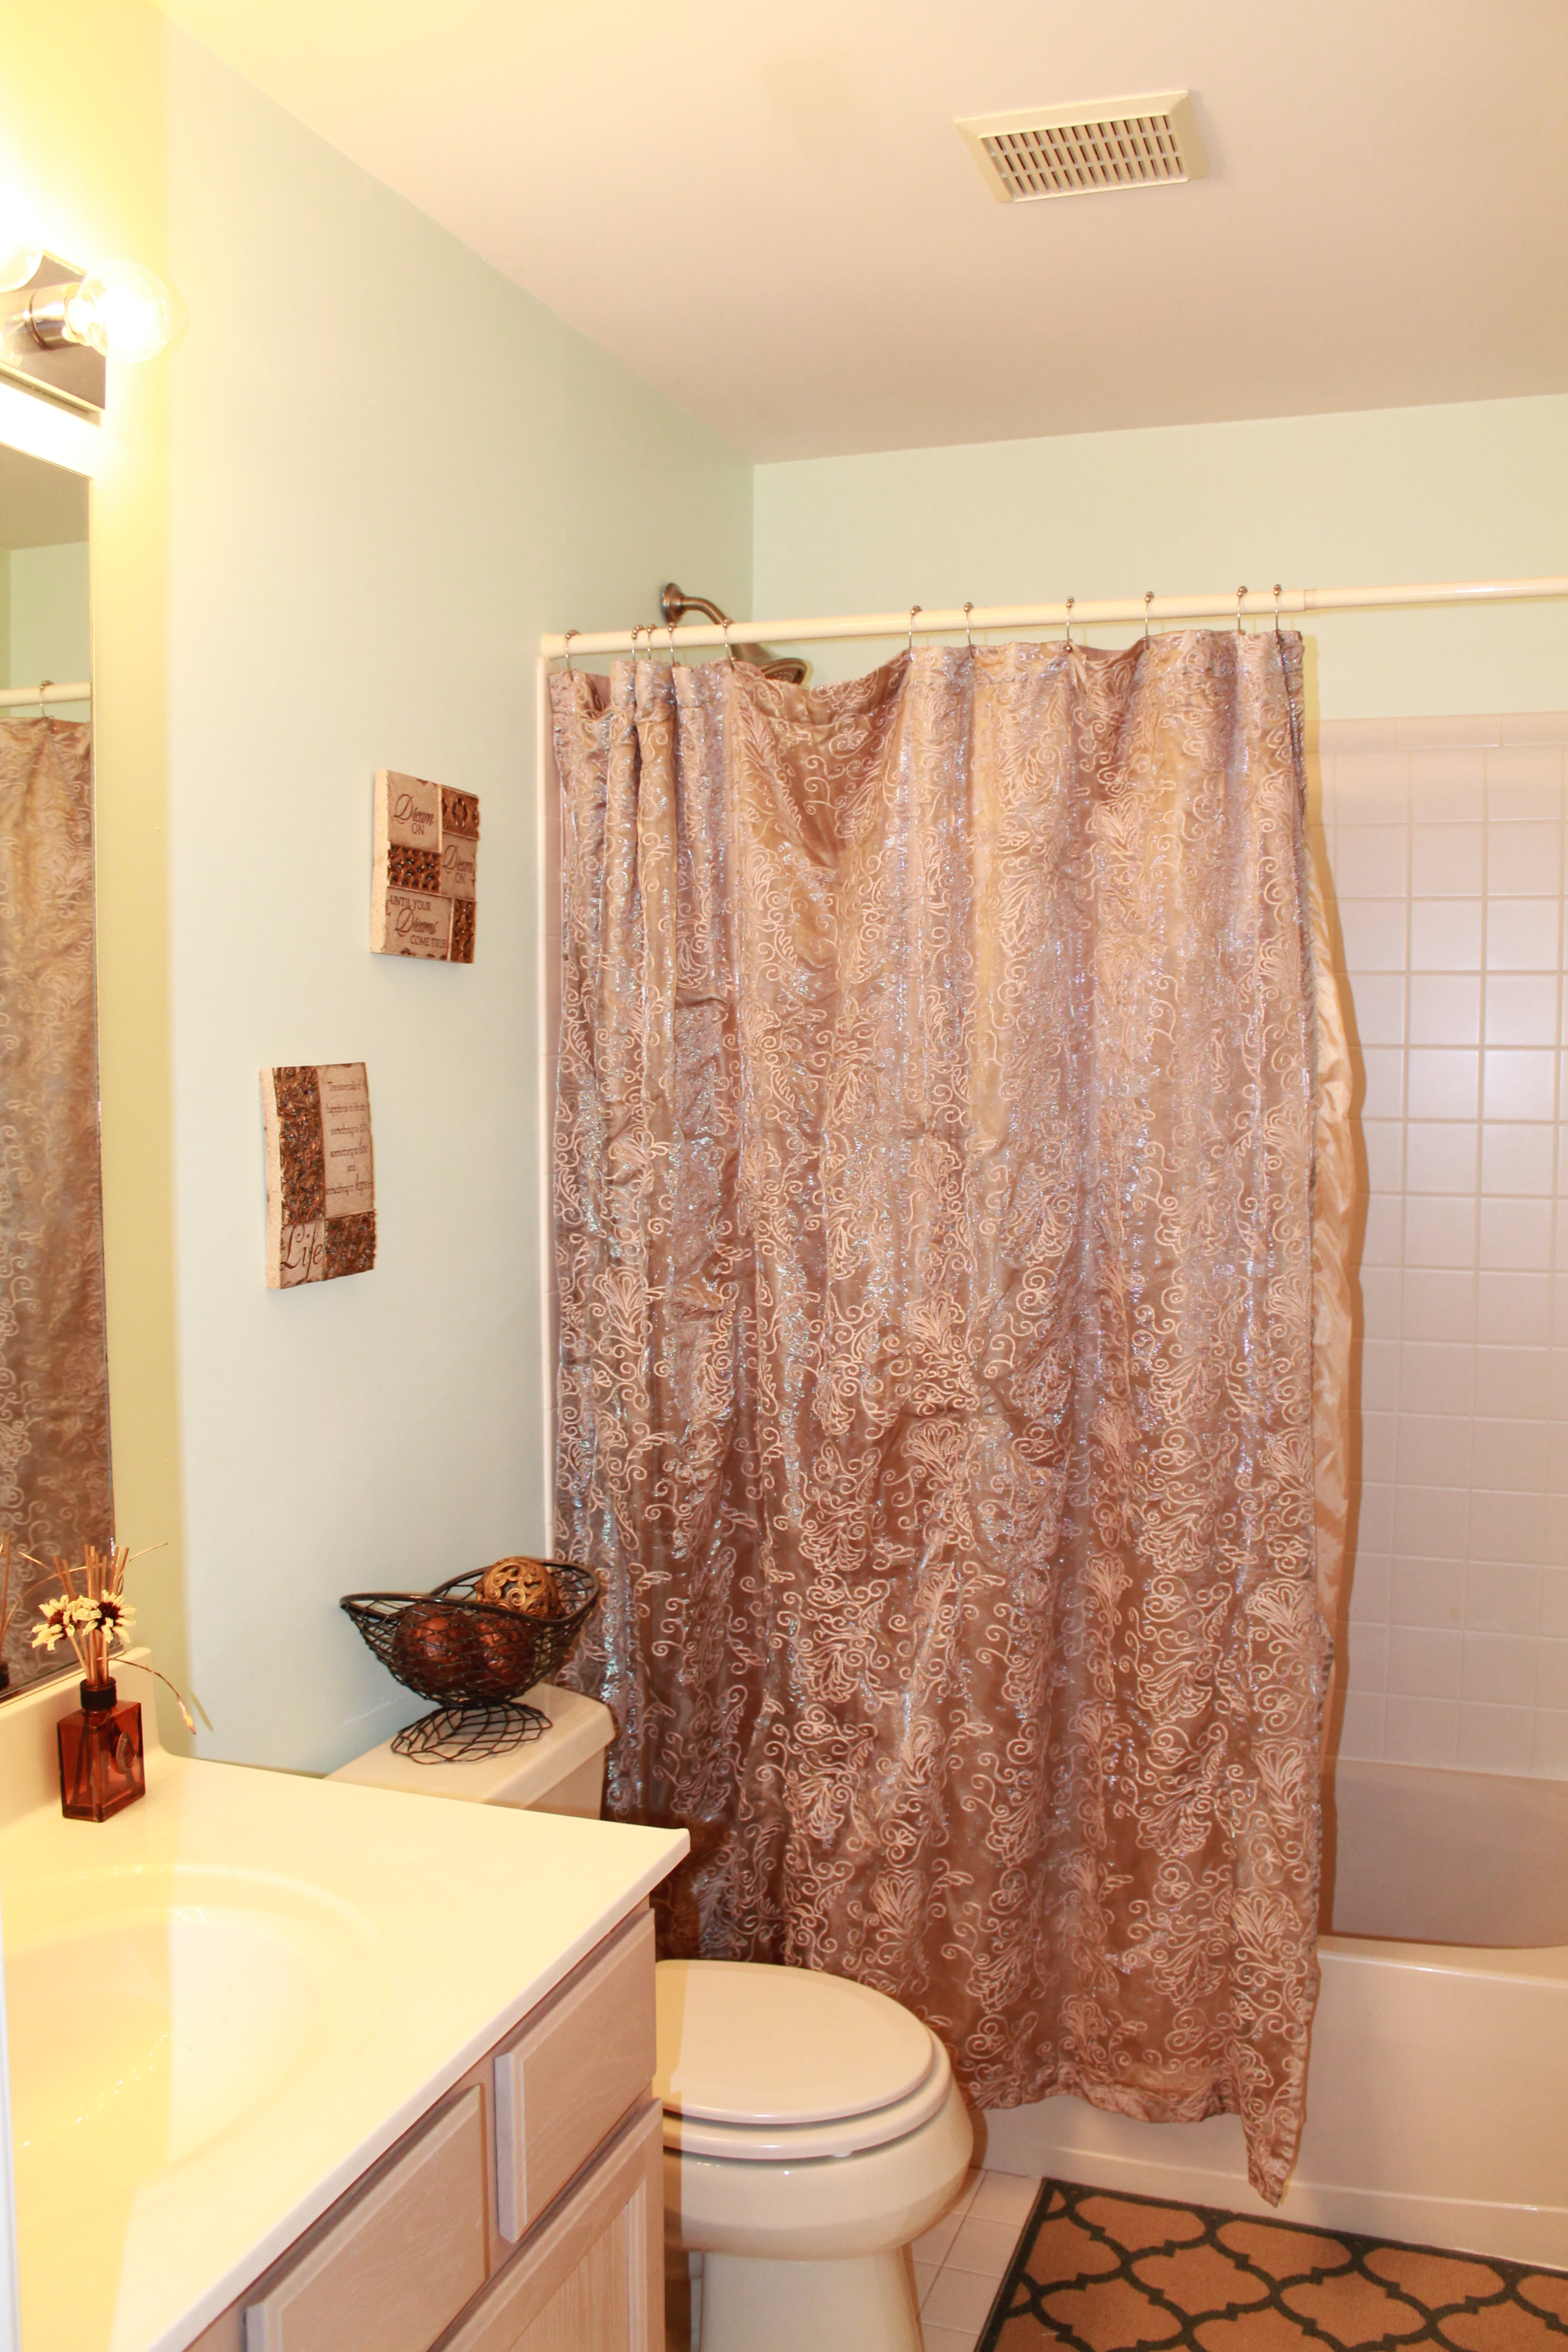
Small bathrooms bring large storage problems. Here the best idea would be to use floating shelves which are really easy to install and does not occupy much space as well. You can install them above your toilet to make the most of the free space available. There is also a lot of space wasted beneath the sink area. You may either install a classic vanity unit with drawers or simply hang a curtain across the sink like a veil to hide your bathroom essentials behind it. The idea here is to utilize the free space for storage as much as possible. So take a good look around your bathroom and make room for your stuff!

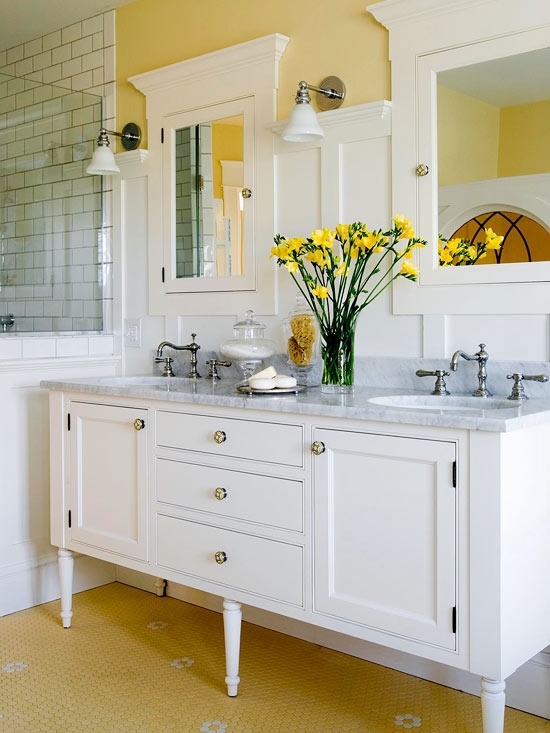
 All the Tricks of the Trade

9e7c9bf6e4883d1b9d6993072ec8df6b

Source

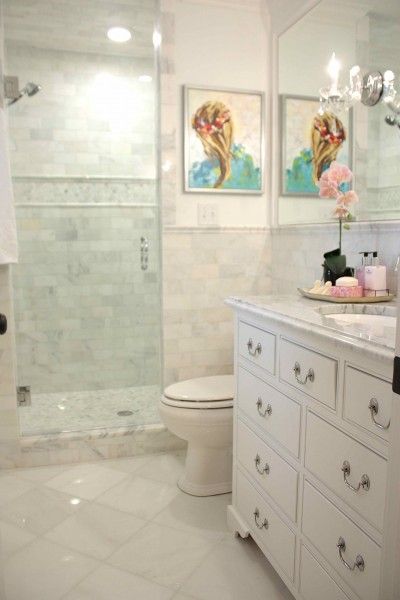
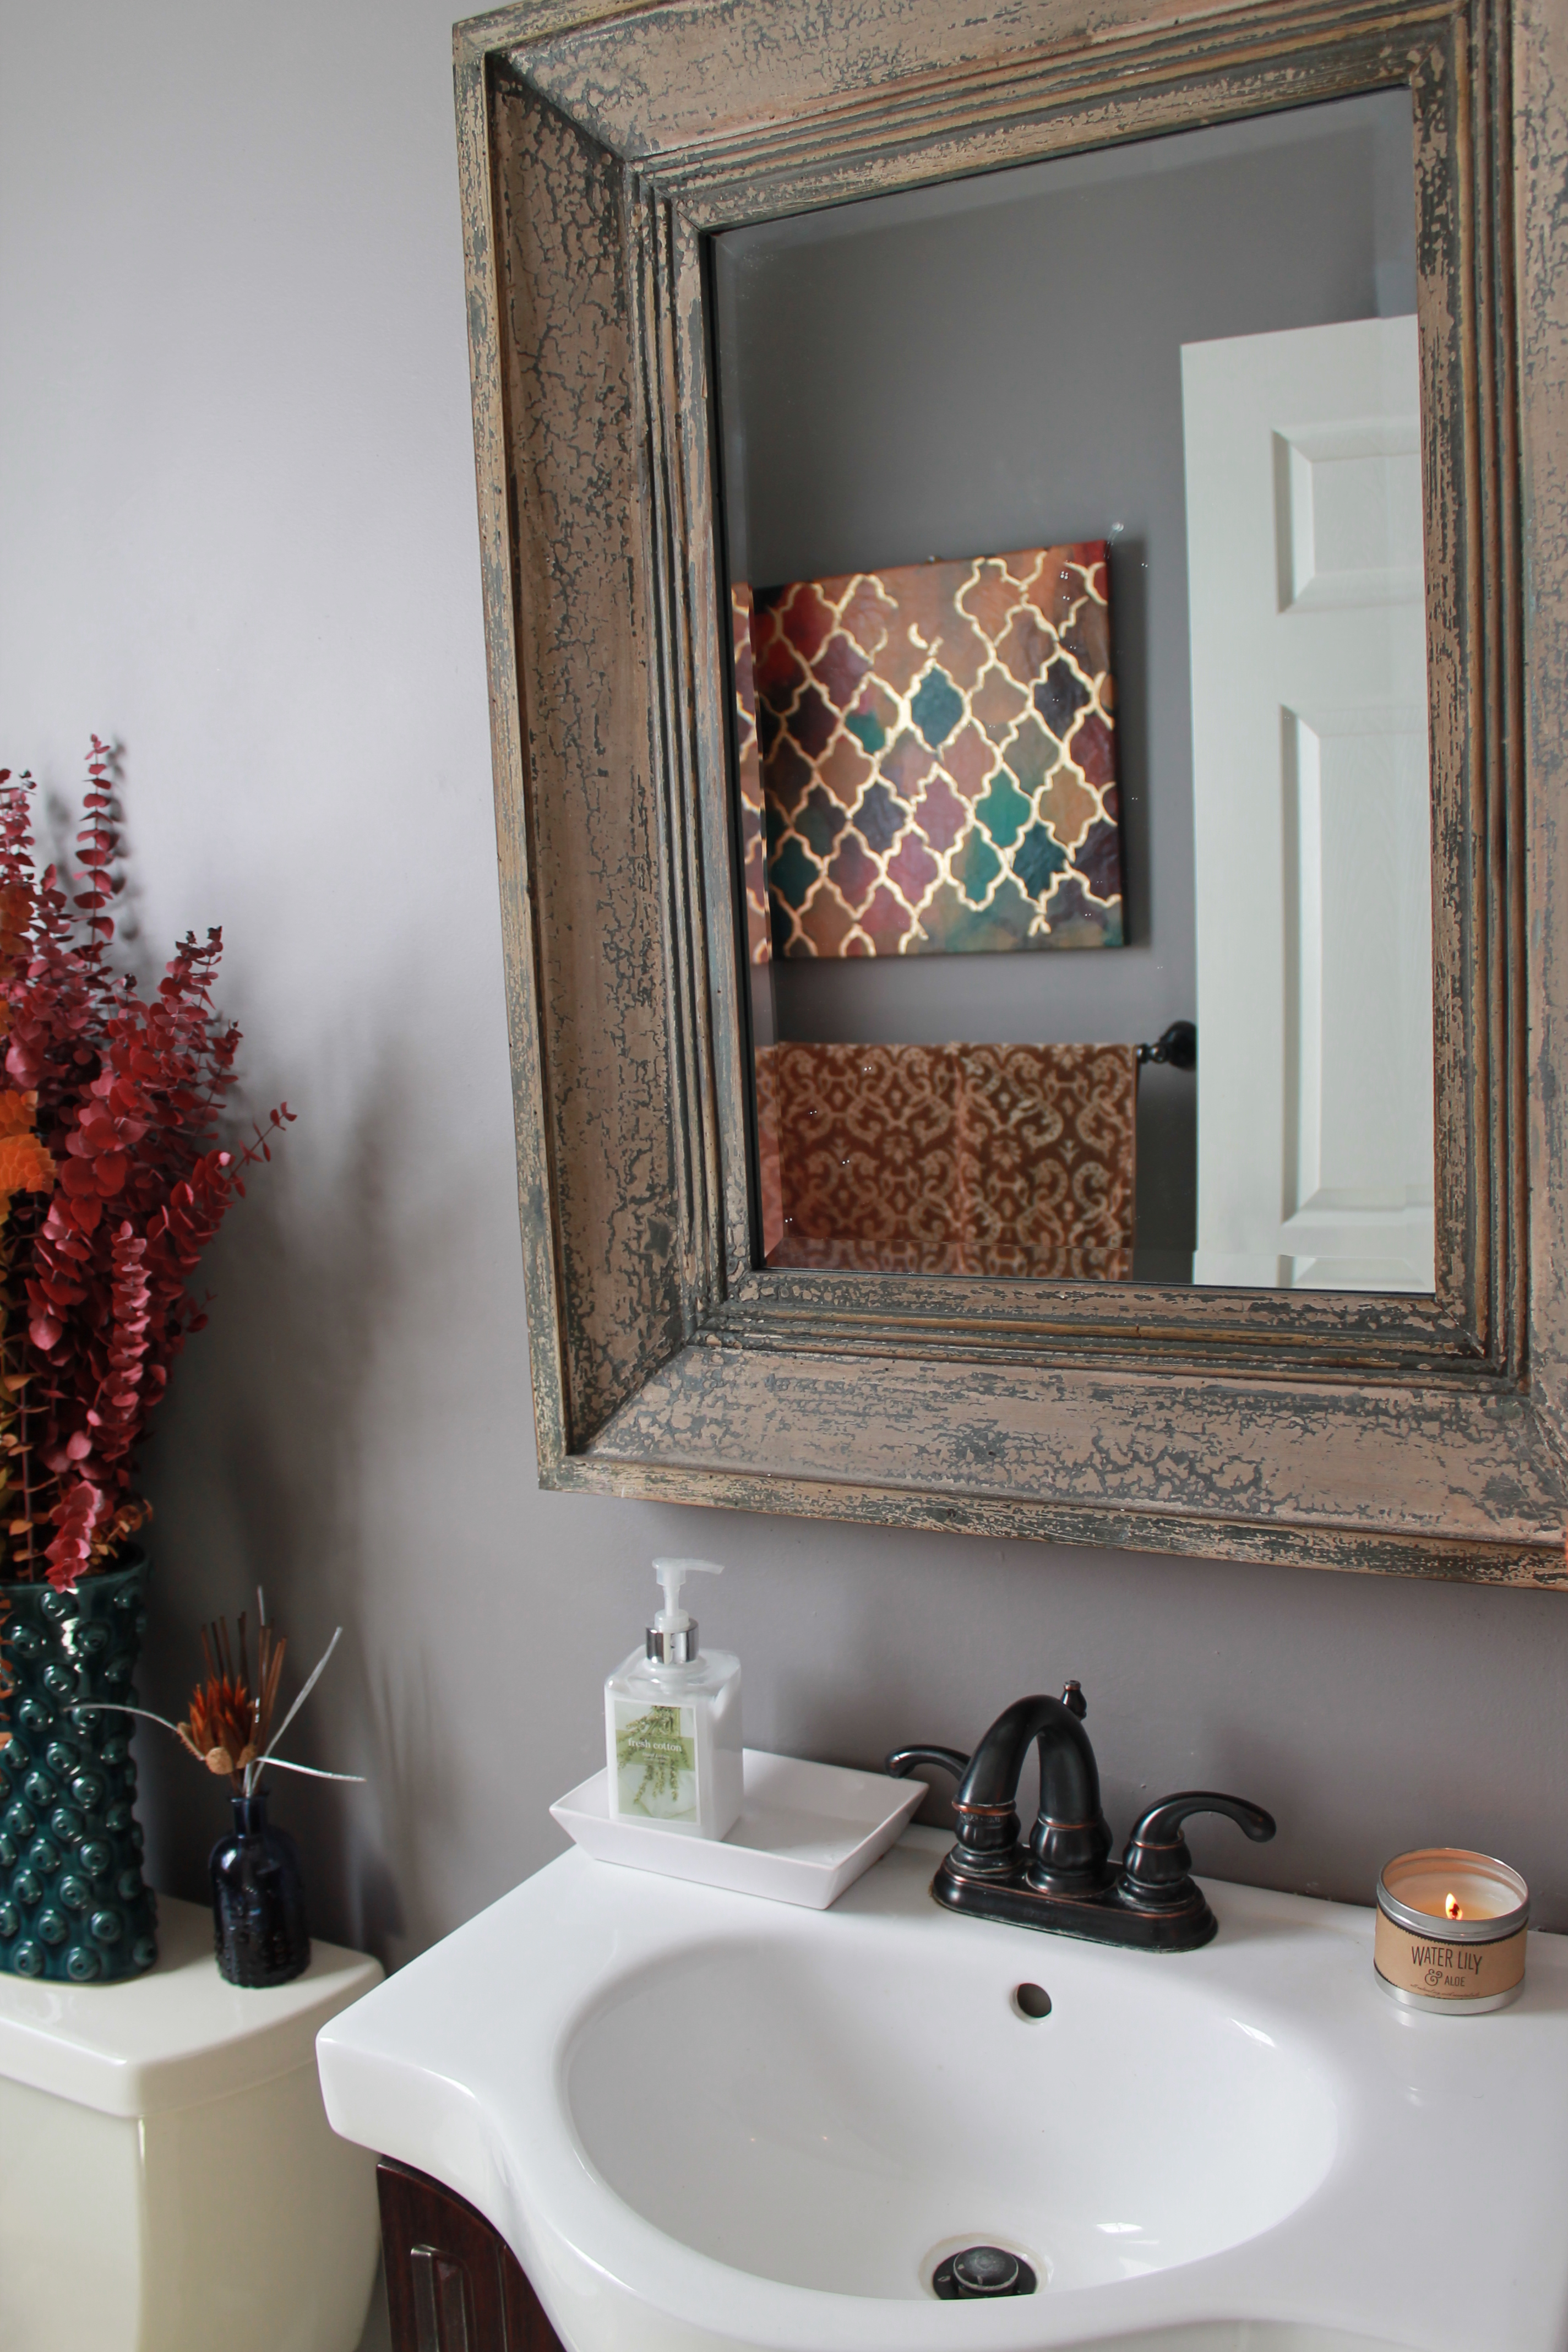
Research and then use every applicable decor trick in the book to make your bathroom appear lighter, brighter and more spacious, from large mirrors, to wider tiles to using a light-colored décor scheme and installing a good lighting system in the room. Choose your bathroom colors carefully and make sure that you use the same careful attention to detail for everything, from expensive bathroom suites to cheap and cheerful accessories.

image 4

Source

It cannot be emphasized enough, how much you need to plan each and every step of the way. Even a small unforeseen circumstance can see your new bathroom taking so much longer to create and costing you more than you can comfortably afford!

You may follow us on Facebook, Twitter, Pinterest and Google Plus.


Thanks, Sue, for that amazing advice! Just because your bathroom is small doesn’t mean it can’t be gorgeous!  However, it is so important to make sure you use your limited space as efficiently as possible.  I couldn’t agree more with the quality tip—you can absolutely get a bigger bang for your buck when working in a smaller room. Thanks so much for sharing!


Are you interested in guest posting? Contact me at info@myknottedlife.com!

t-signature-2


Advertisement

Updated House Tour!!!


I cannot believe that this past weekend marked 8 months in our home!! It’s crazy how quickly time is flying. Although we still have a lot left to do (almost the entire 2nd level, basement, add wainscoting to dining room, paint foyer and living room, etc) I wanted to recap the projects that we’ve tackled thus far through an updated house tour!

Entryway

When you first enter our home, you are welcomed into our foyer. I love the two-story entry!

IMG_1427

IMG_1443


Dining Room

The dining room has become one of my favorite transformations. Click here to see how far this room has actually come. I am still on the lookout for the perfect server to go the back wall.

IMG_1429

IMG_1428


Living Room

Our living room sits in the front of the house and gets the most amazing sunlight! Lots of fun projects coming this summer in this room!

IMG_1380


Family Room

If you ask Mr. H what his favorite room makeover has been so far, he’d say the family room. Remember him tearing down the old built-in in the corner?  I am also sooo glad there’s no more stucco on the walls! Click here to see more on this transformation.

IMG_1143

IMG_1132

IMG_1375


Kitchen

We were so fortunate that the kitchen was in great shape when we moved in! Just a few decorative touches and the space feels like a continuation of the family room.

IMG_1205

IMG_1212

IMG_1199

IMG_1466


Powder Room

Now THIS is where my hands got really dirty! From tearing out old fixtures to patching walls, I pulled out the stops in this room. Click here to read more on one of my favorite weekend makeovers.

photo (1)

IMG_1435


Laundry Room

I actually really enjoy doing laundry in our new laundry room! It’s so bright and cheery 🙂 Thanks, mom, for helping me organize the space! Click here to read more.

IMG_2118


Master Bedroom

I painted the vaulted ceilings!! I know that this may not sound like much of an accomplishment, but 5’2″ me is proud! I am loving the way this room is coming together. It’s been such a wonderful place to retreat to at the end of a long day. Not shown is our en suite master bathroom which is home to the most relaxing soaking tub you could imagine. More touches in this room coming soon!

IMG_1447

IMG_1459


Guest Bathroom     

Haven’t done much here yet– simply accessorized with some old favorites from our former apartment. Is is so nice to give guests a space of their own. Click here to see progress on our guest bedroom which is currently being made over!

IMG_1437


Back Yard

Serene, private, oasis = three words I’d use to describe our backyard. We love entertaining out here. Whether we’re roasting s’mores in our fire pit, reading in my natural garden canopy, watching the frogs and turtles in our pond, or keeping an eye out for a family of deer, you can guarantee that when the sun is shining that this is where you’ll find us.

IMG_1928

IMG_1930

IMG_1929

photo (8)

Oh that last picture? Yea, that was the  bear that visited us last fall.  Next outdoor project is a fence!!!


Ahh..having all of these photos in one place makes me realize how much we’ve accomplished! (Go us!) I can’t wait to get started on the rest of the house. Thanks for following me this far 🙂

t-signature-2


house tour 2


Picture2

Linked up at Coastal Charm, Not Just a Housewife, A Stroll Thru Life, Cozy Little House, My Uncommon Slice of Suburbia, Green Willow Pond


Slaying the Beast– The beastly built in that is!

This weekend’s project was a win-win situation for both me and Mr. H— I got an item removed that was totally clashing with my design plans and Mr. H got to smash things!  What item did he destroy you ask? The oversized built-in in our family room which I’m happy to report is now a distant memory.

When we toured the house for the first time, we both knew that this was a piece that was way too large and taking up way too much space in the room. It was one of the first things we wanted to change to make the room feel more open. Just as a reminder, here’s what the unit looked like originally (photo taken from the real estate listing):

photo 3

Too much for the small corner!

So Mr. H went to work and bought the holy trinity of manly demolition tools:

1)Power Drill

2)Sledge Hammer

3)Crow Bar

(Enter Tim “the tool man” Taylor grunt here)

He came home with his chest puffed out and a bit more swagger with manly tools in hand ready to do some damage. After prepping the area (and by prepping the area I mean making sure his 55 inch tv was safely out of harm’s way) he took his first swing using the sledge-hammer. Now on HGTV, this is where a cabinet come crashing down or dry wall crumbles and someone triumphantly walks through their newly created hole. But in our case, NOTHING HAPPENED! The wood did not move. So my determined husband gave it another swing. Still nothing.

According to our neighbors, the unit was built by the original owners who were quite the DIYers. (They also hand-built the fireplace and landscaped the backyard, pond and waterfall.) These people must have intended for this piece to survive the apocalypse because whatever they used to build it was not making it easy to tear down.

Mr. H then decided that maybe this method wasn’t working and brought out the power drill to remove the shelves piece by piece which ended up being a much better plan.

Once the shelves were removed, he started in working on the frame with the crow bar prying it away from the wall, put in a bit more elbow grease, and then…. It was gone!

photo 3

photo 4

photo 5

Here are a few before and after shots:

Before….photo 2

photo 1

After!

photo 2 (2)

photo

Now we just need to re-dry wall a few places and patch some spots.

So proud of my honey for tackling this! Well done Babe!

t-signature-2