This weekend’s project was a win-win situation for both me and Mr. H— I got an item removed that was totally clashing with my design plans and Mr. H got to smash things! What item did he destroy you ask? The oversized built-in in our family room which I’m happy to report is now a distant memory.
When we toured the house for the first time, we both knew that this was a piece that was way too large and taking up way too much space in the room. It was one of the first things we wanted to change to make the room feel more open. Just as a reminder, here’s what the unit looked like originally (photo taken from the real estate listing):

Too much for the small corner!
So Mr. H went to work and bought the holy trinity of manly demolition tools:
1)Power Drill
2)Sledge Hammer
3)Crow Bar
(Enter Tim “the tool man” Taylor grunt here)
He came home with his chest puffed out and a bit more swagger with manly tools in hand ready to do some damage. After prepping the area (and by prepping the area I mean making sure his 55 inch tv was safely out of harm’s way) he took his first swing using the sledge-hammer. Now on HGTV, this is where a cabinet come crashing down or dry wall crumbles and someone triumphantly walks through their newly created hole. But in our case, NOTHING HAPPENED! The wood did not move. So my determined husband gave it another swing. Still nothing.
According to our neighbors, the unit was built by the original owners who were quite the DIYers. (They also hand-built the fireplace and landscaped the backyard, pond and waterfall.) These people must have intended for this piece to survive the apocalypse because whatever they used to build it was not making it easy to tear down.
Mr. H then decided that maybe this method wasn’t working and brought out the power drill to remove the shelves piece by piece which ended up being a much better plan.
Once the shelves were removed, he started in working on the frame with the crow bar prying it away from the wall, put in a bit more elbow grease, and then…. It was gone!


Here are a few before and after shots:
Before….

After!

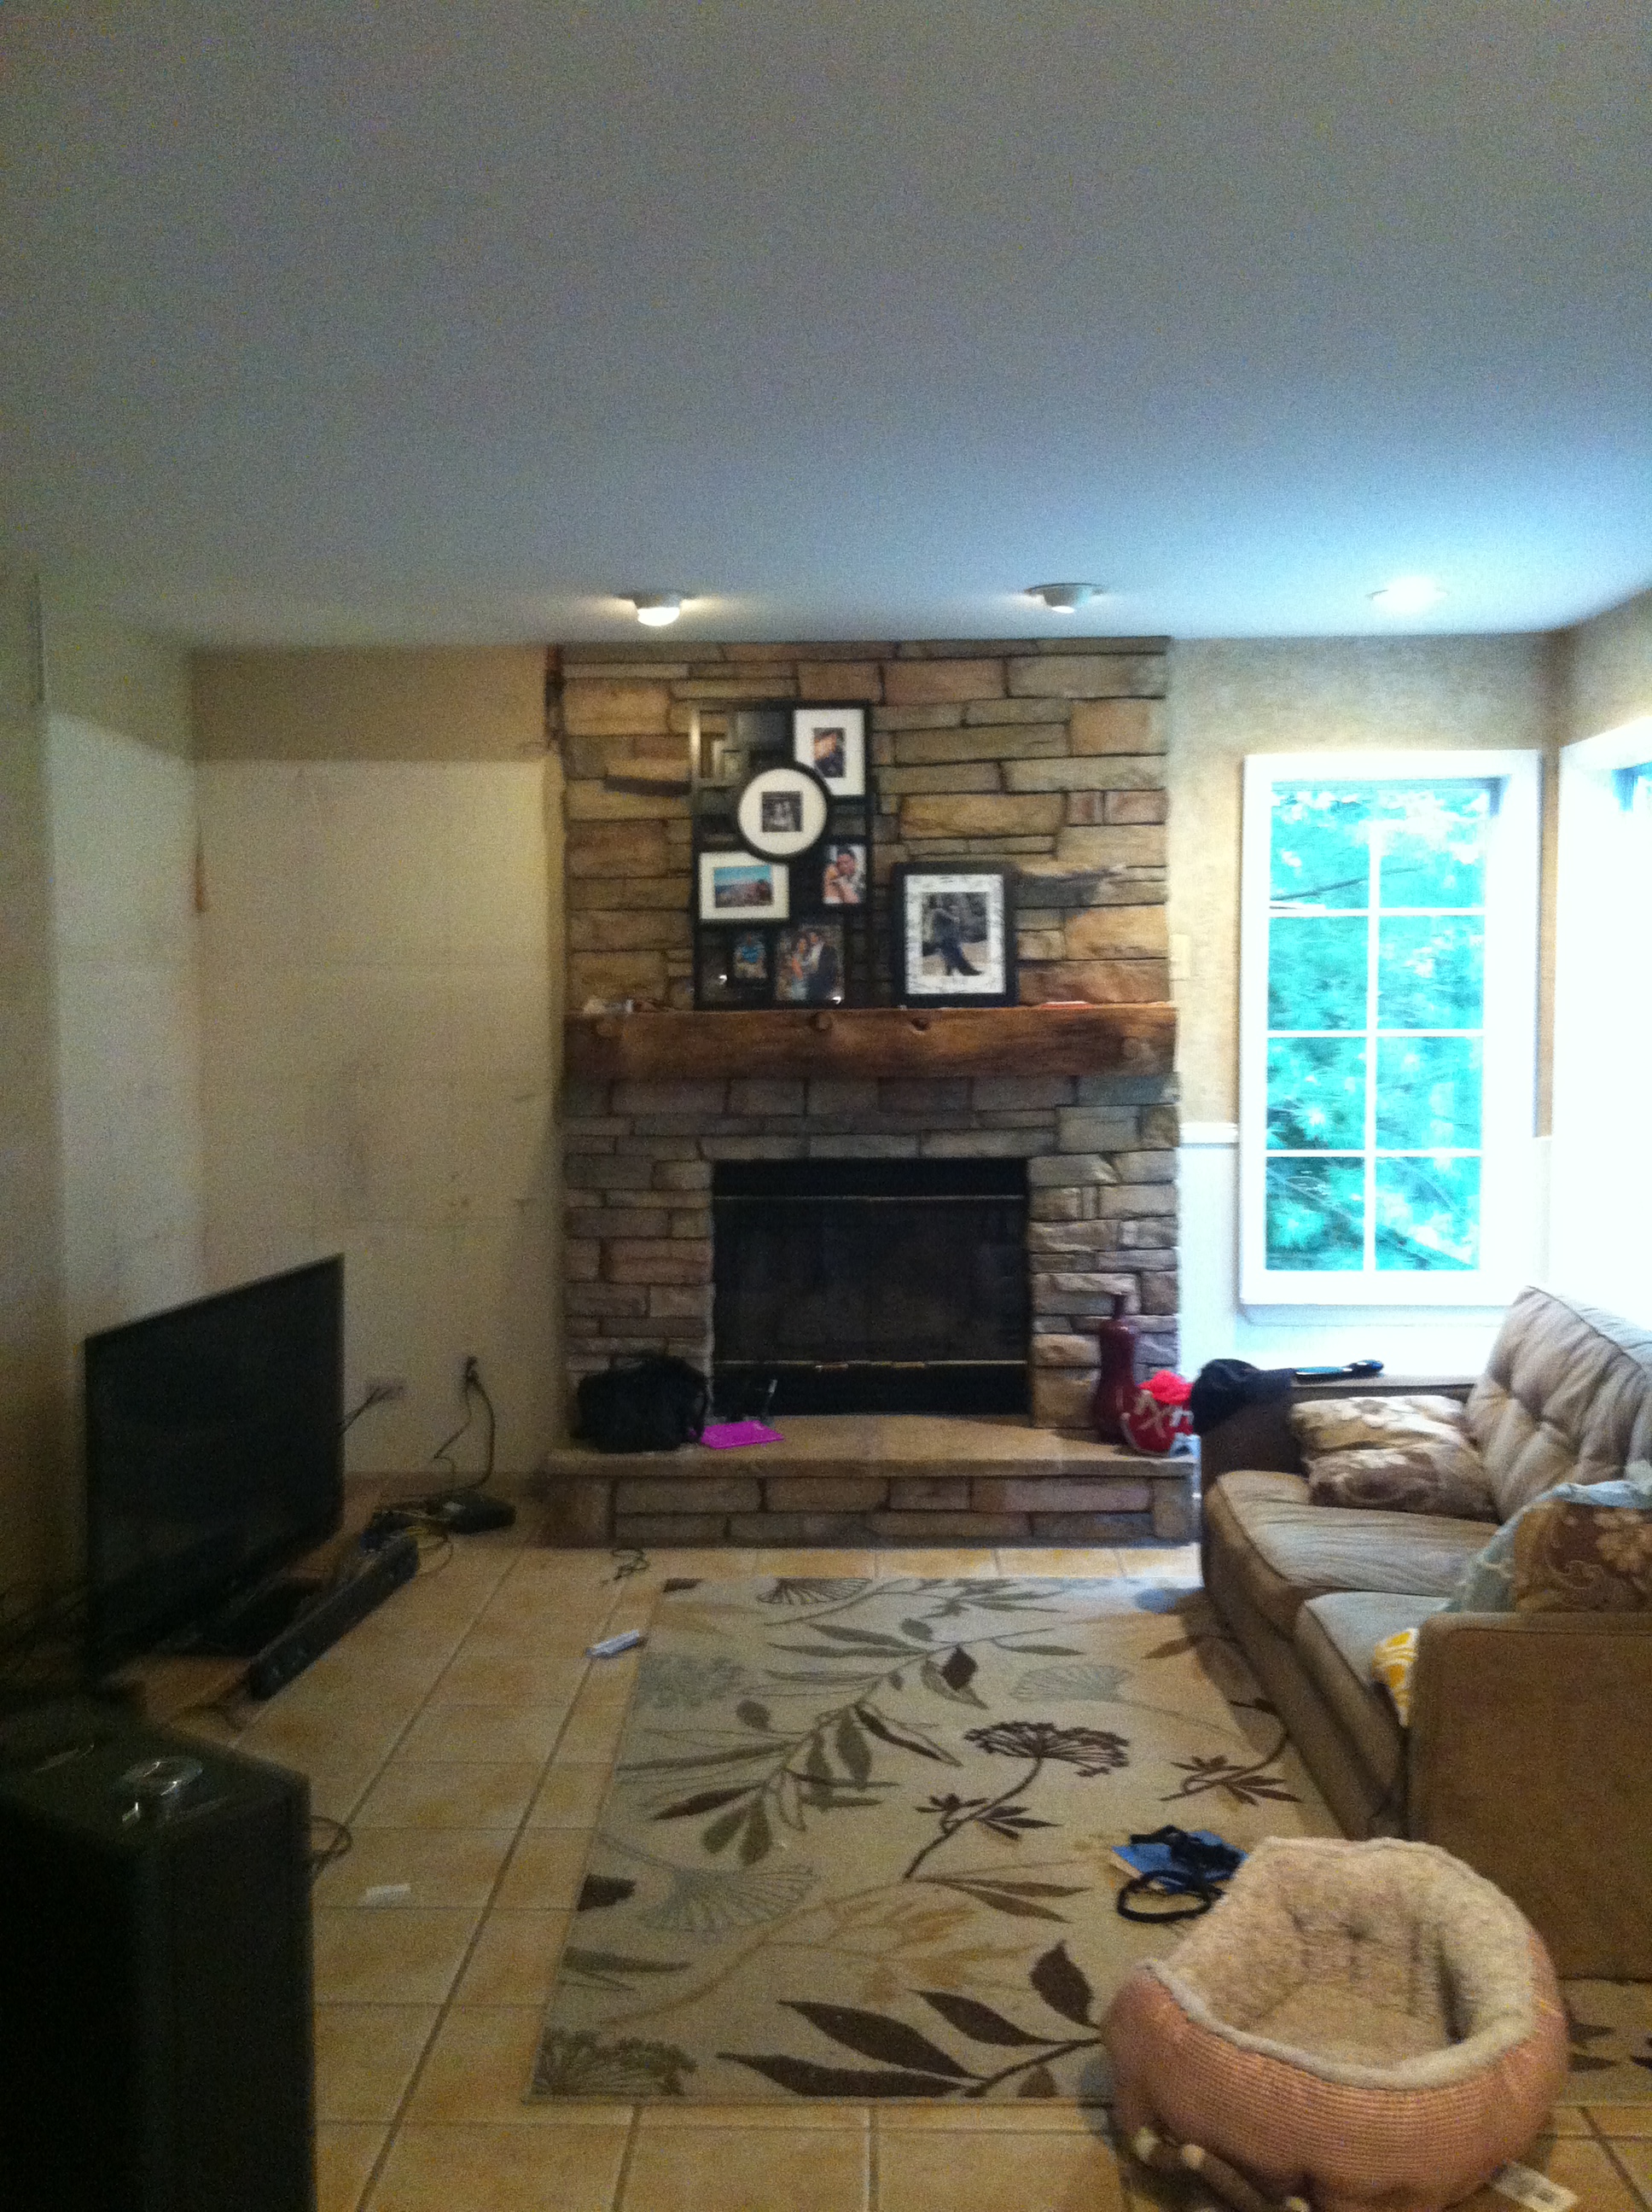
Now we just need to re-dry wall a few places and patch some spots.
So proud of my honey for tackling this! Well done Babe!


Pingback: Updated House Tour!!! |