As we updated our first floor, the one room that was screaming for attention was our powder room. I found myself constantly apologizing for the harsh red reminding visitors that we had “grand plans for this room!” One weekend, I had just had it and decided to make it over from top to bottom– without the help of Mr. H. My goal was to take our builder’s grade bathroom and turn it into something with more personality. Here’s a quick “Before and After” so you can see how far this room has actually come:
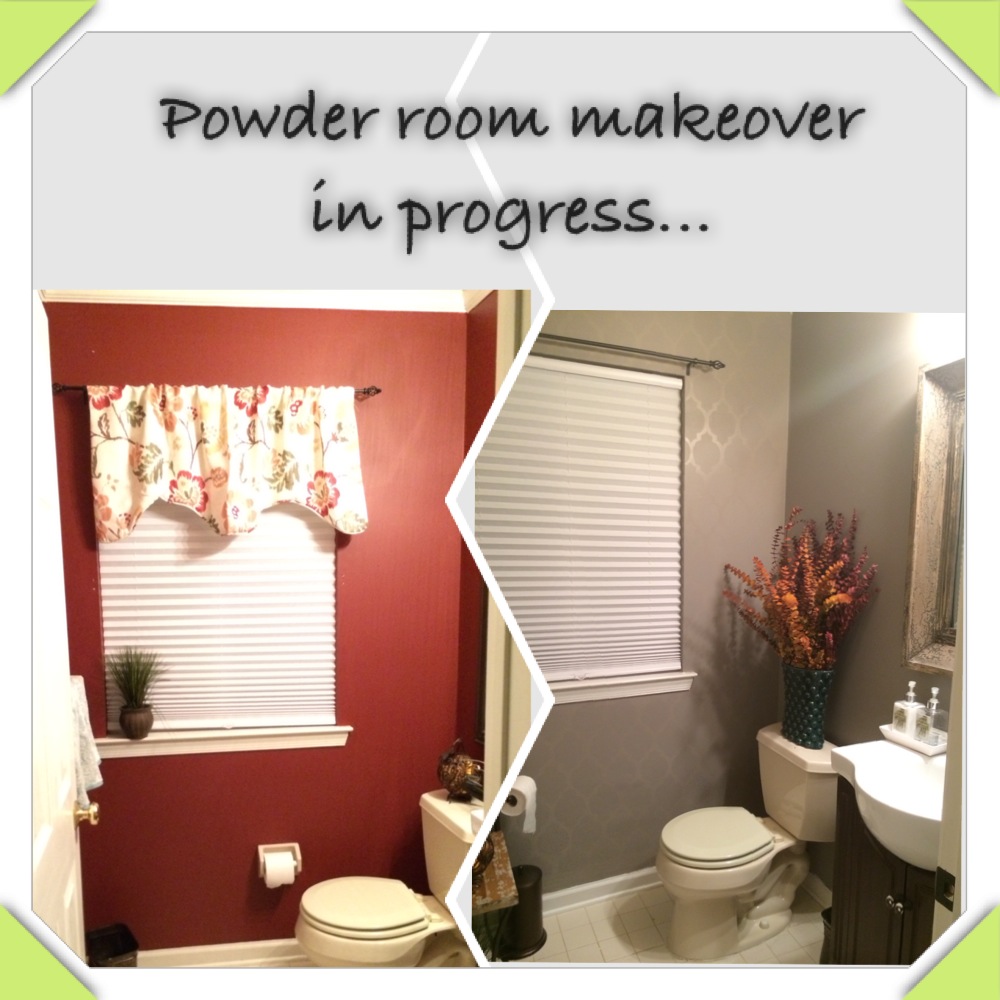
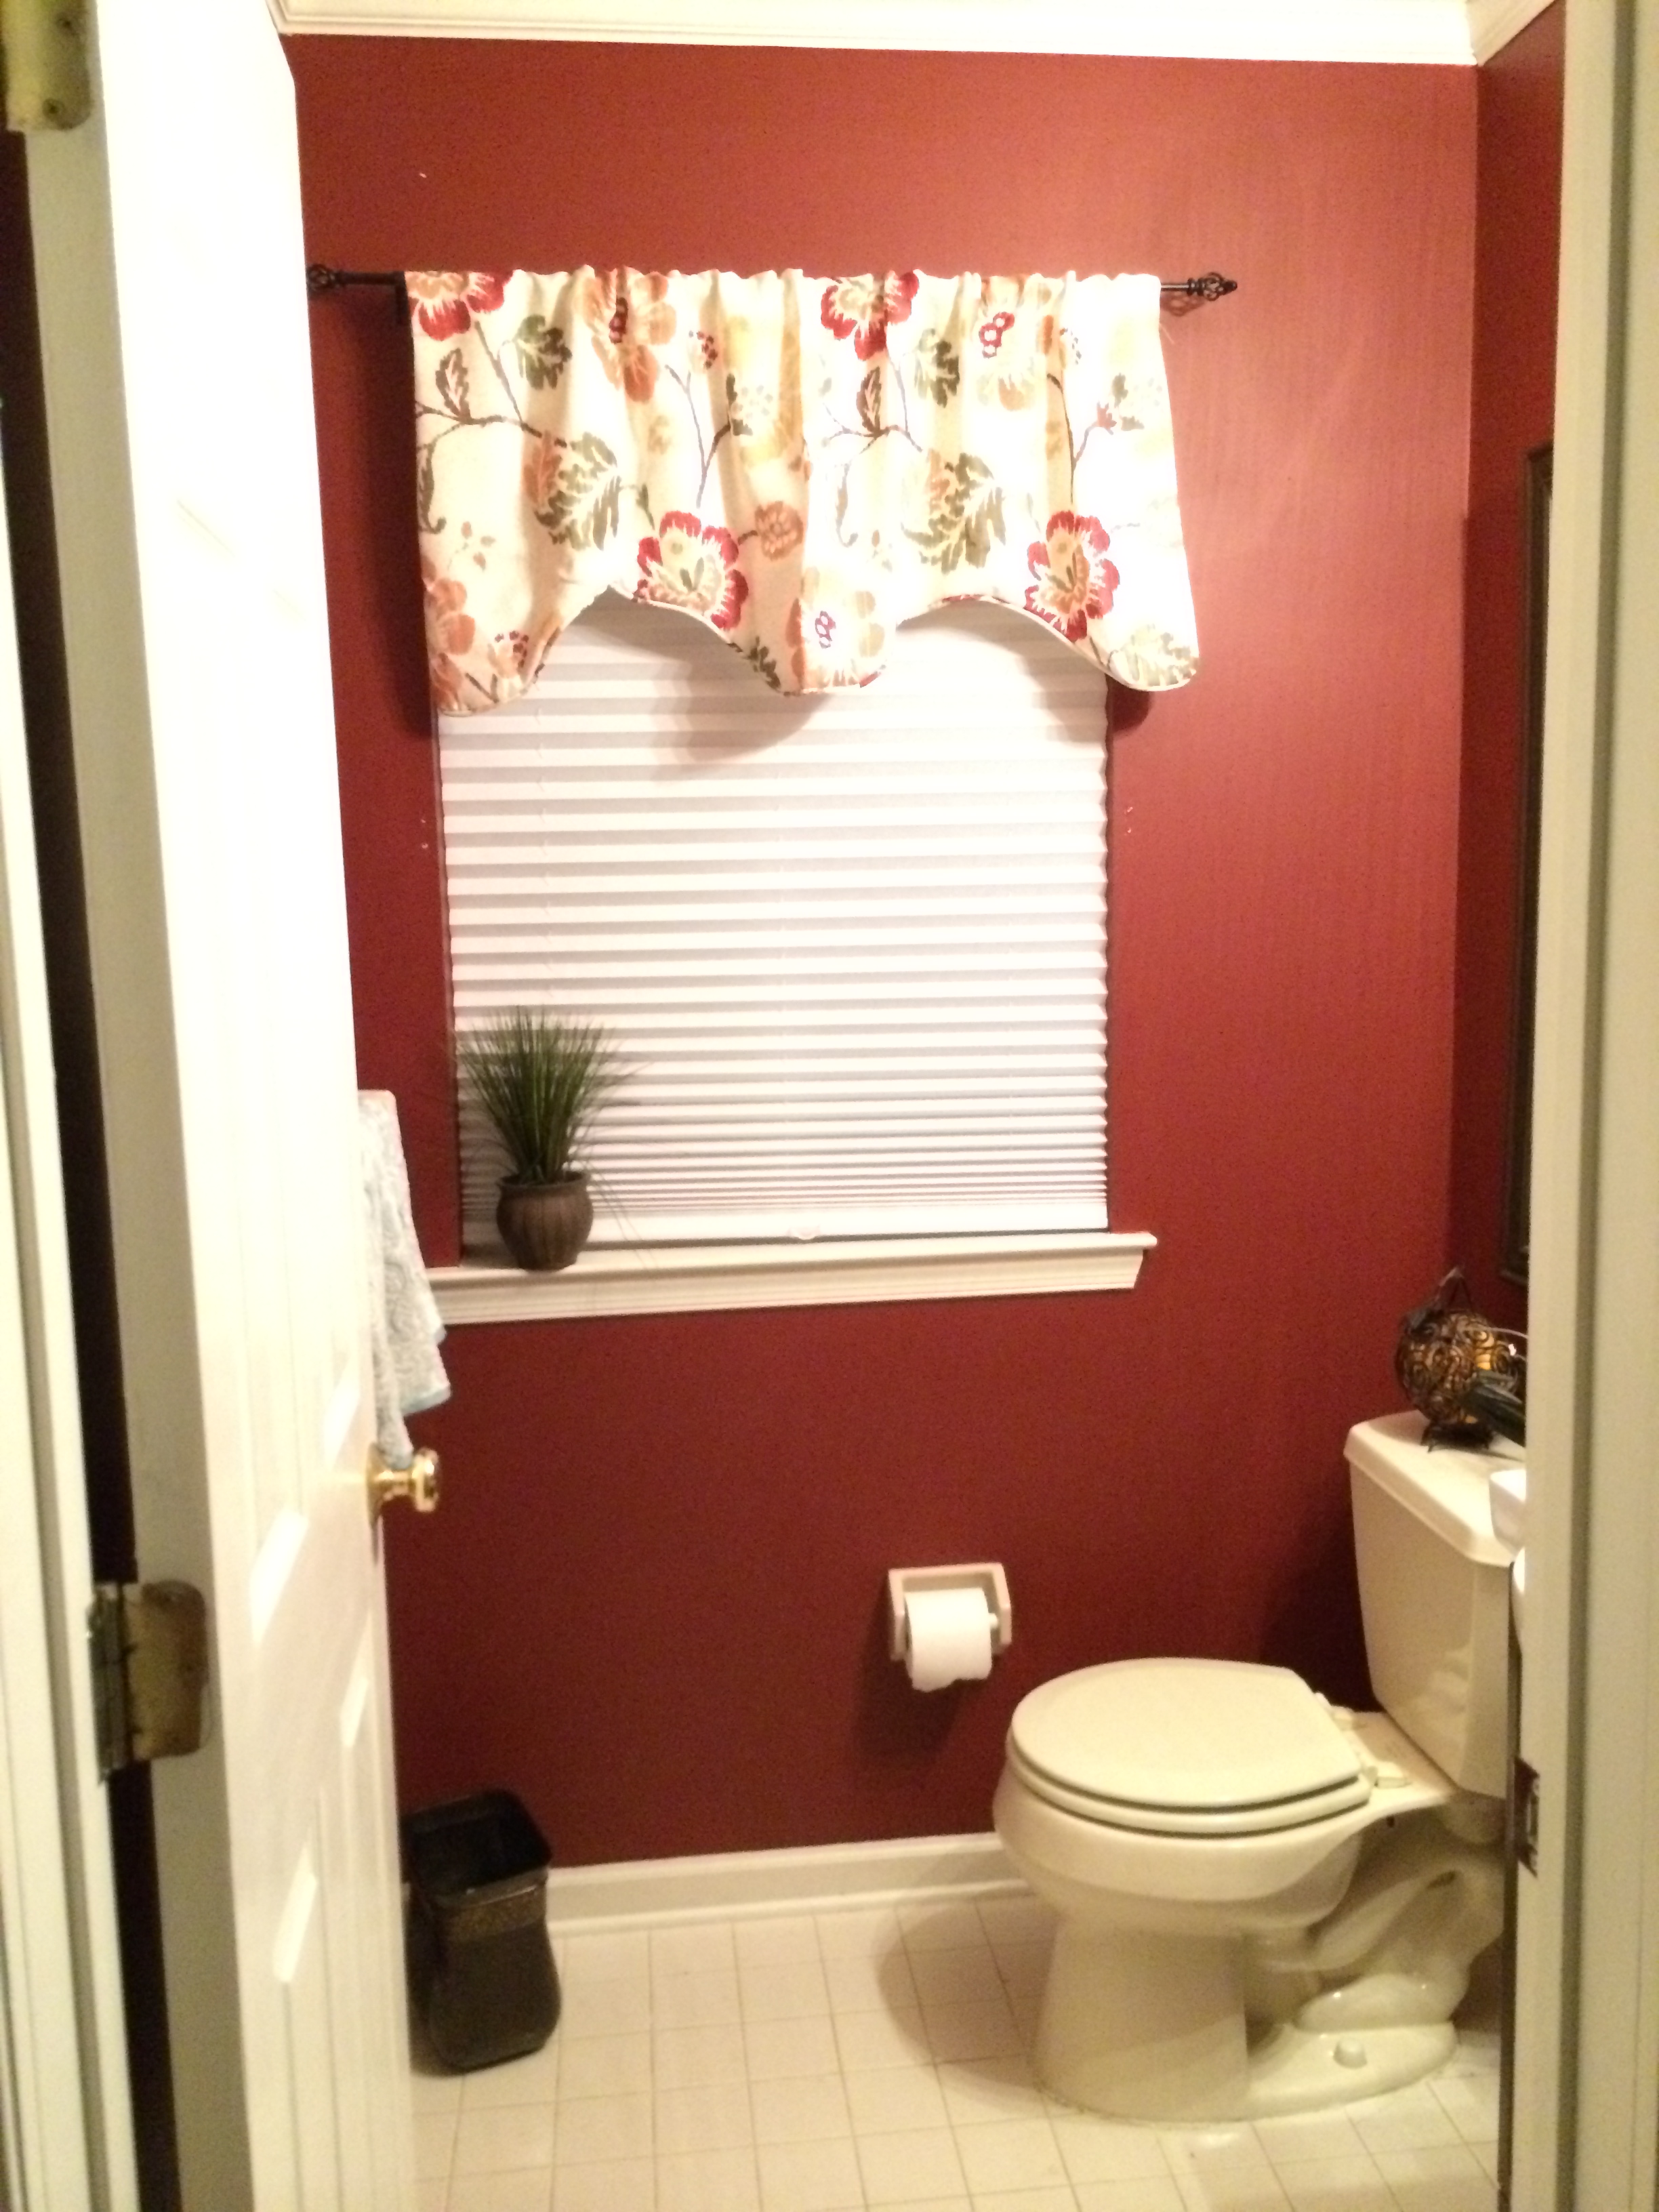
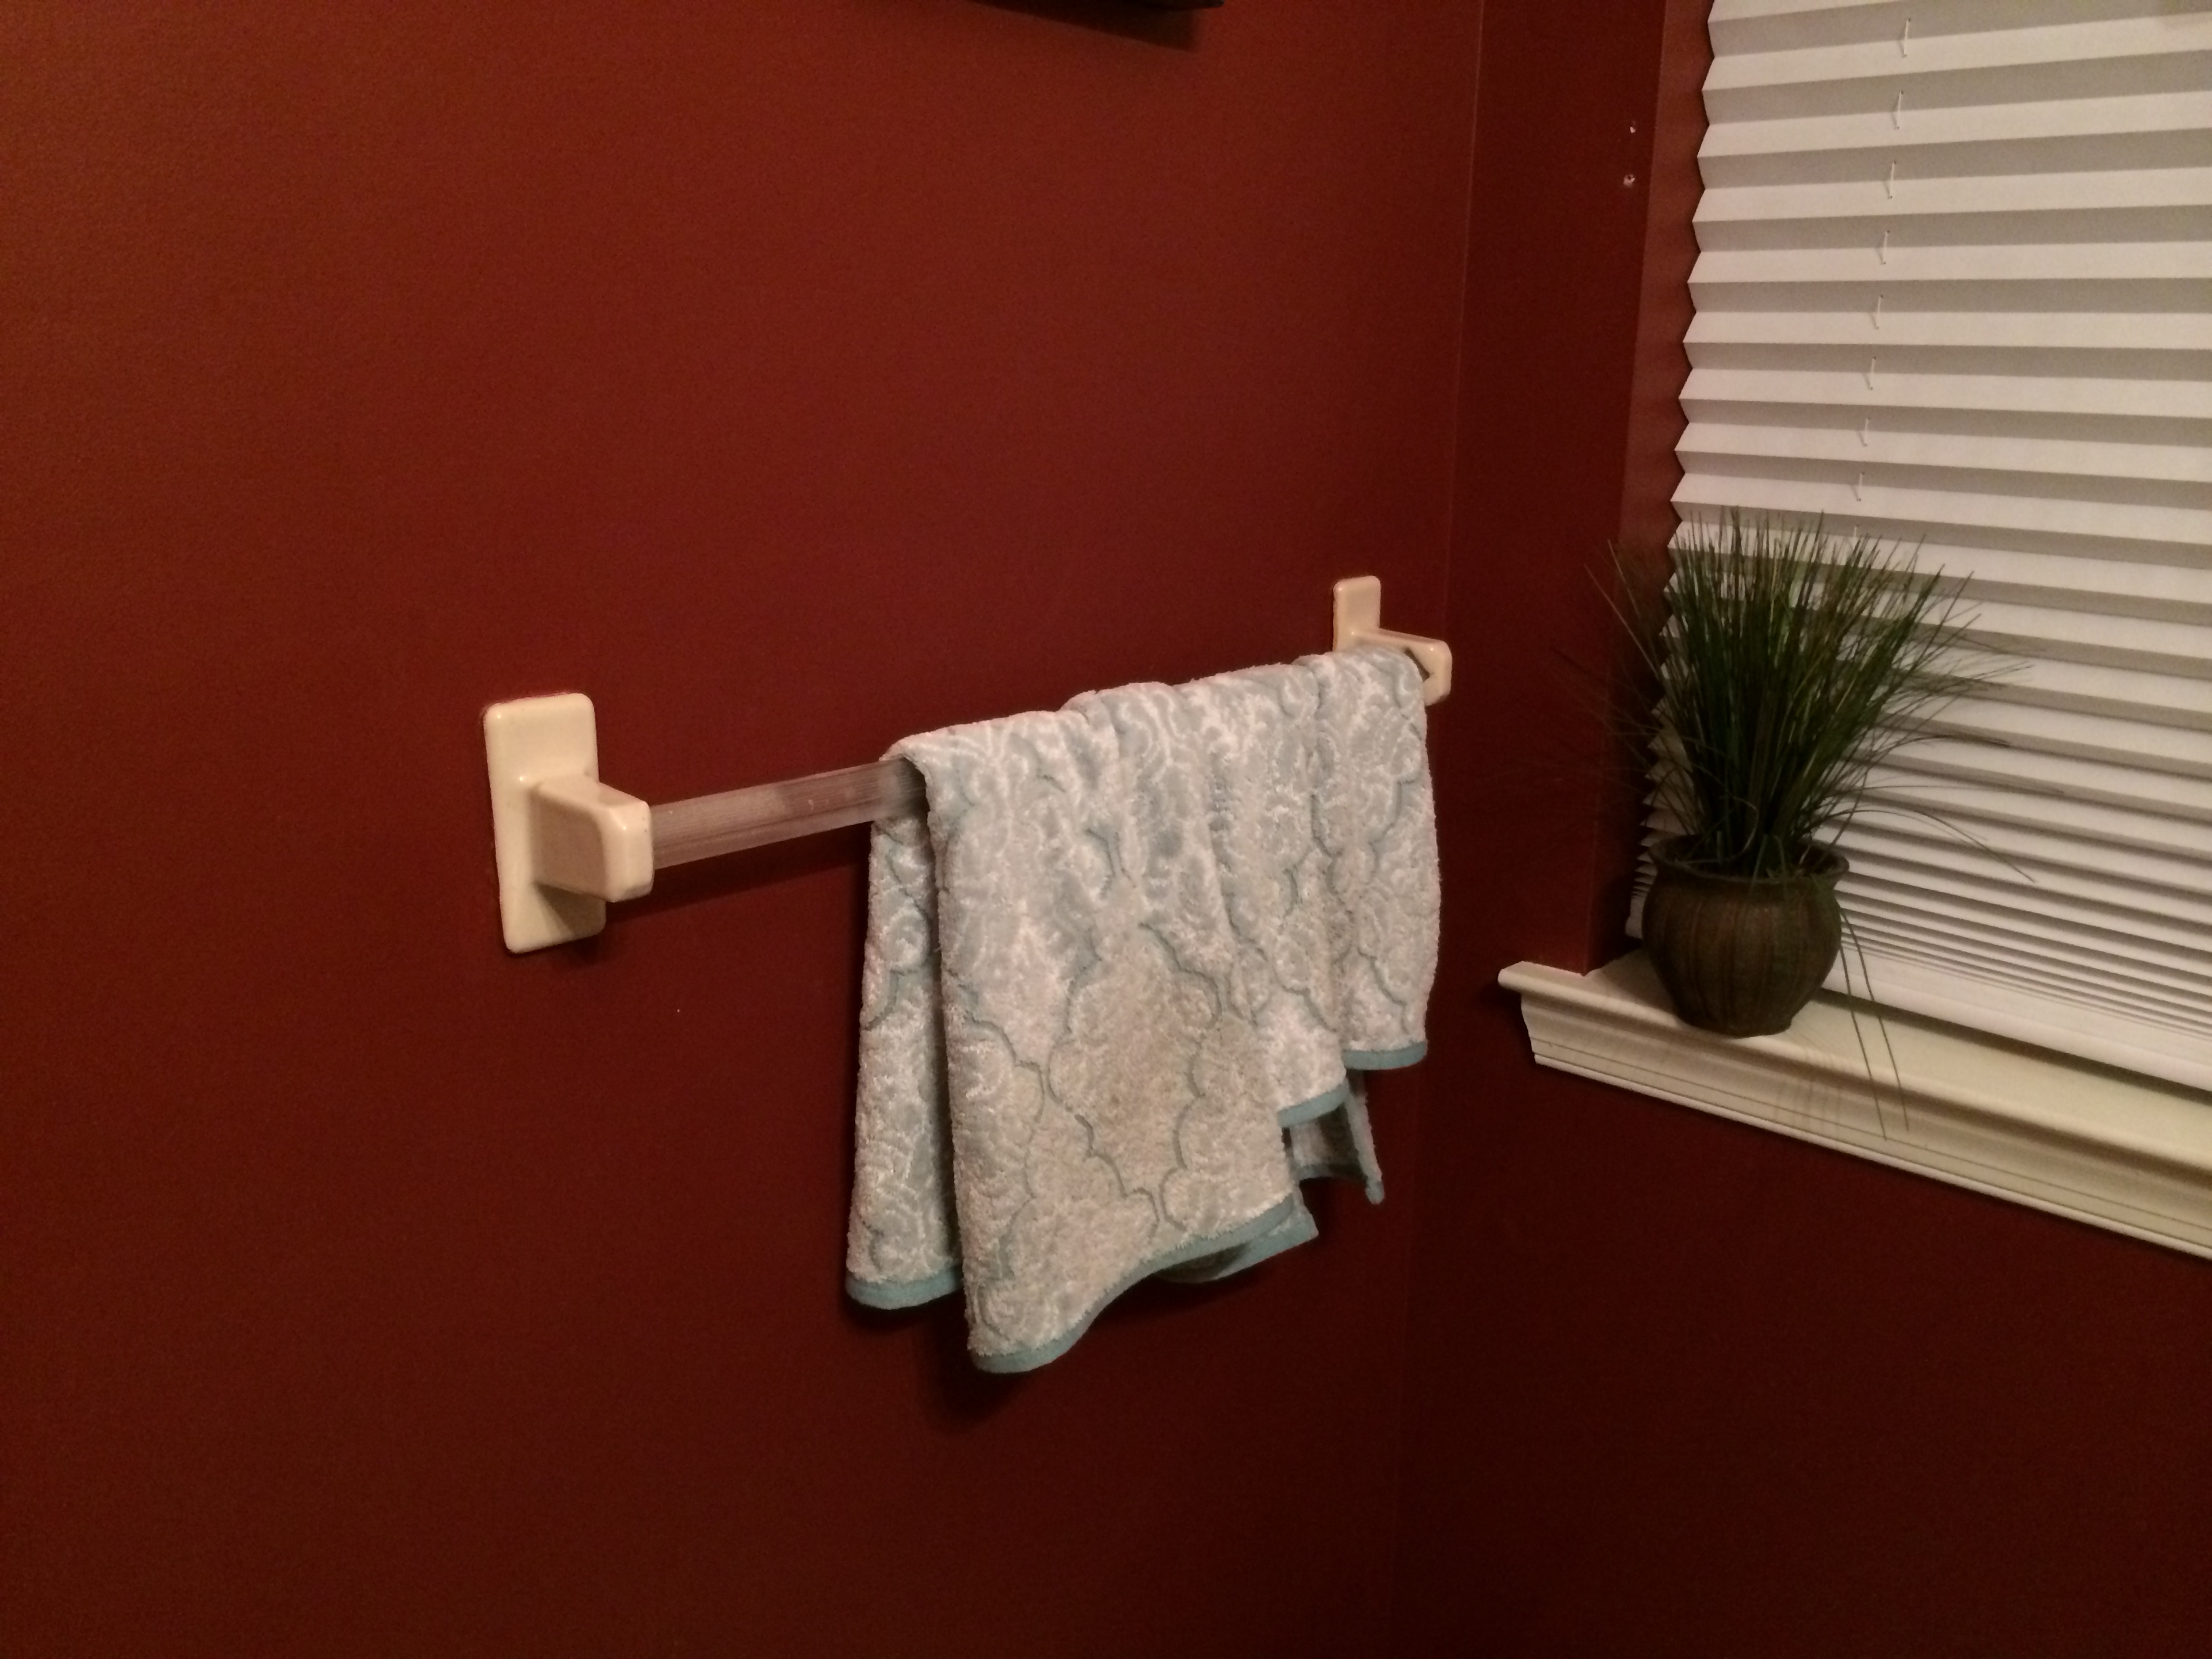
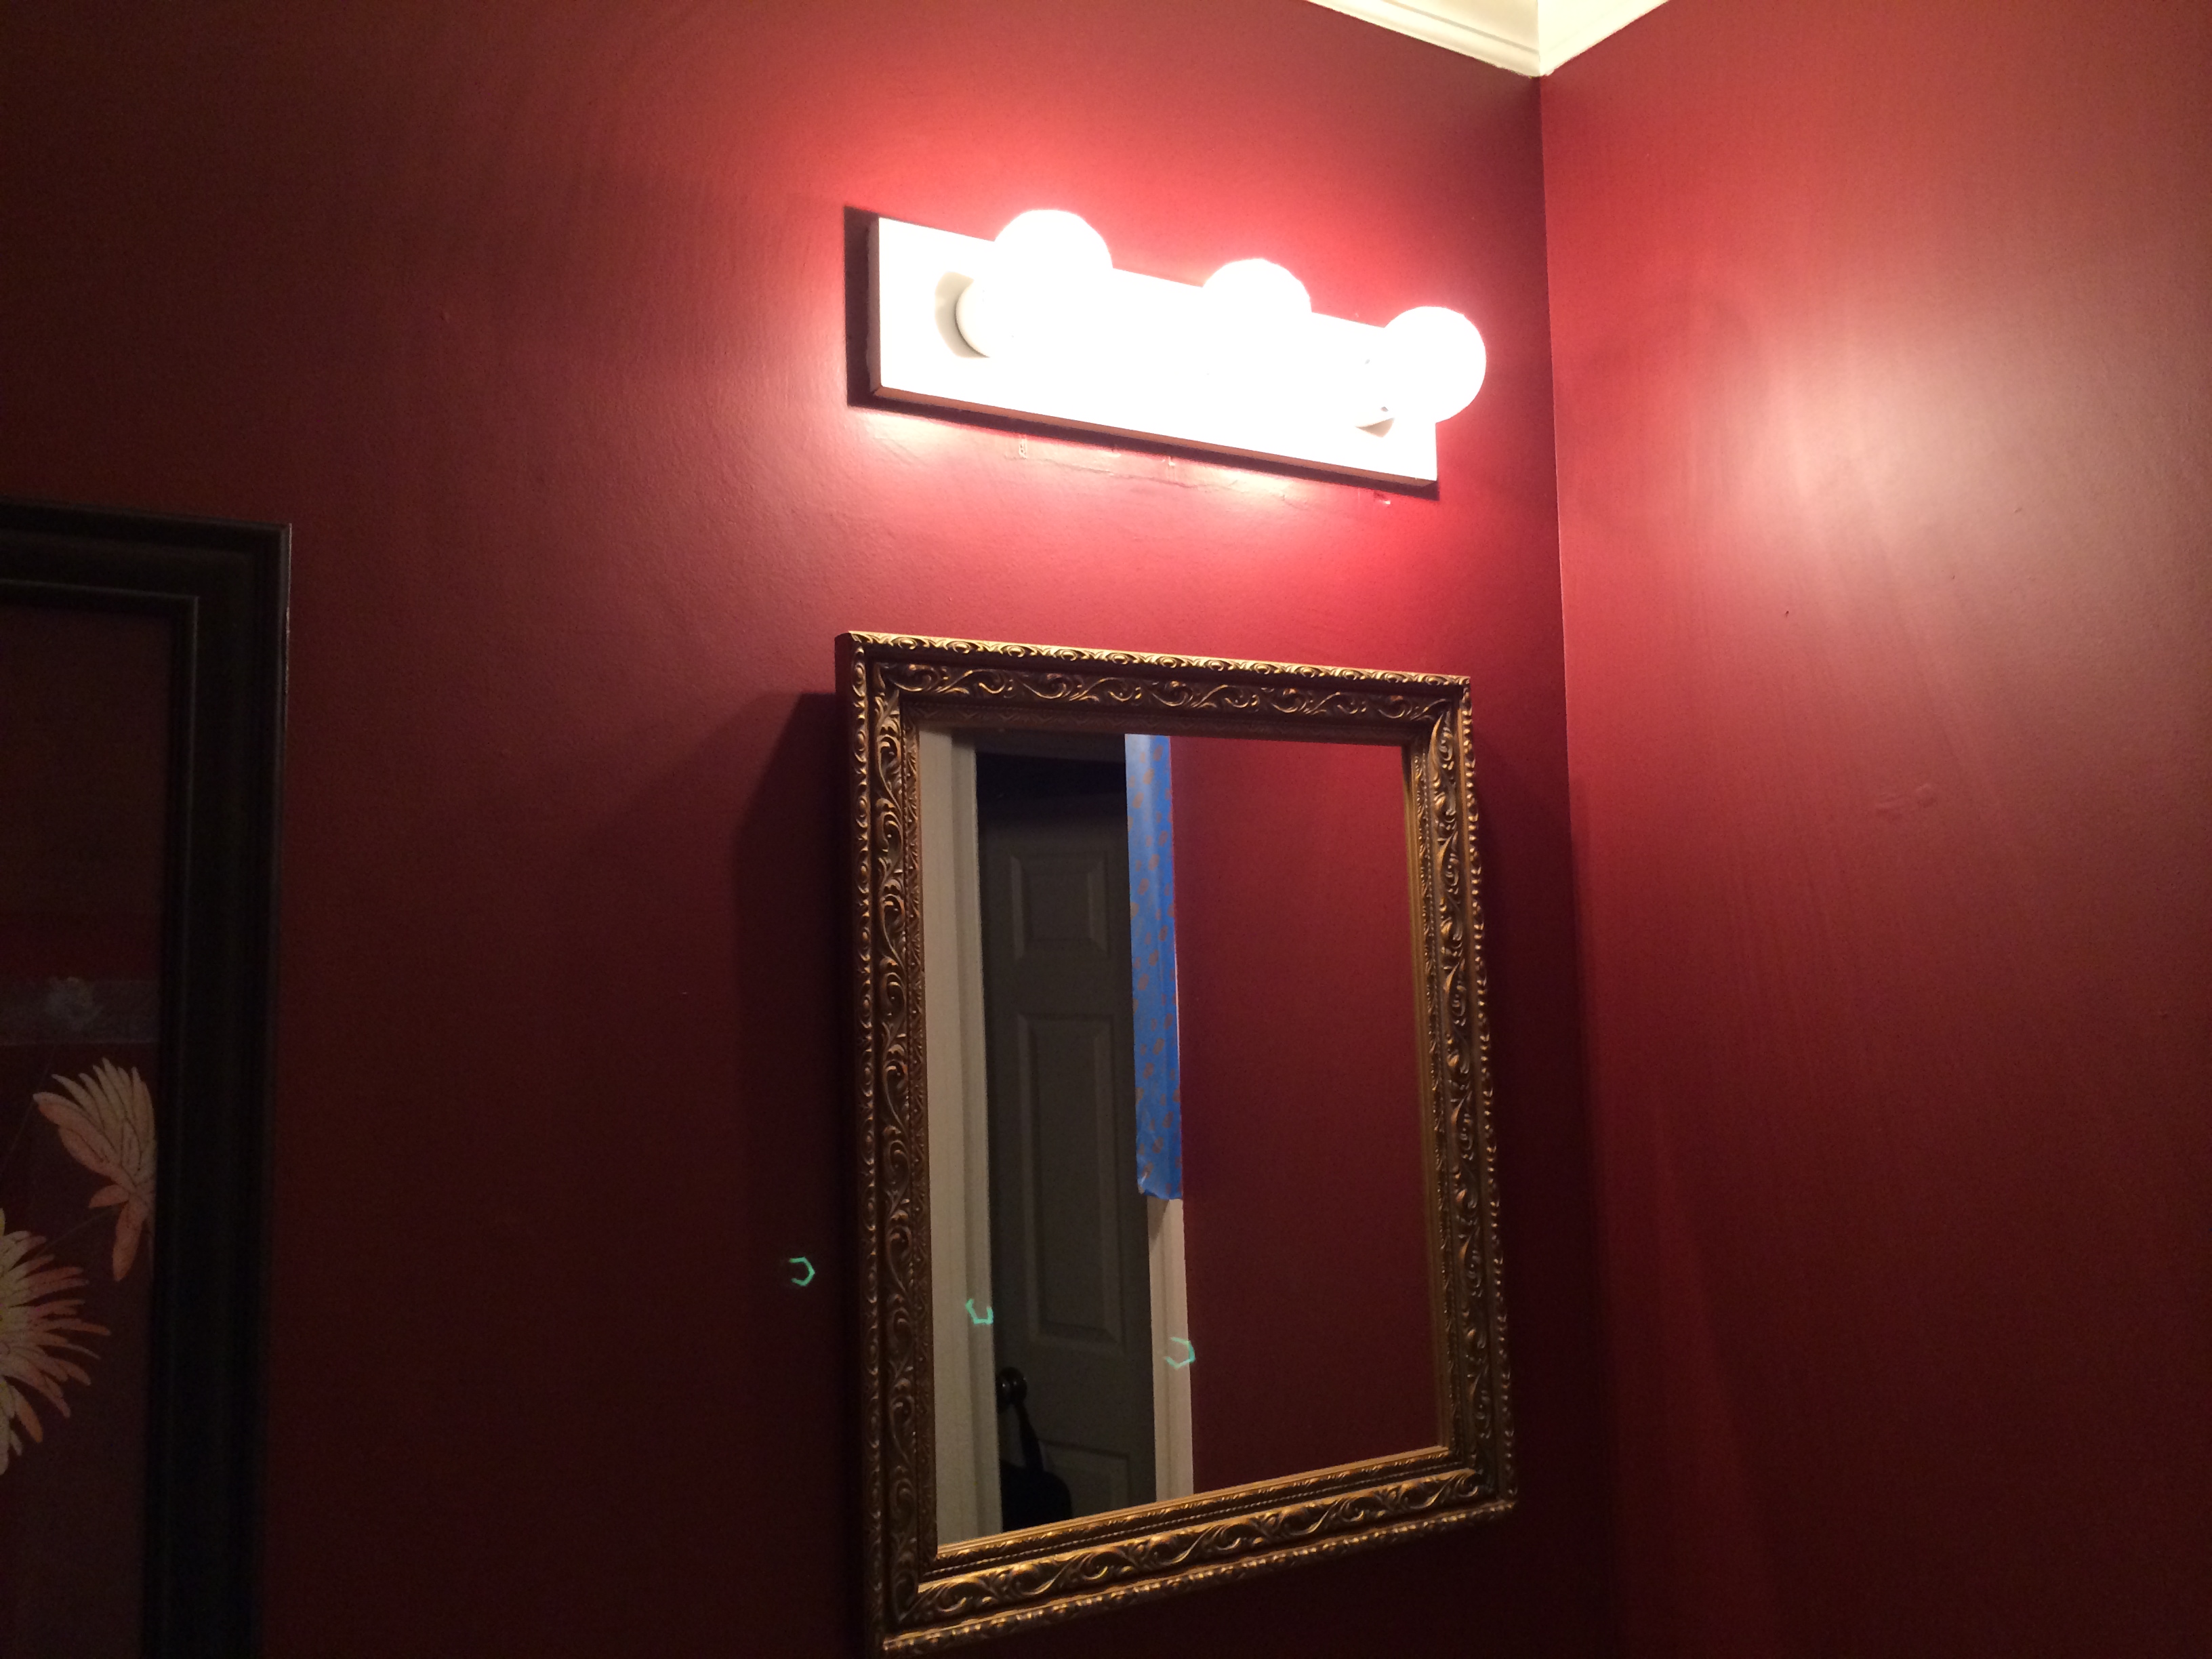
Before…
After…

Doesn’t it just feel so much lighter and more fresh??
I changed EVERYTHING in this room except the toilet and floor. I also left the vanity since the previous homeowners already updated it.
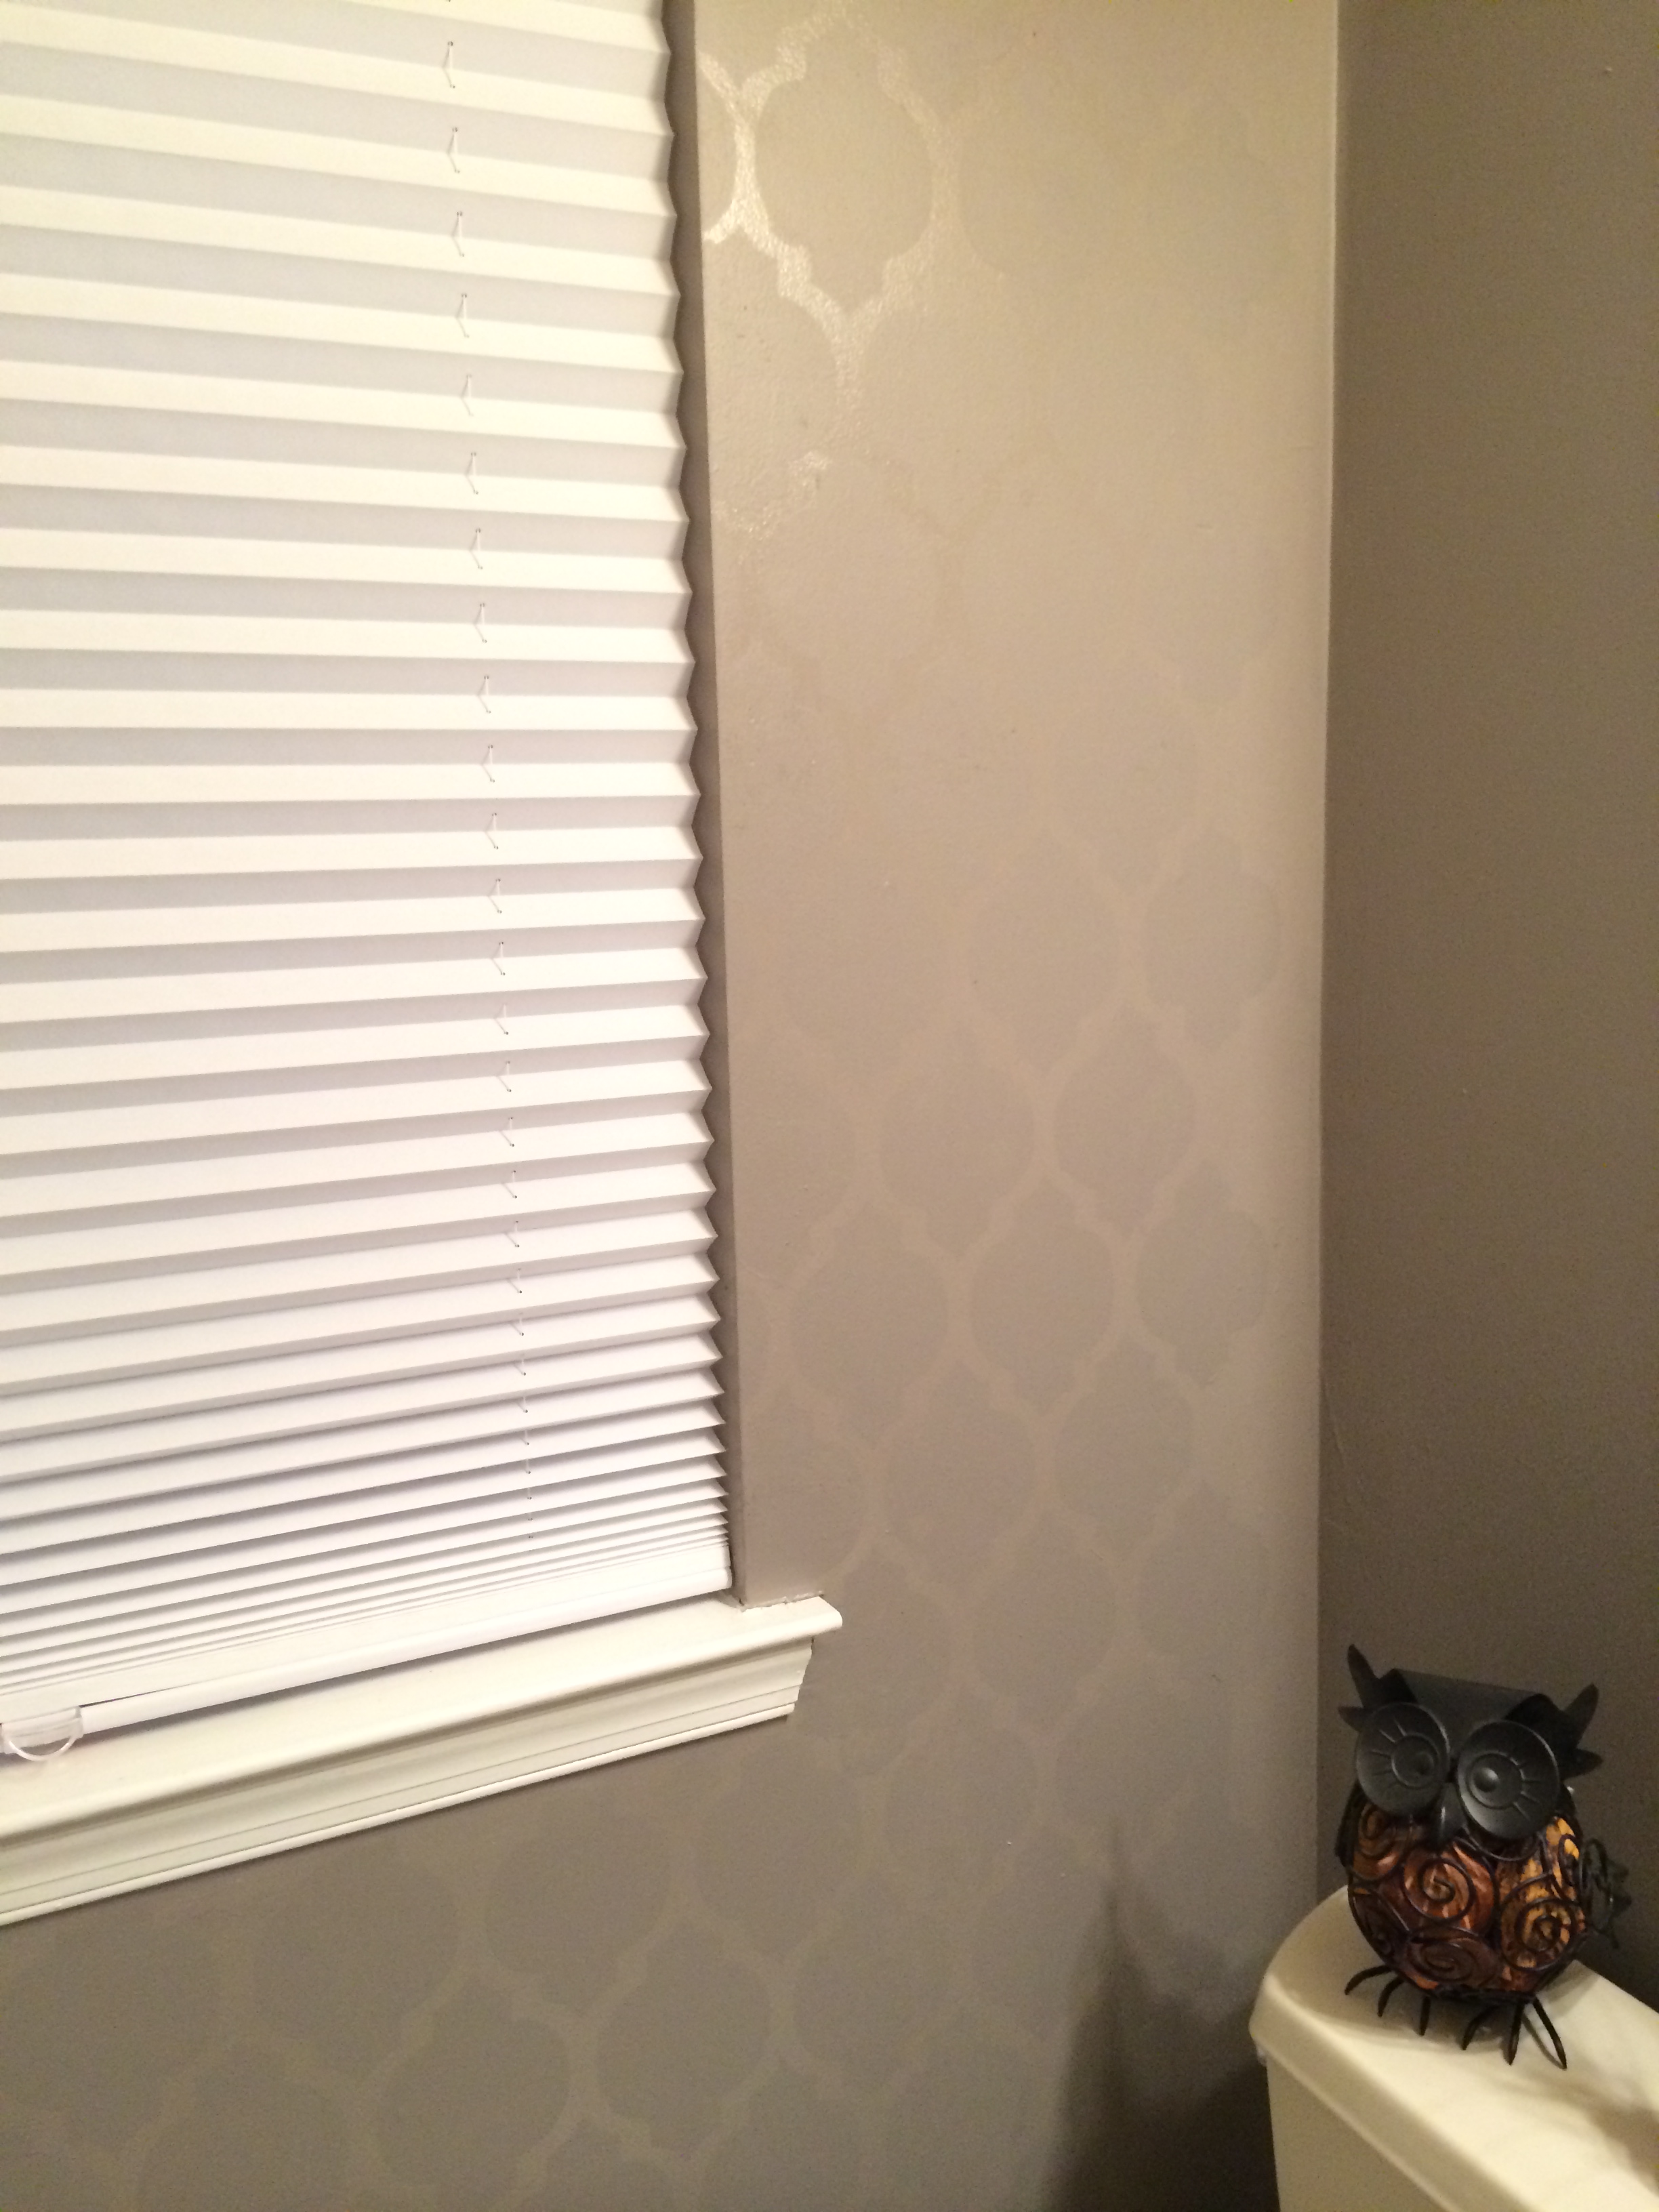
The wall color we chose to go with was called “Bleach Shadow” by Valspar. It’s such a pretty taupey grey. I even attempted my first stencil project on the wall with the window! (I’ll do a tutorial in a follow up post).
One of the easiest ways to update your bathroom is by installing a new light fixture and mirror. It instantly changes the tone of the room!
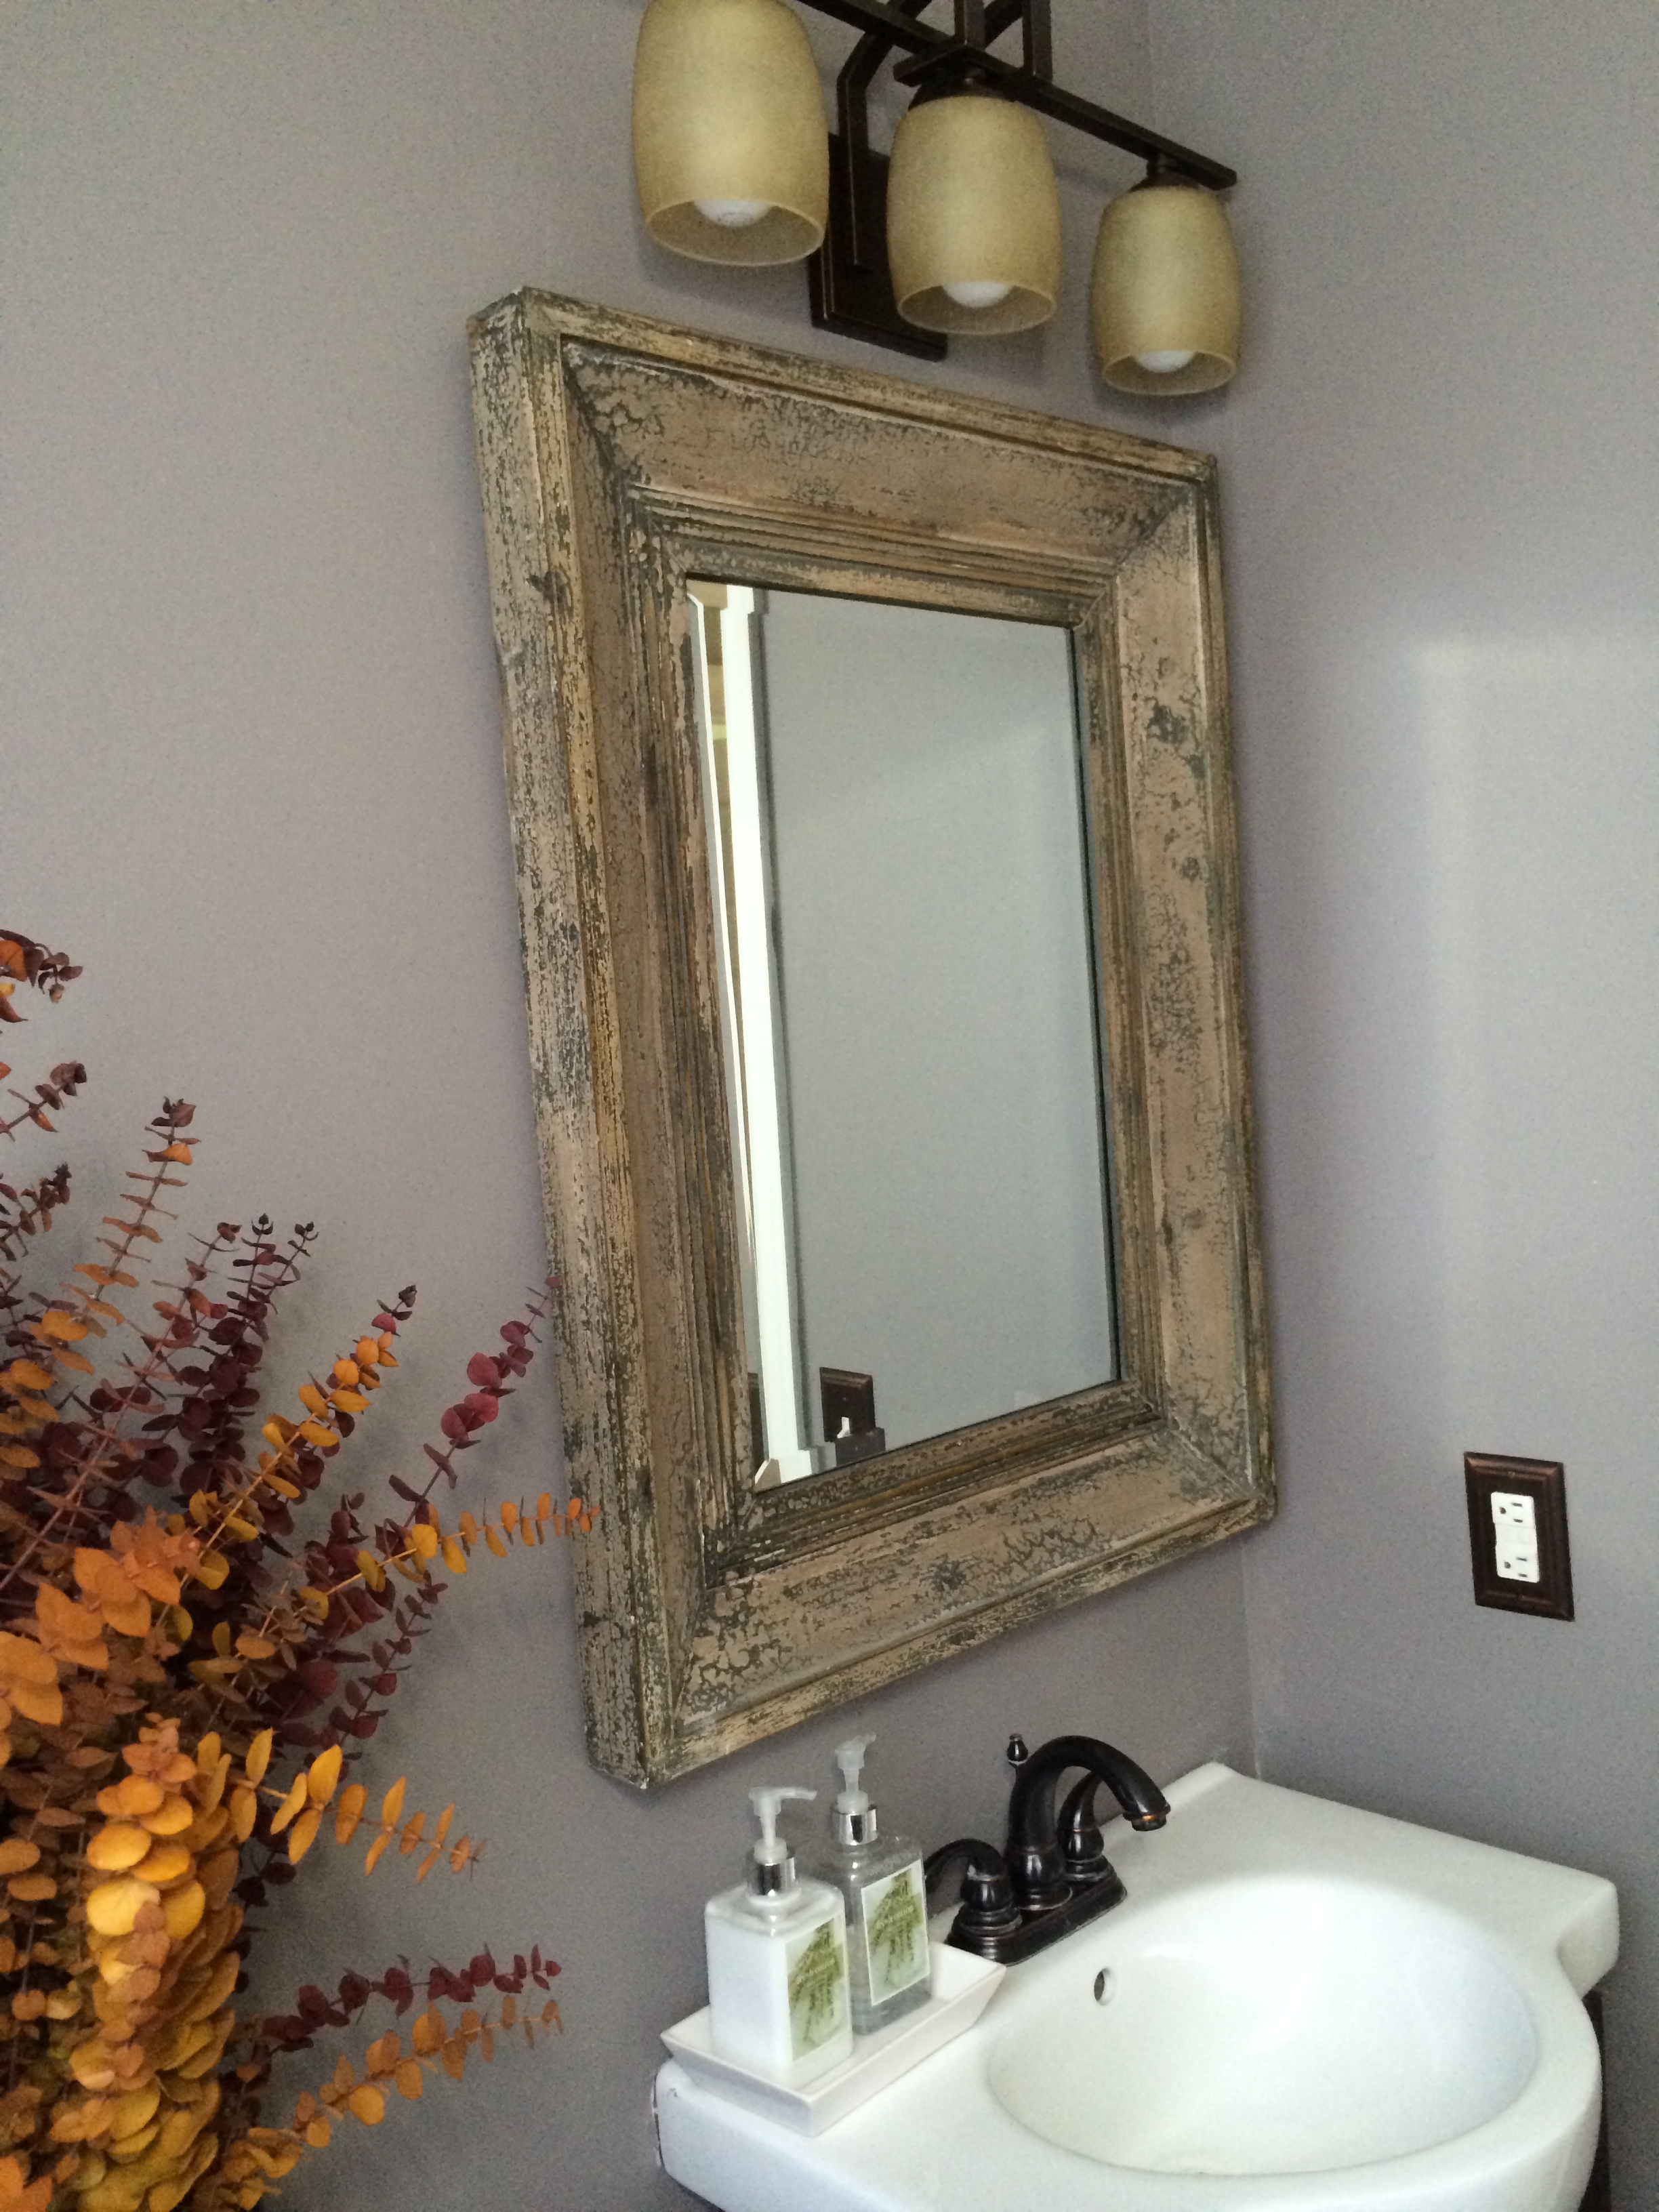
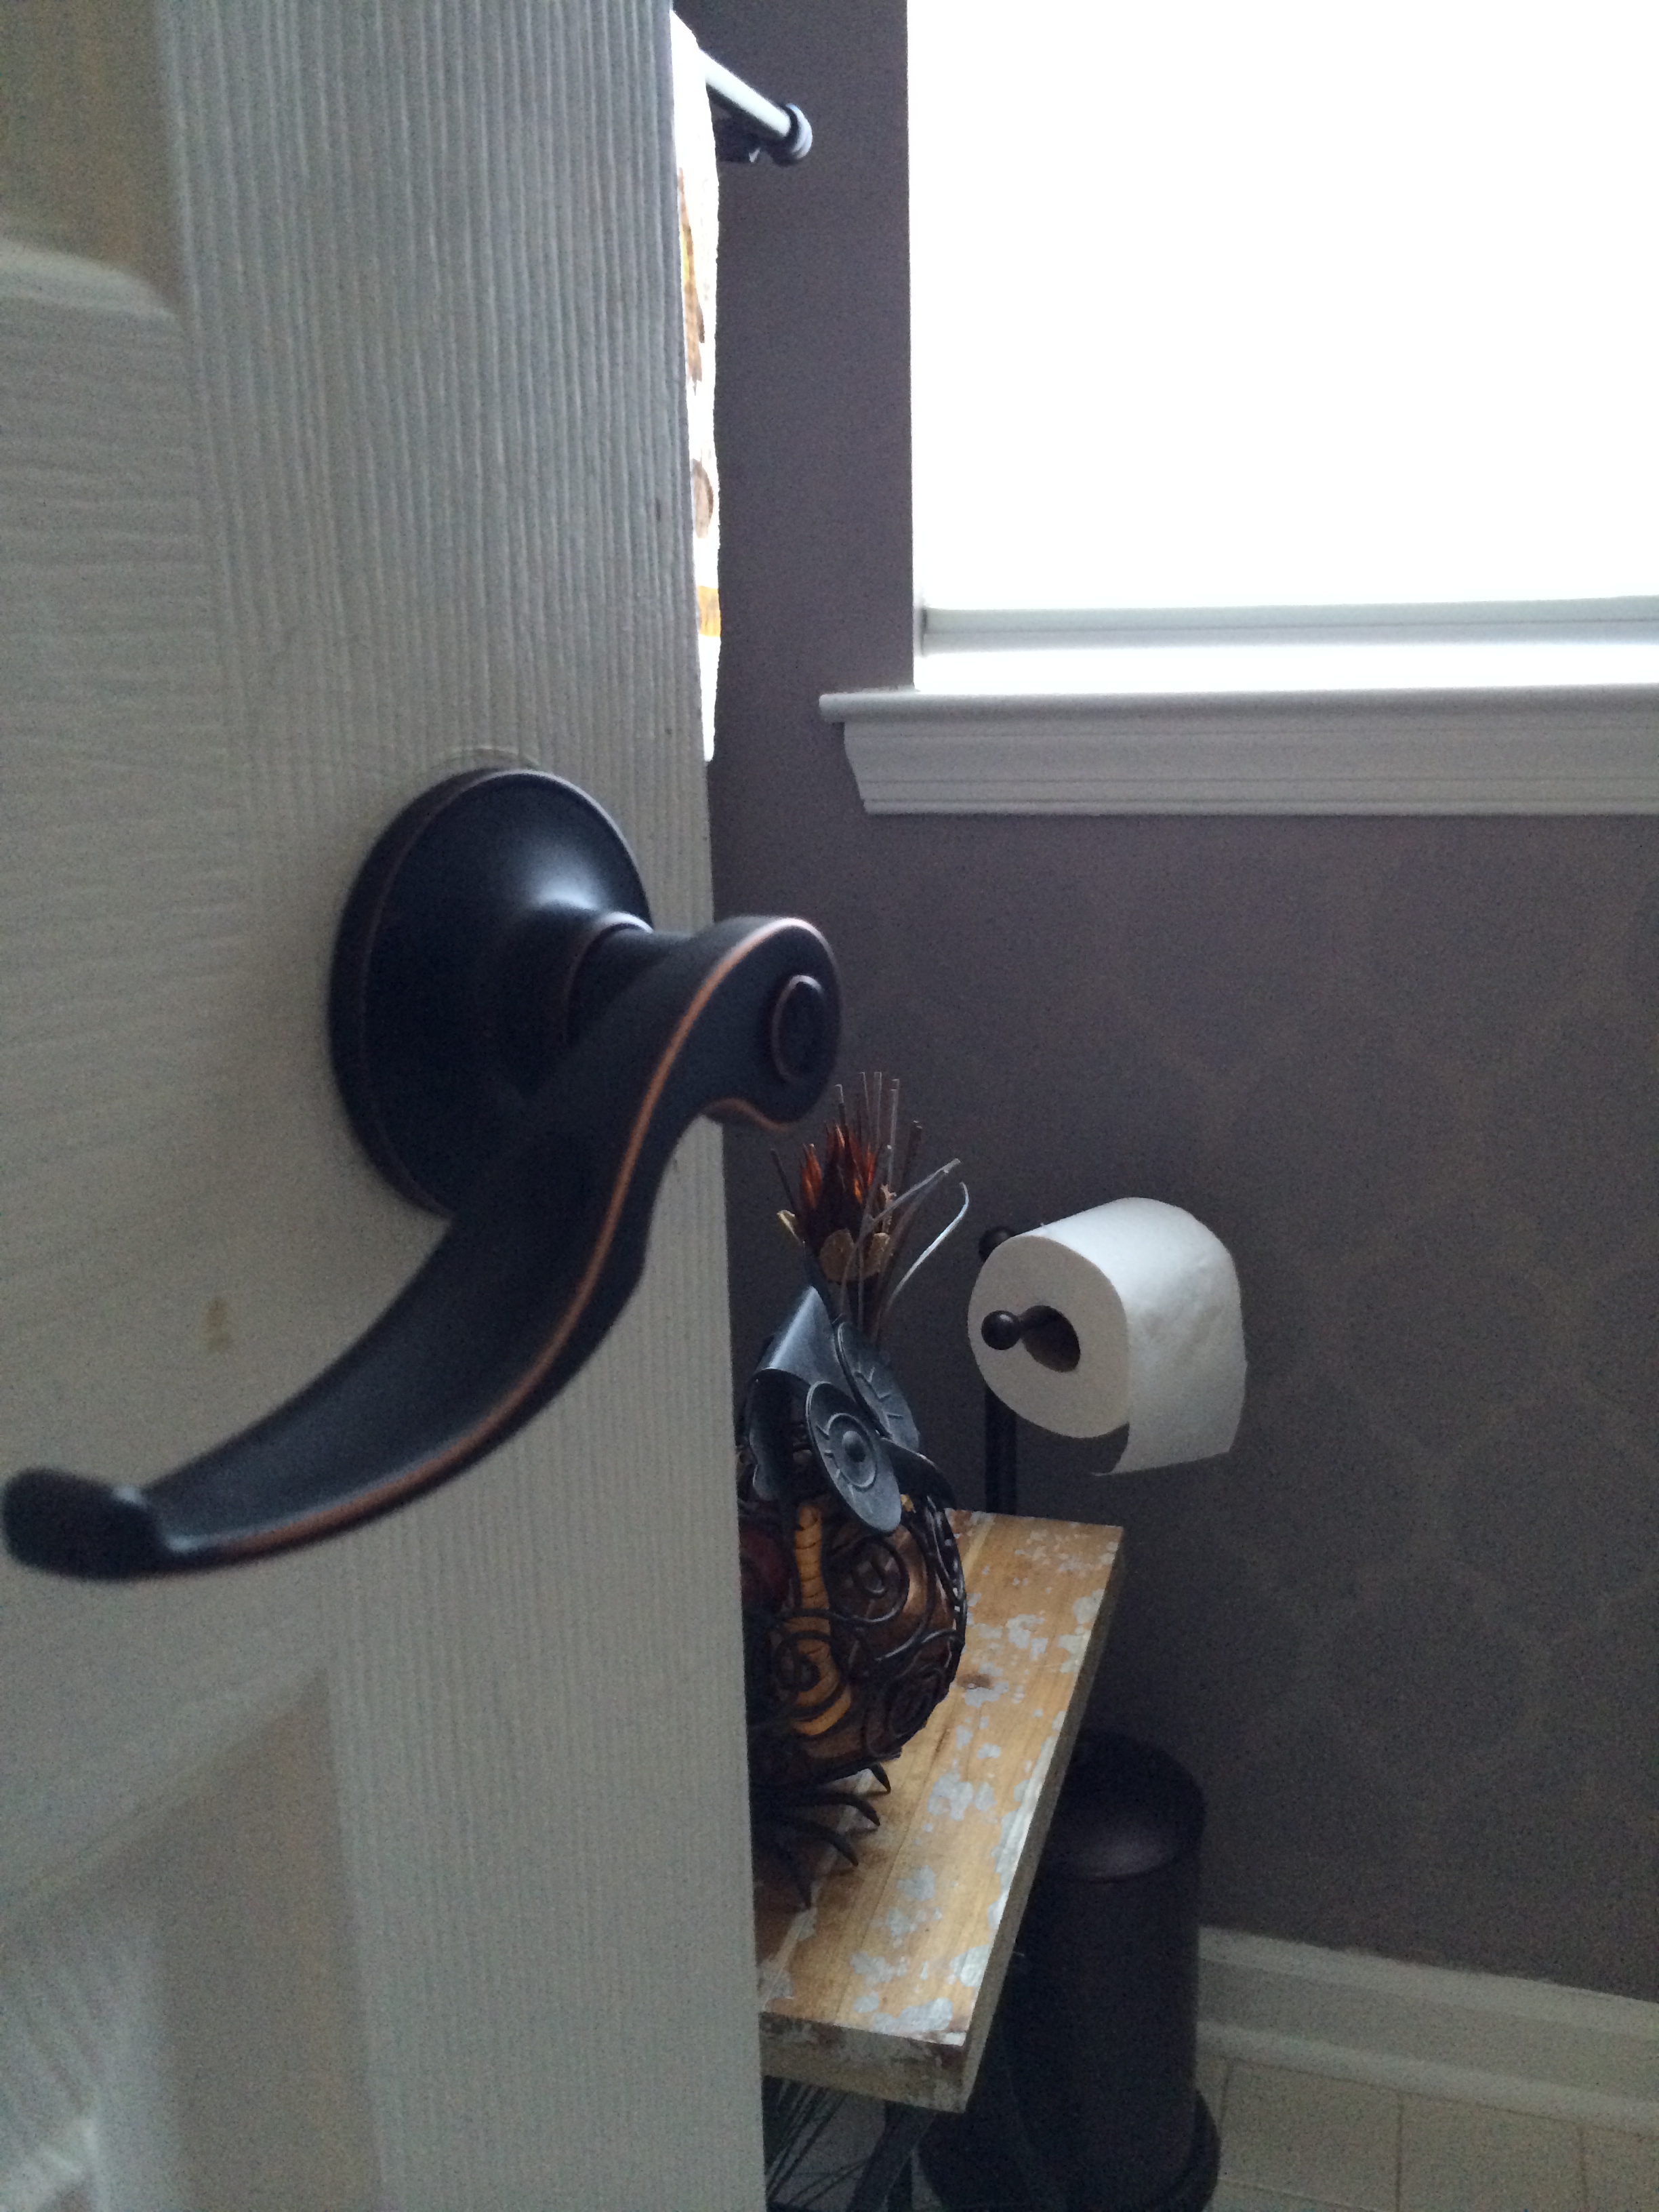
I even ripped out the old ceramic toilet paper holder and towel bar to give the room a more modern look. Definitely requires a lot of muscle power, but totally worth it!
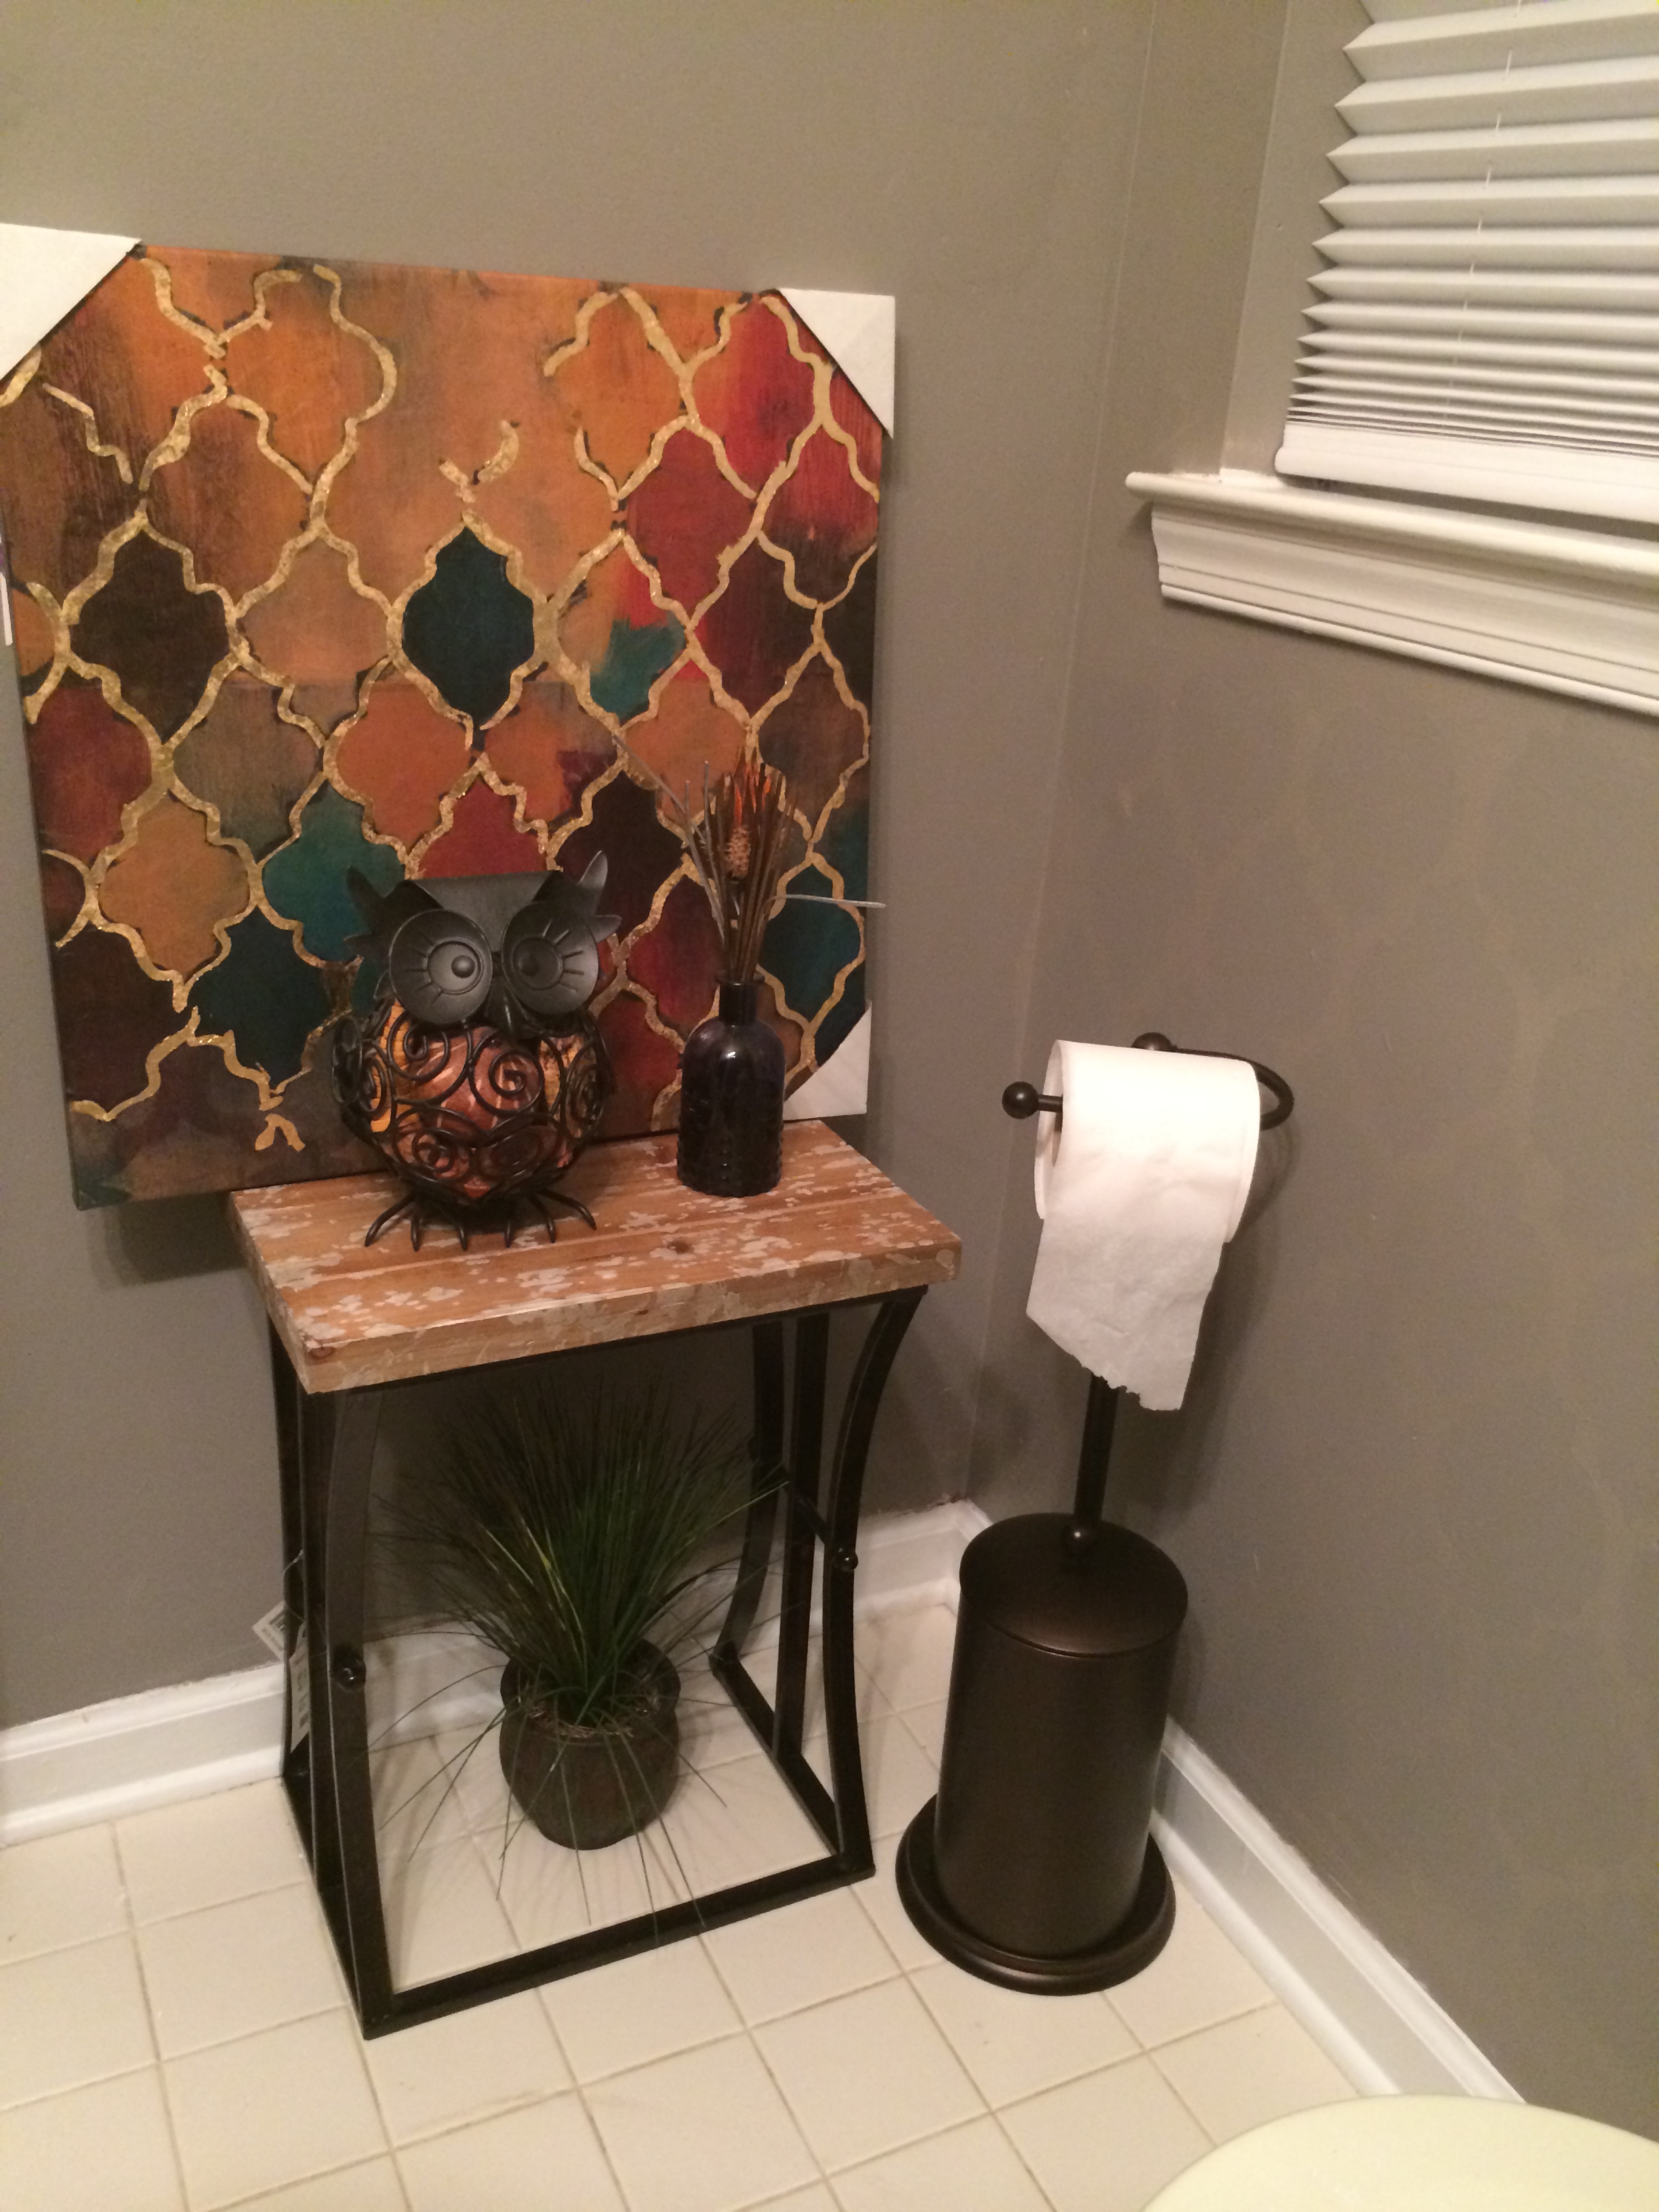
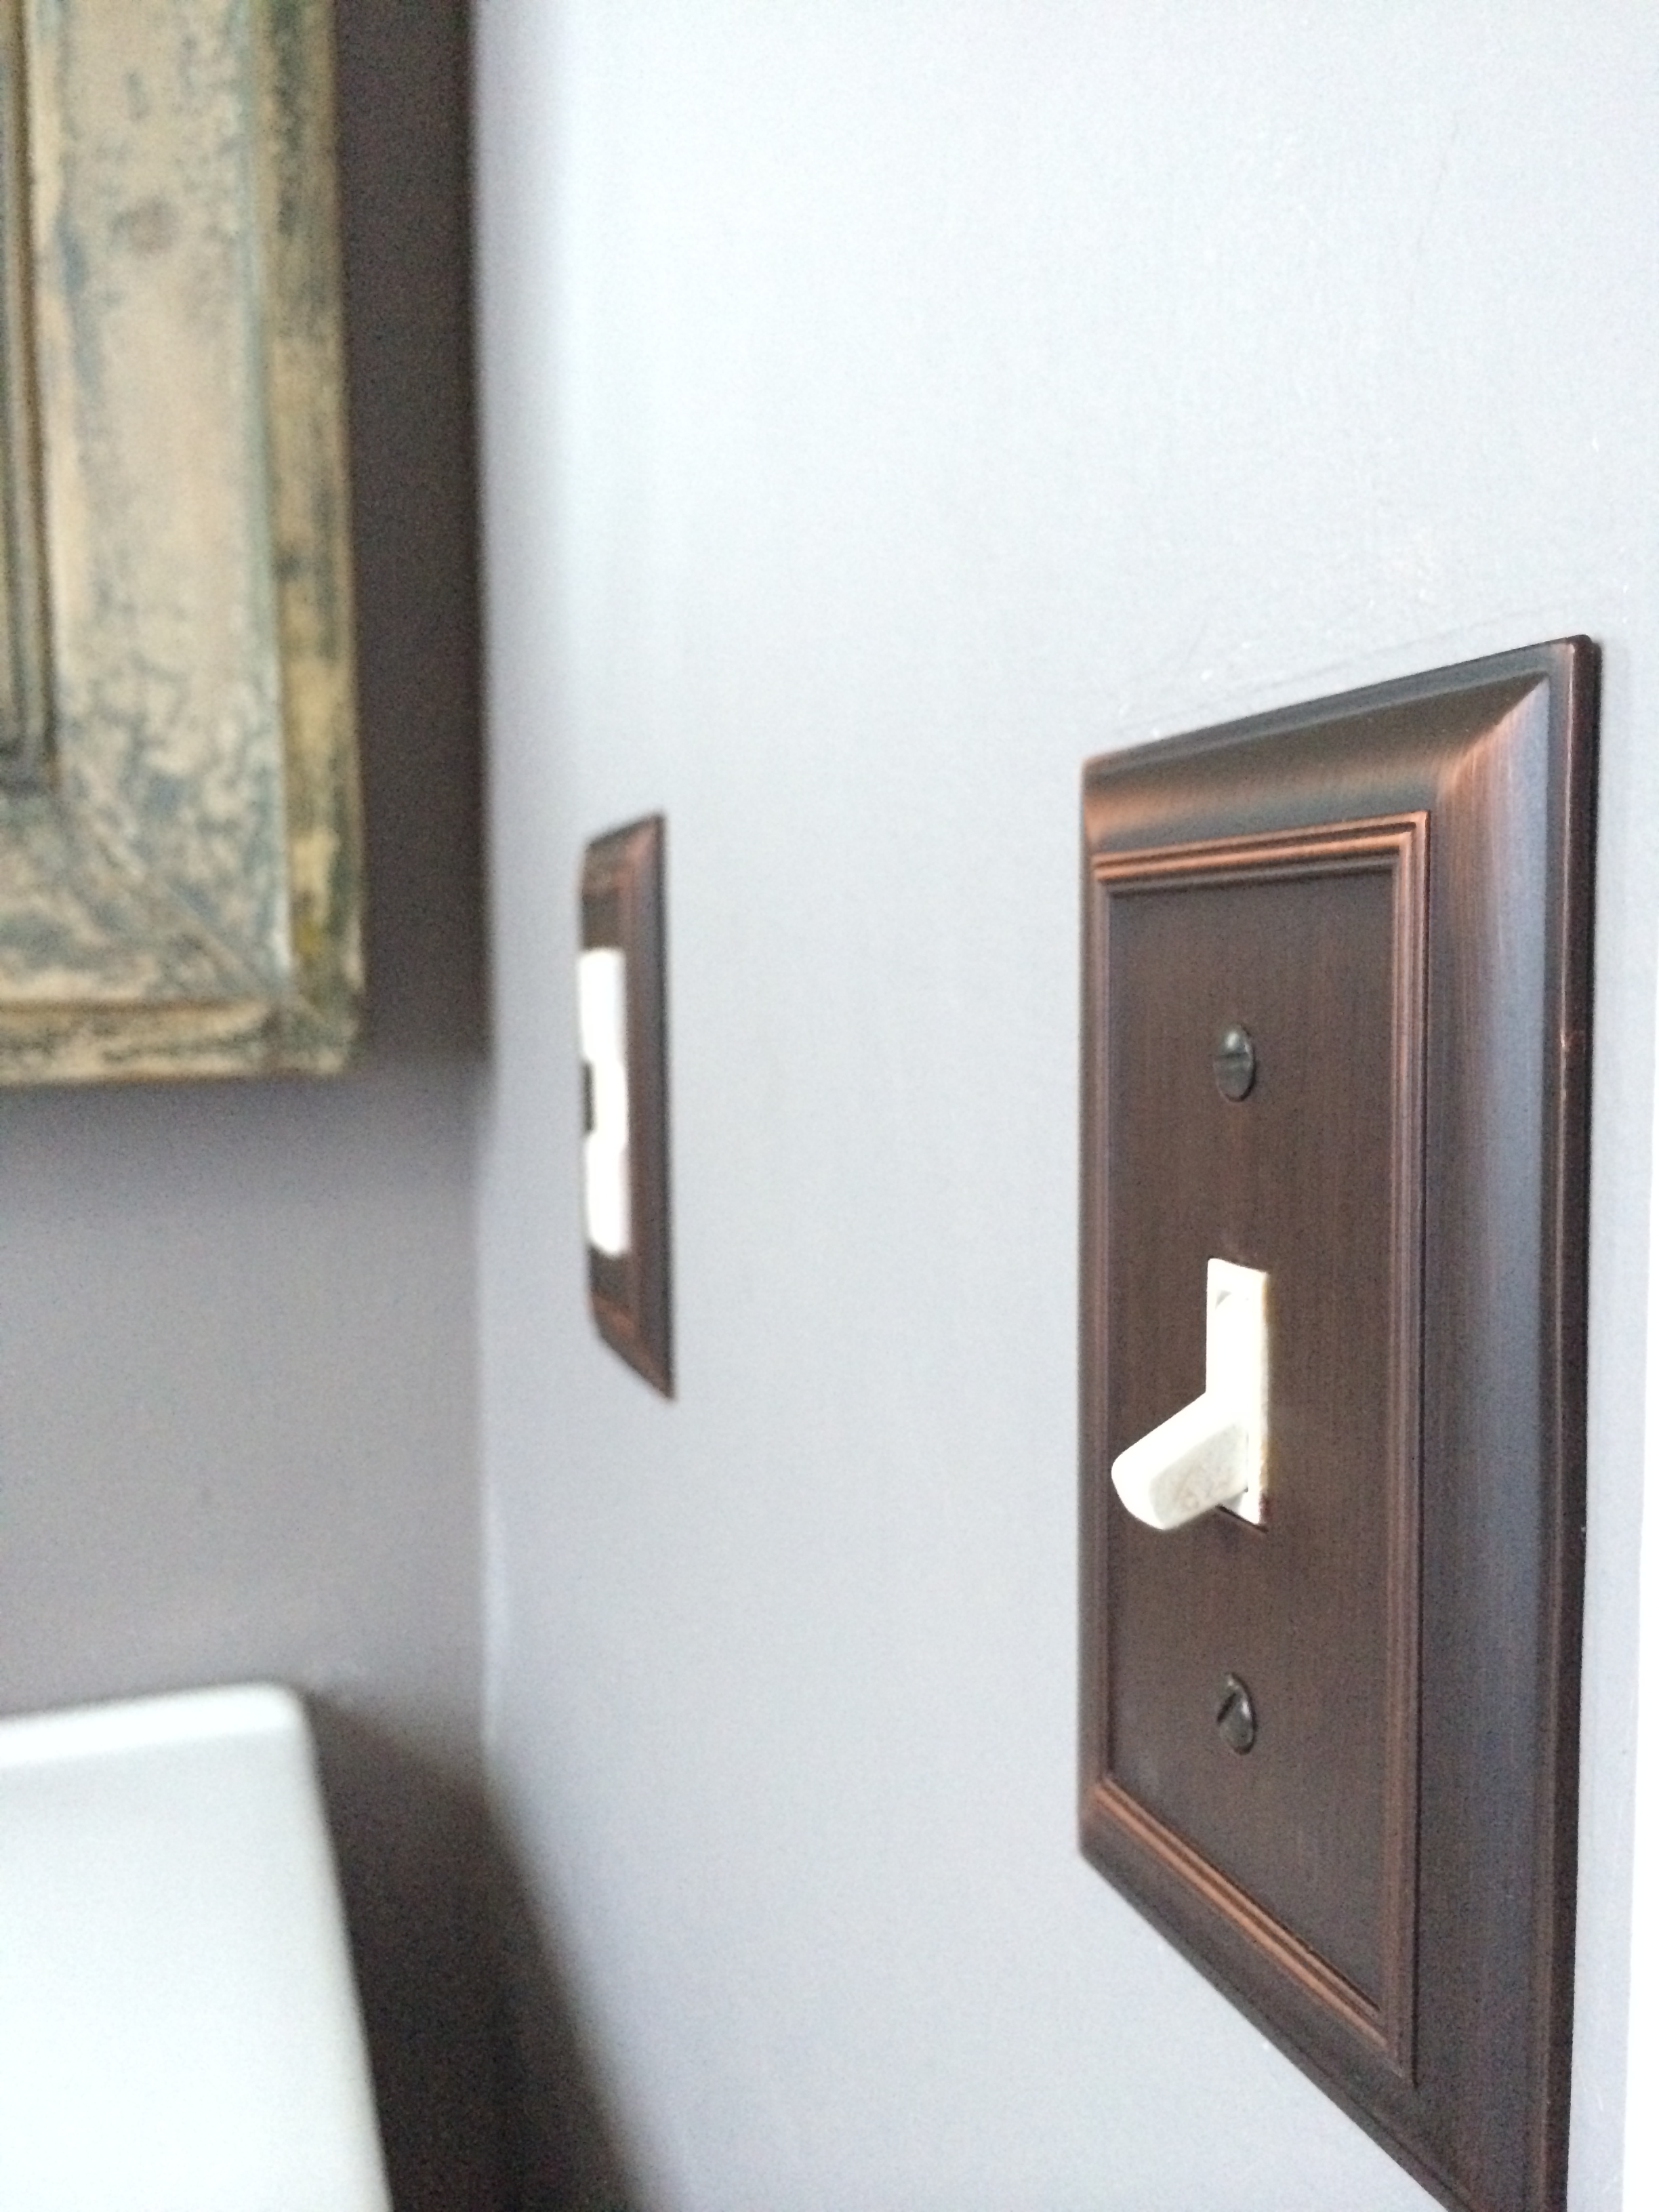
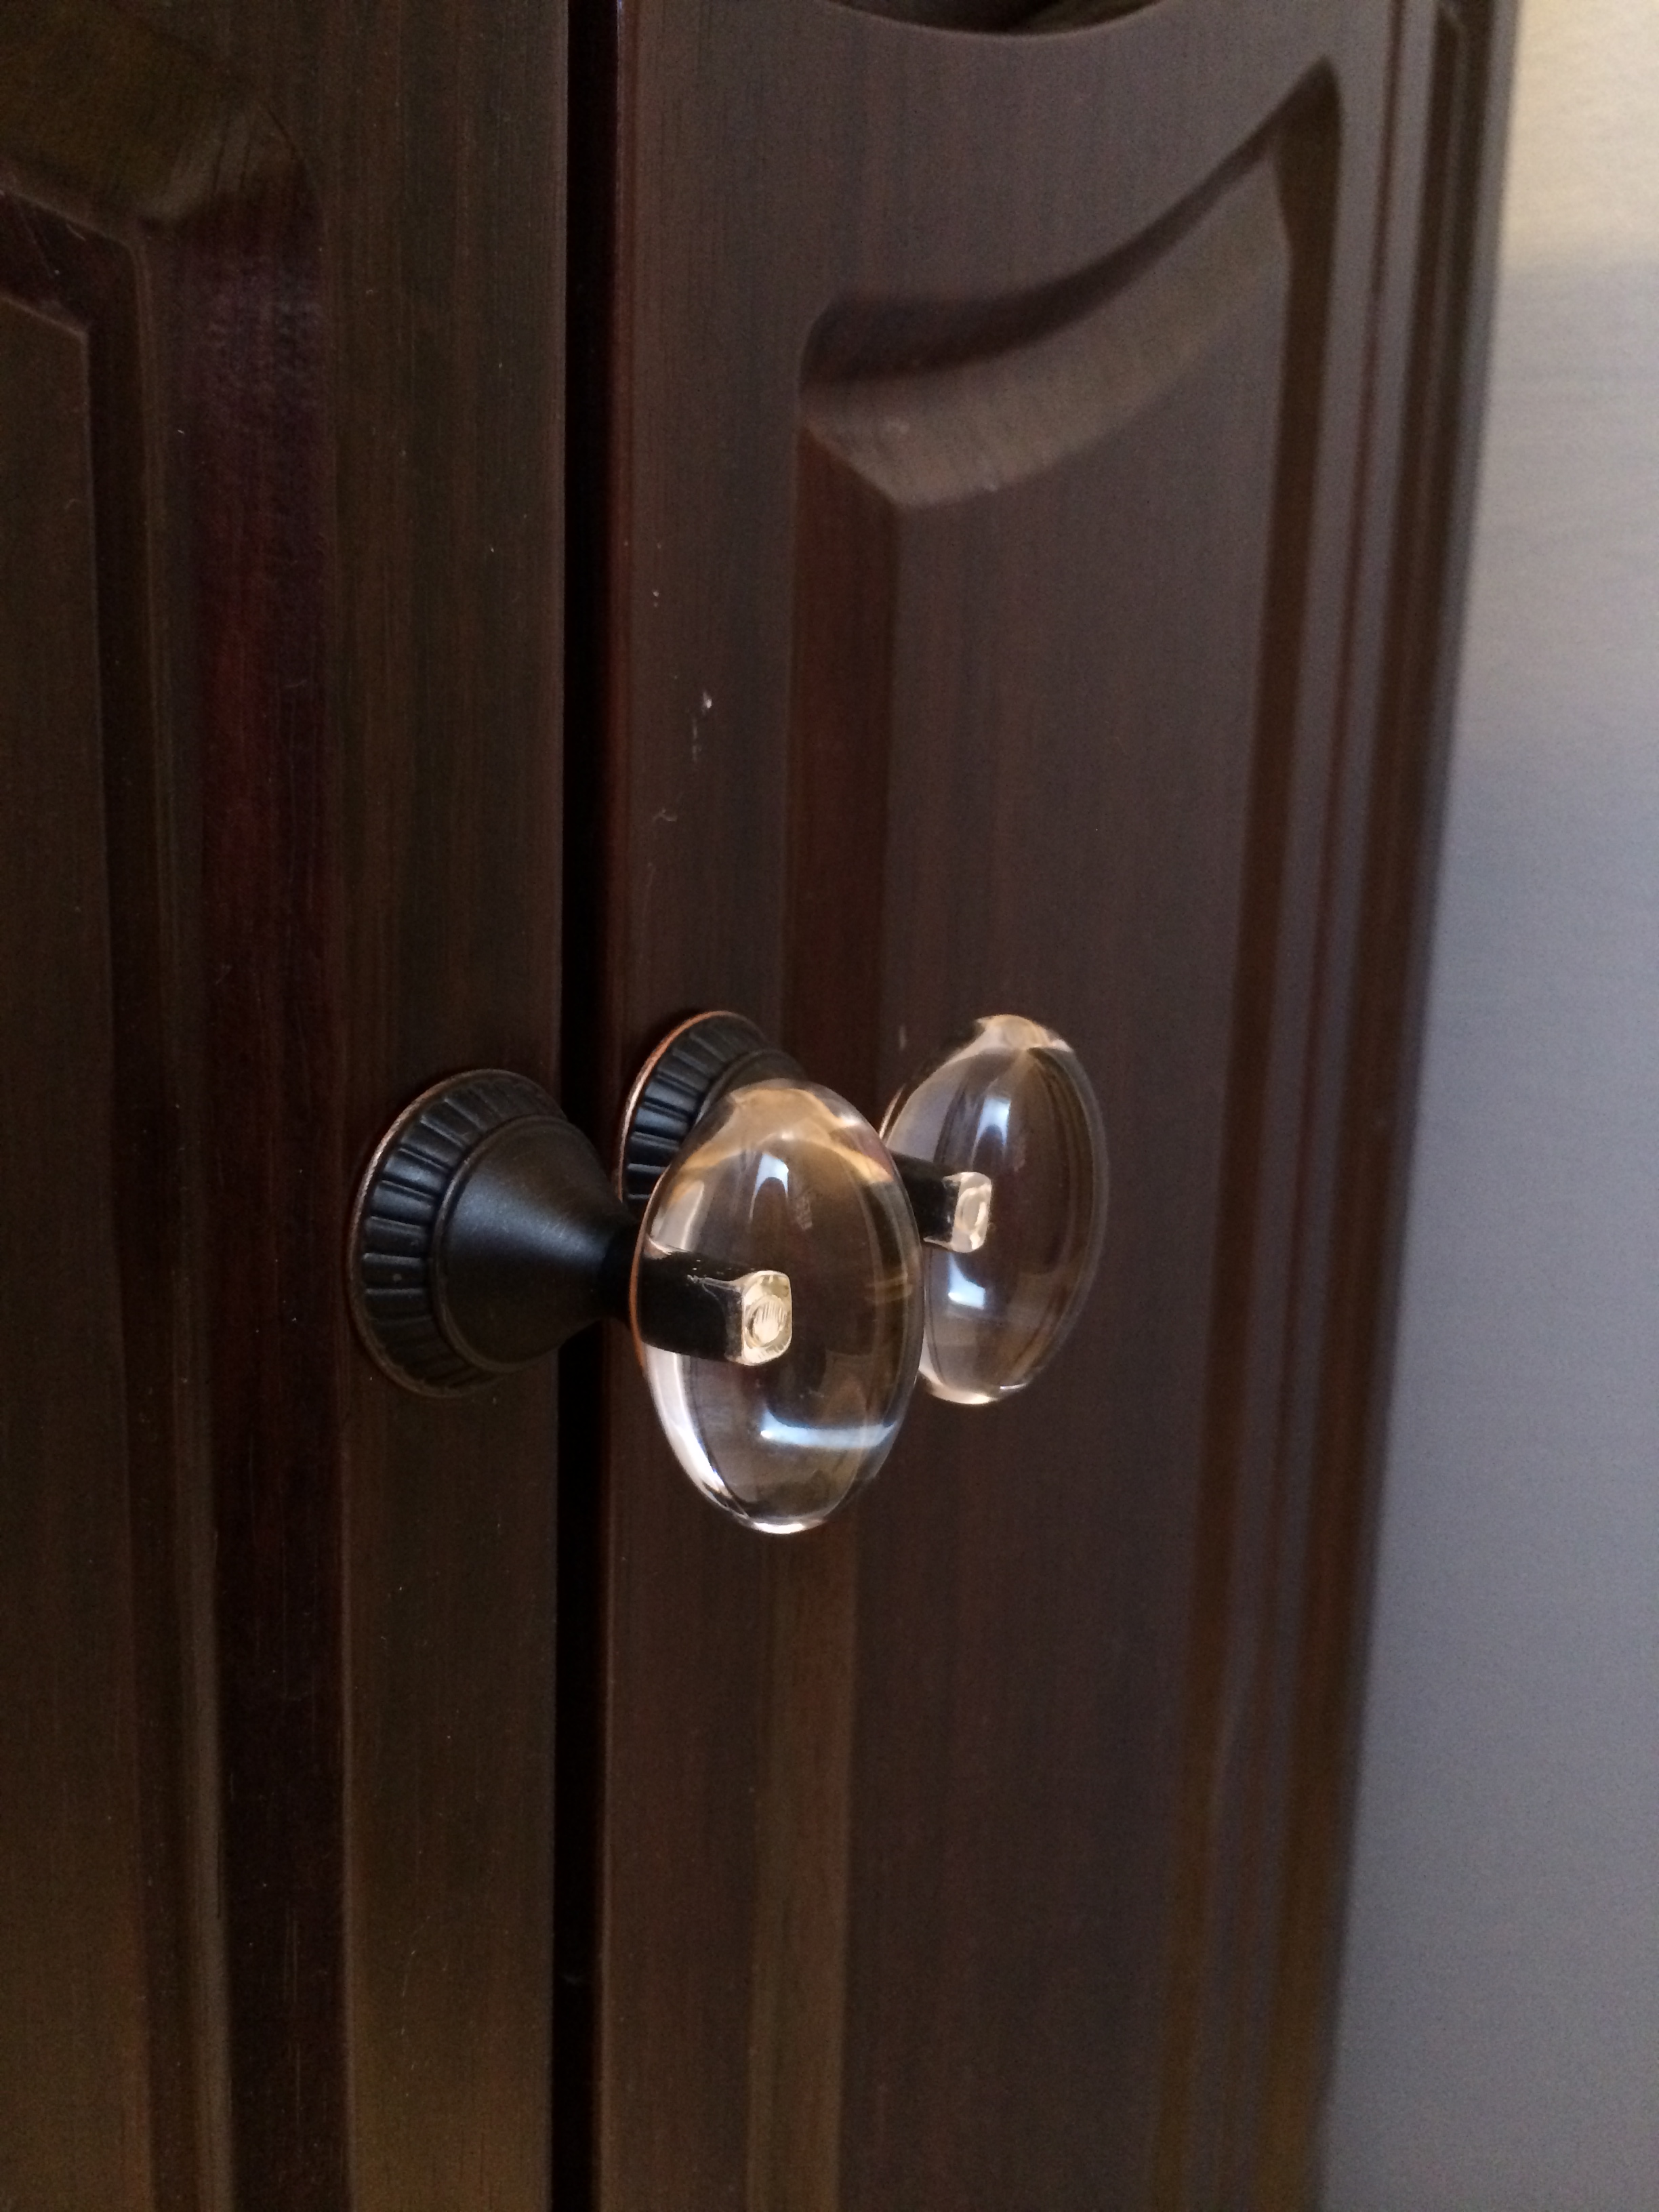
Makeover tip: When updating a space, don’t forget about the small details as well! Changing out door handles and light plates are inexpensive ways to complete your new look!
What do you think? I am so happy with it so far. And the best part is that what you see only took me 1 weekend to complete!
Any other weekend warriors out there? What’s next on your project list to tackle?


I’m loving the subtle stencil work and that mirror!
Thank you! The stencil (while time consuming) was fairly easy to do. Just make sure you are in a patient mood before you start 🙂
I like how sophisticated your make-over came out. I’m in the middle of my guest bathroom make-over right now. I’ll have to post pics soon.
Thank you! Can’t wait to see yours! What I love about bathroom makeovers is that the rooms are generally smaller so you can really make a big impact with little money 🙂
This is amazing! How did you do the wall that looks gloss with flat paint pattern?!
Thank you so much! I applied the glossy coat first to the entire wall. Then I went over the stencil in the same color in matte 🙂