Believe it or not, having a dining room was on my “must have” house hunting check list. I know, I know, this is the least used room in the house (right next to a formal living room….which was also on my must have list…). But for me, all I could think of was hosting formal dinner parties for friends, Thanksgiving celebrations, or even just a space to use for crafting get togethers with the girls! And above all, I feel so grown up by being able to say I have a “DINING ROOM”! Is it silly–yes. Does the thought of this room make me smile inside– absolutely. So, there you have it.
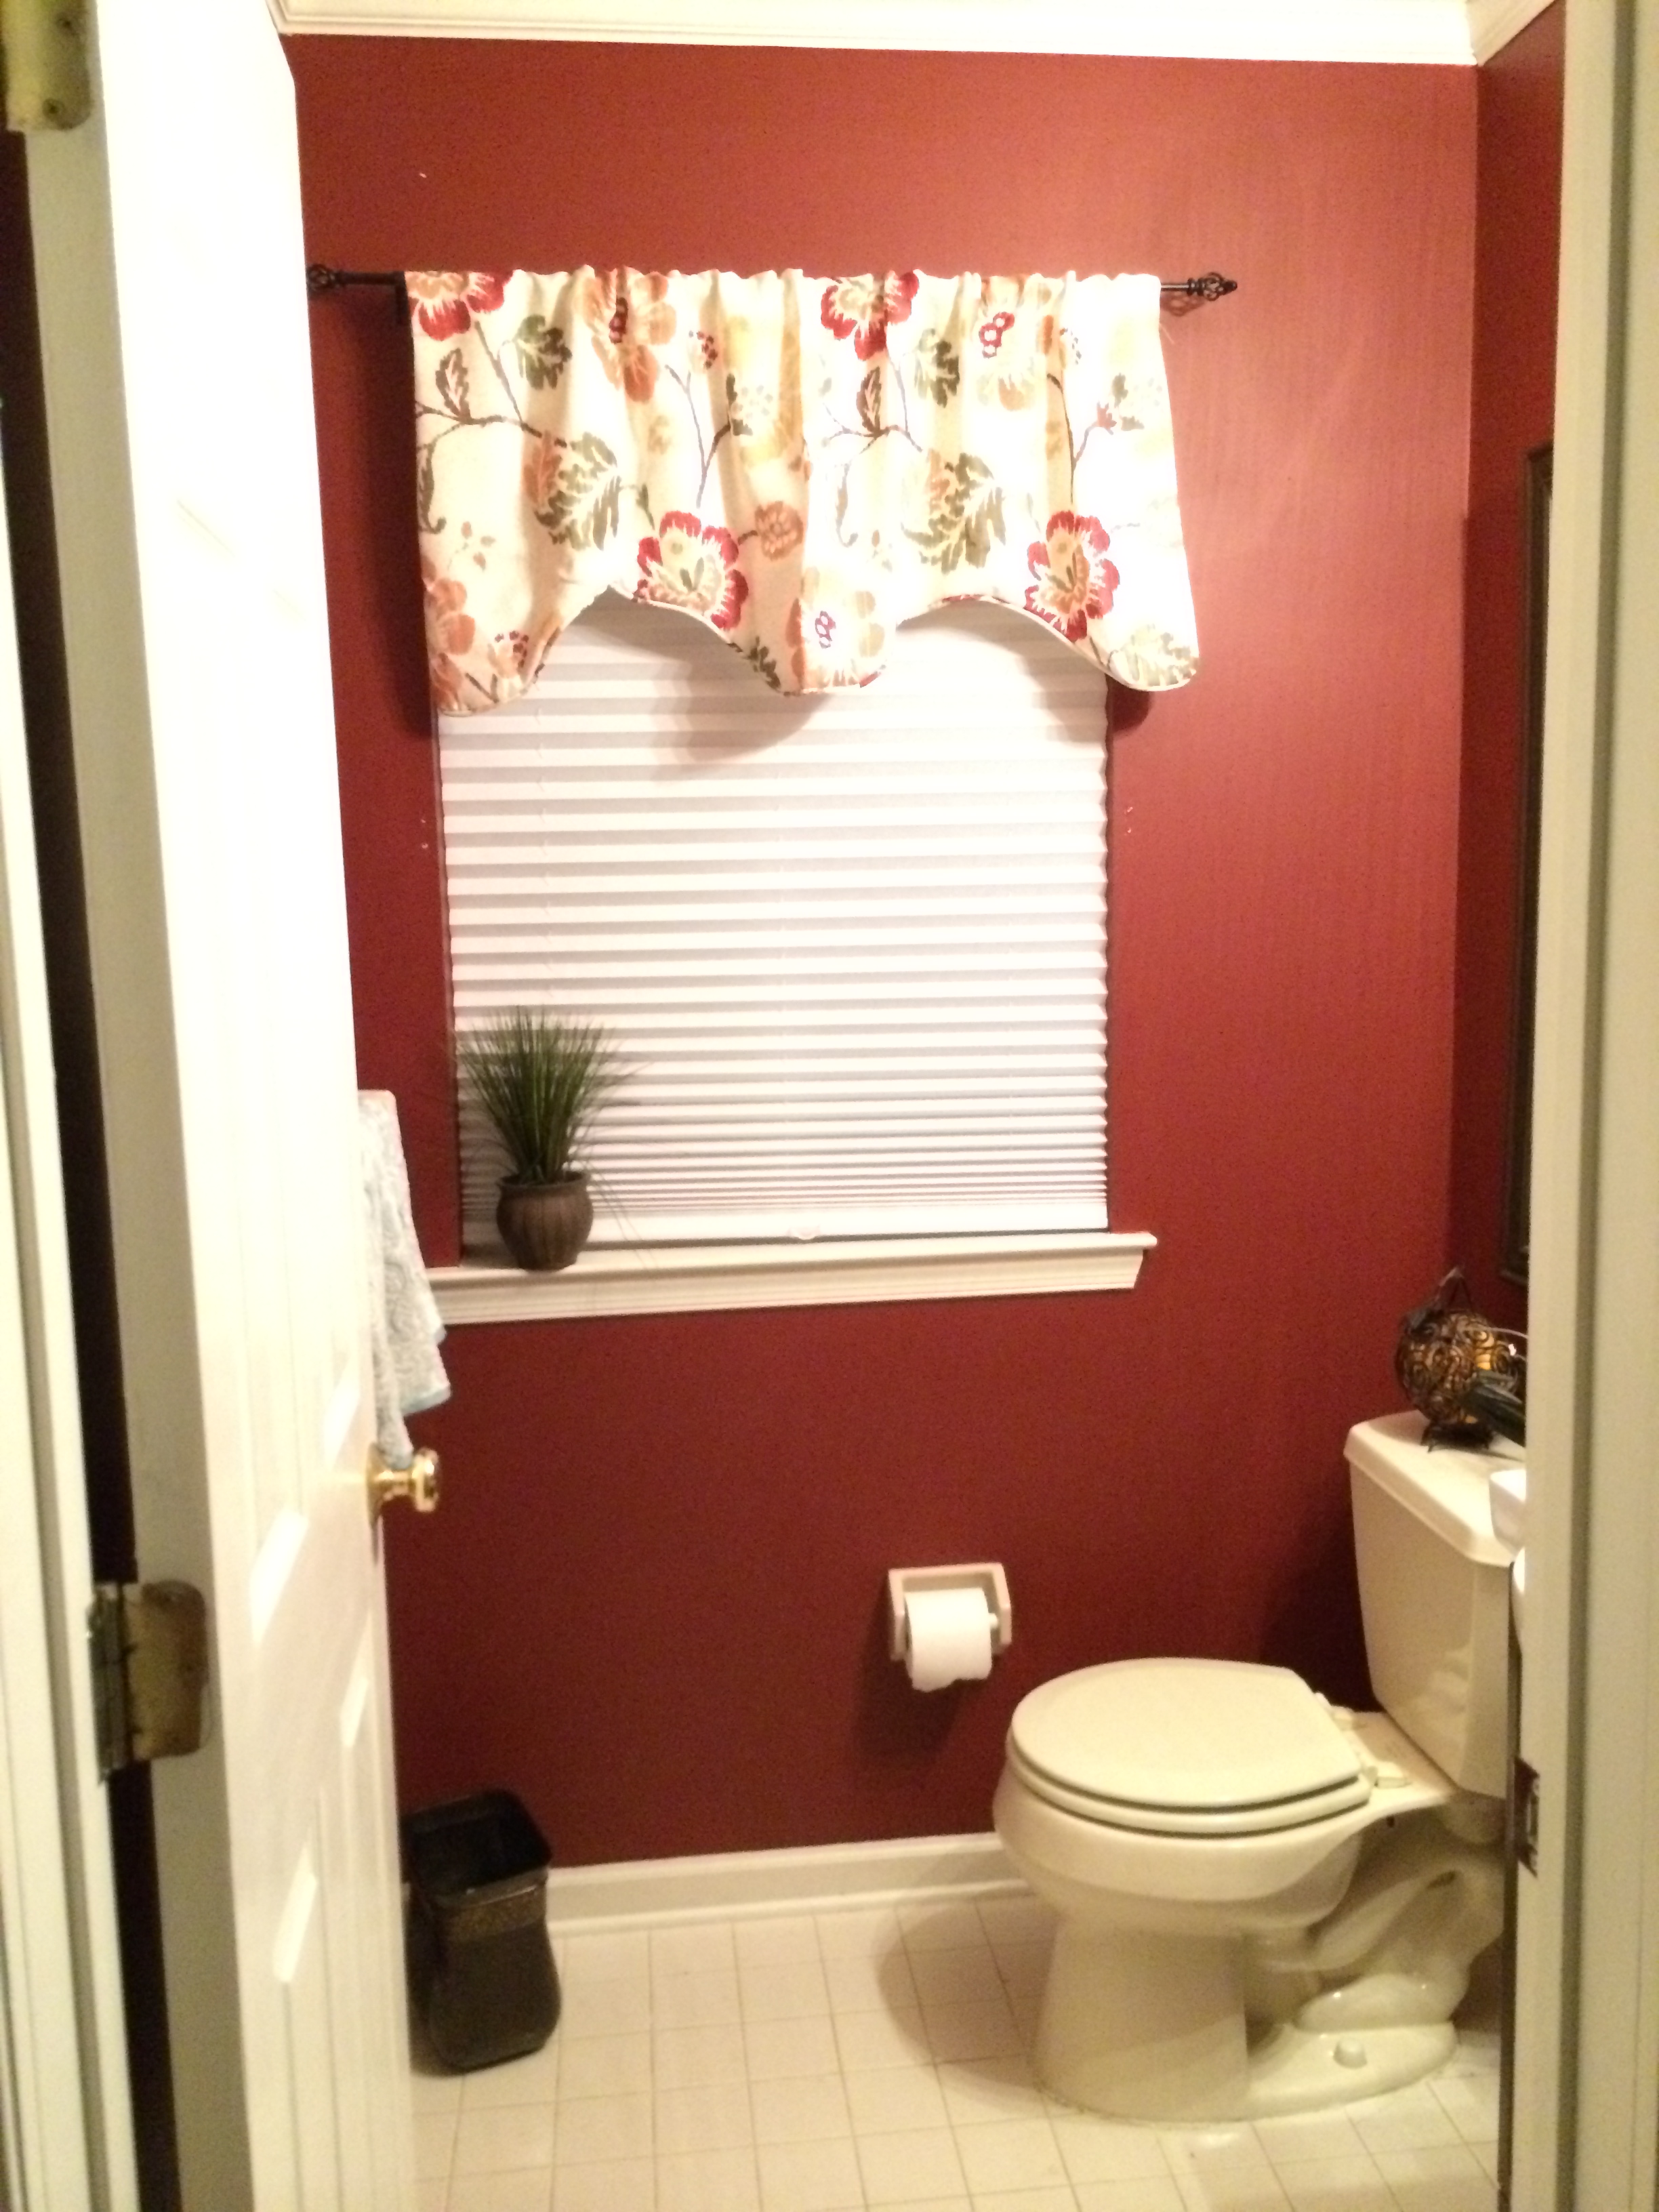
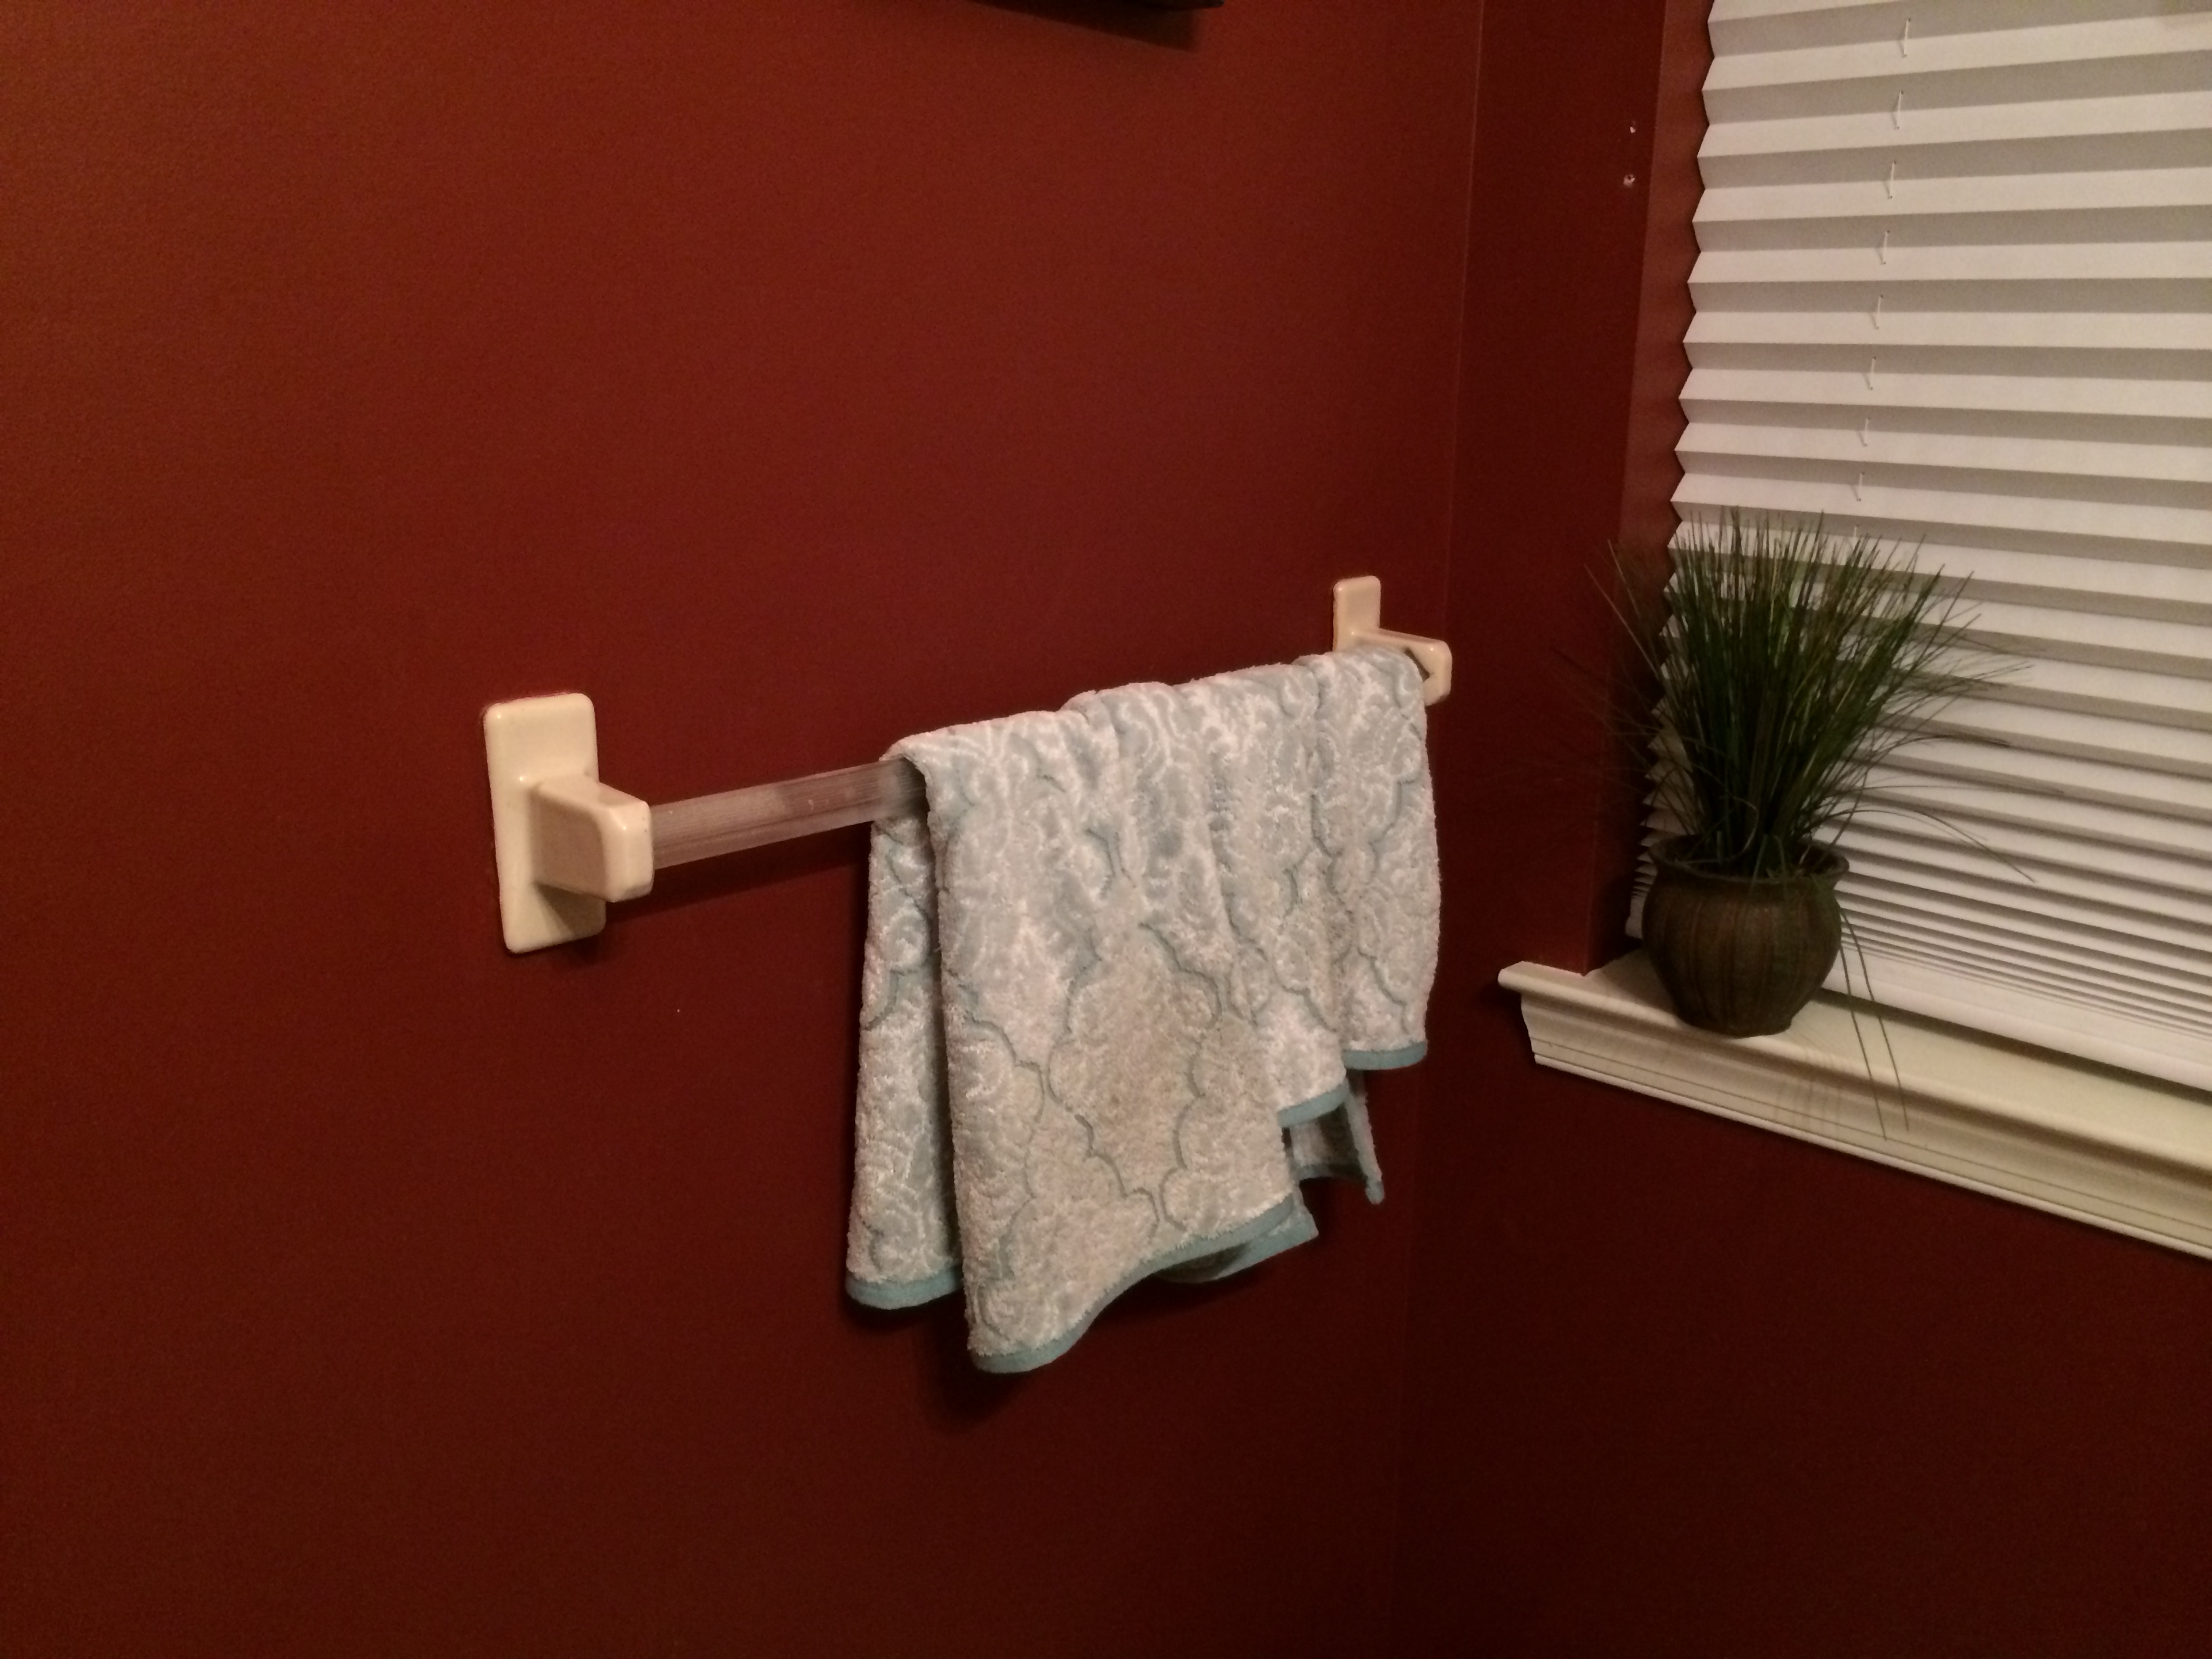
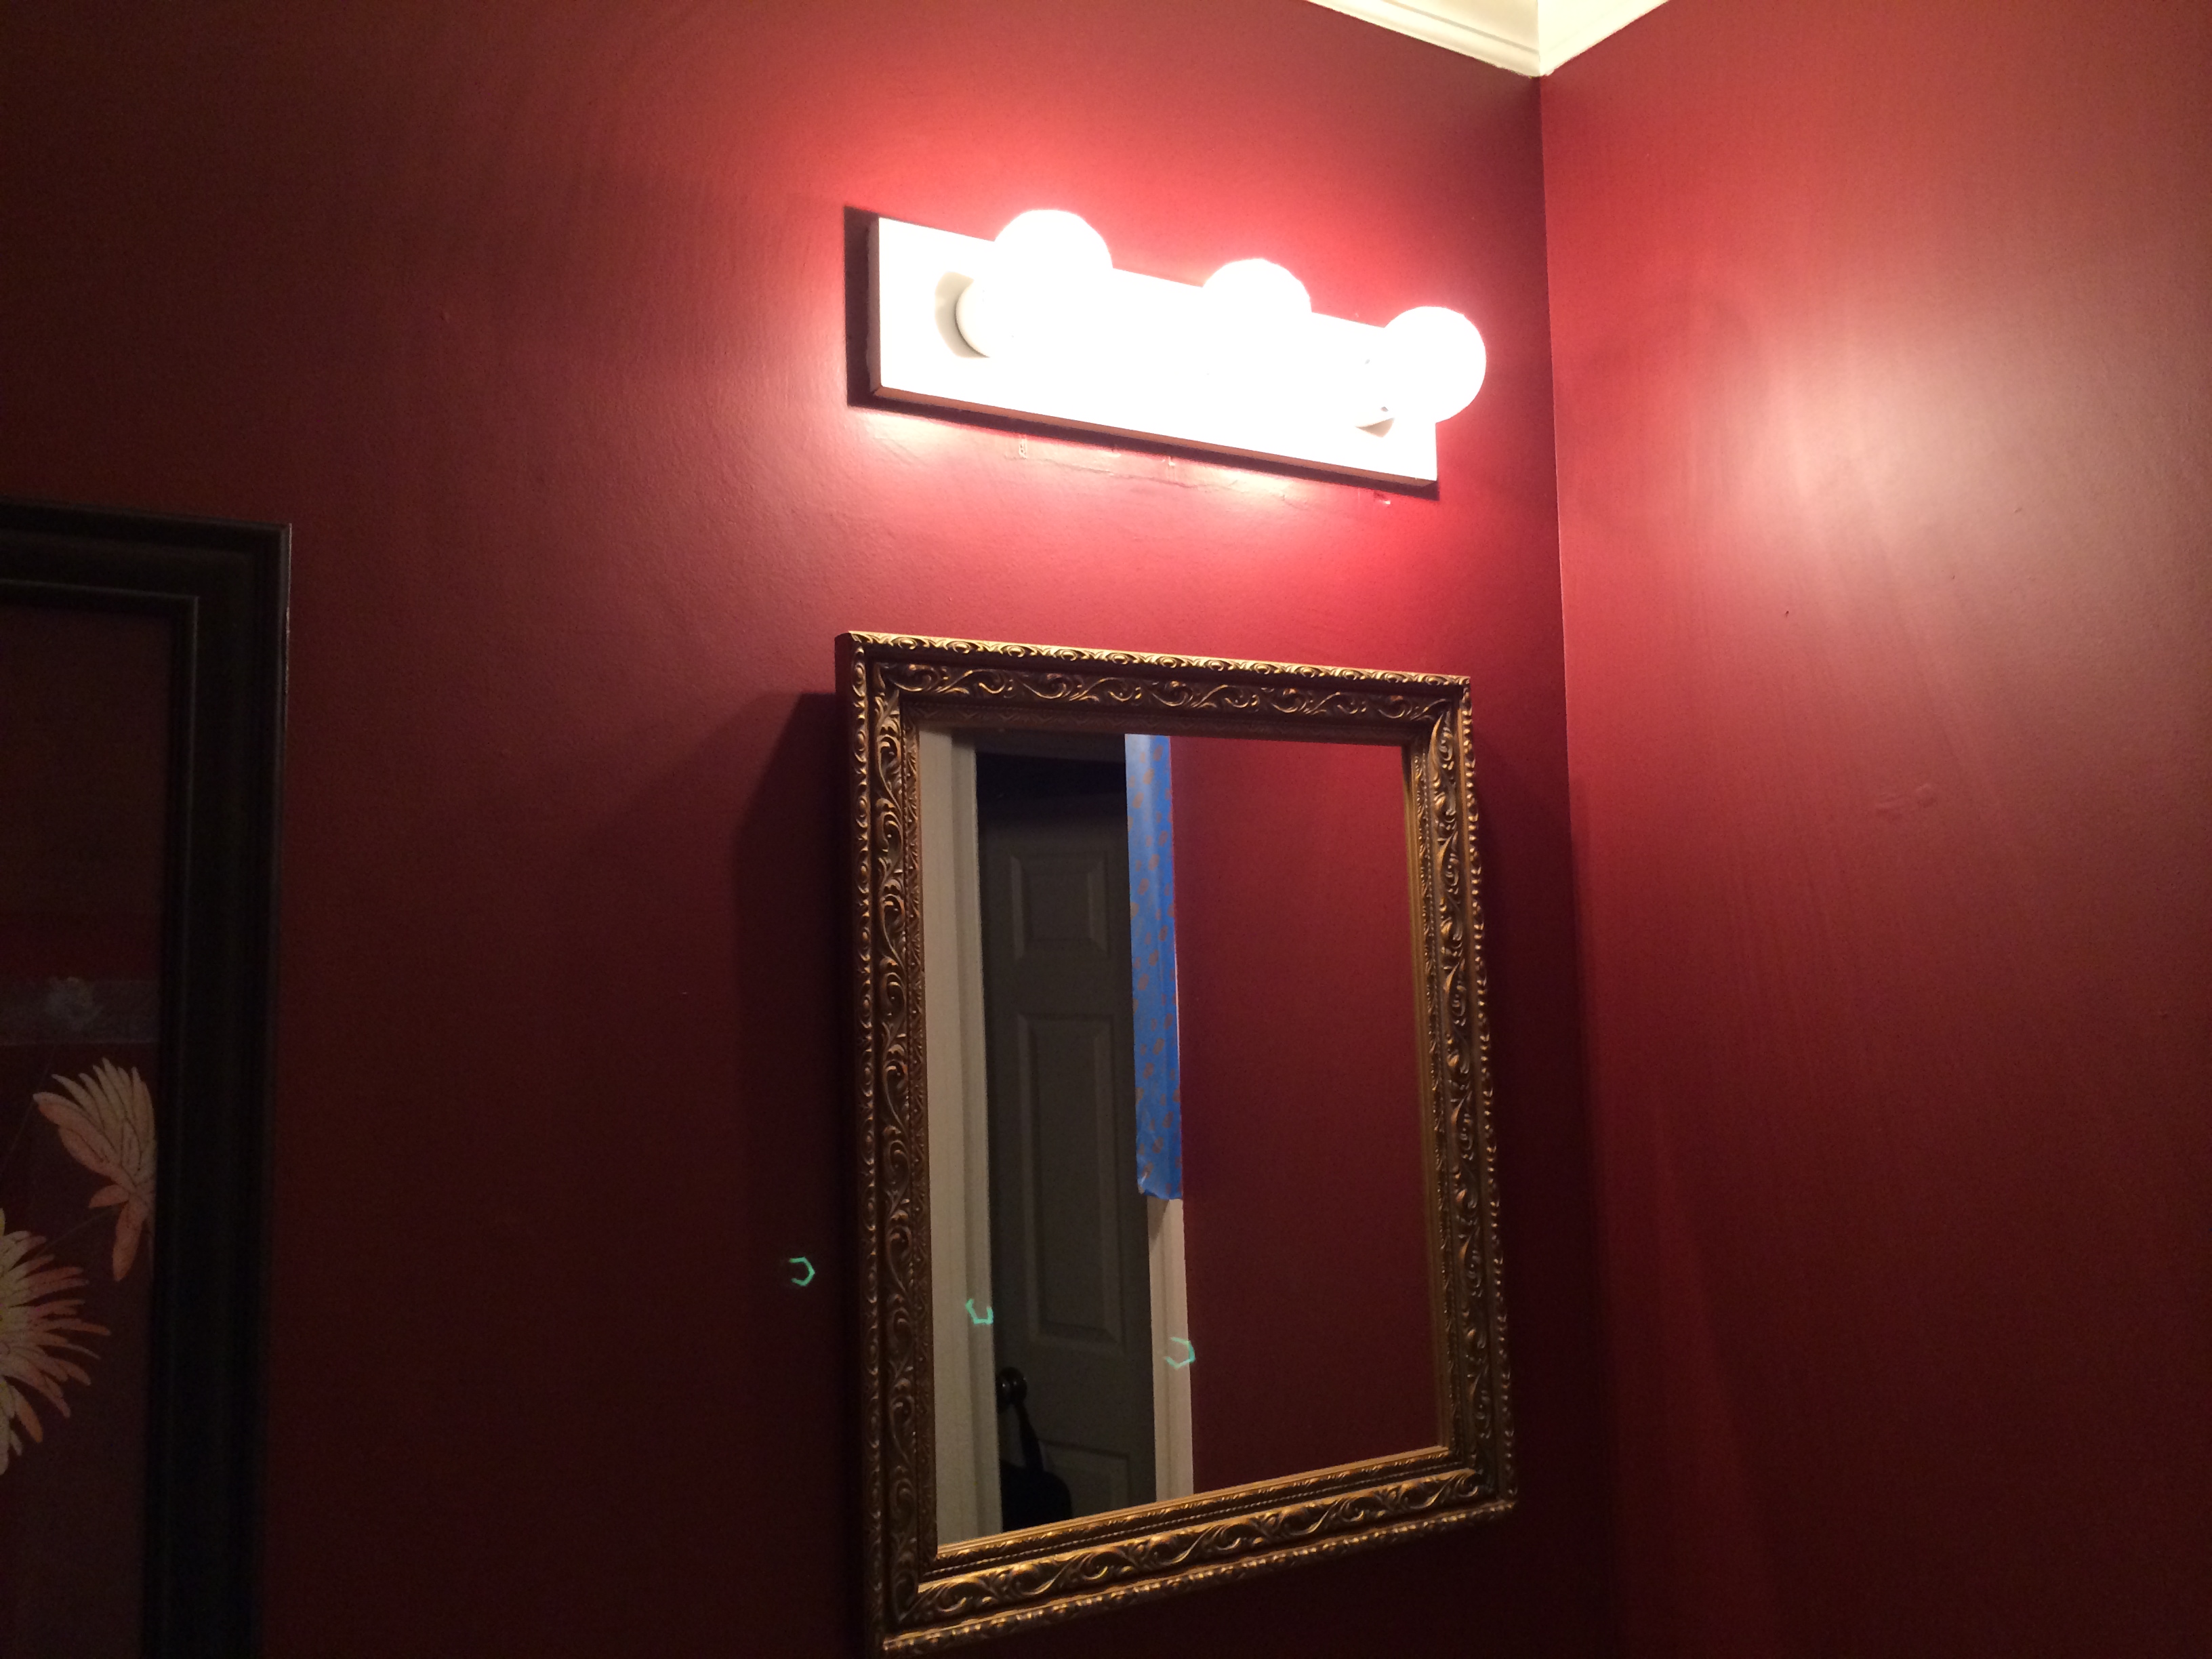
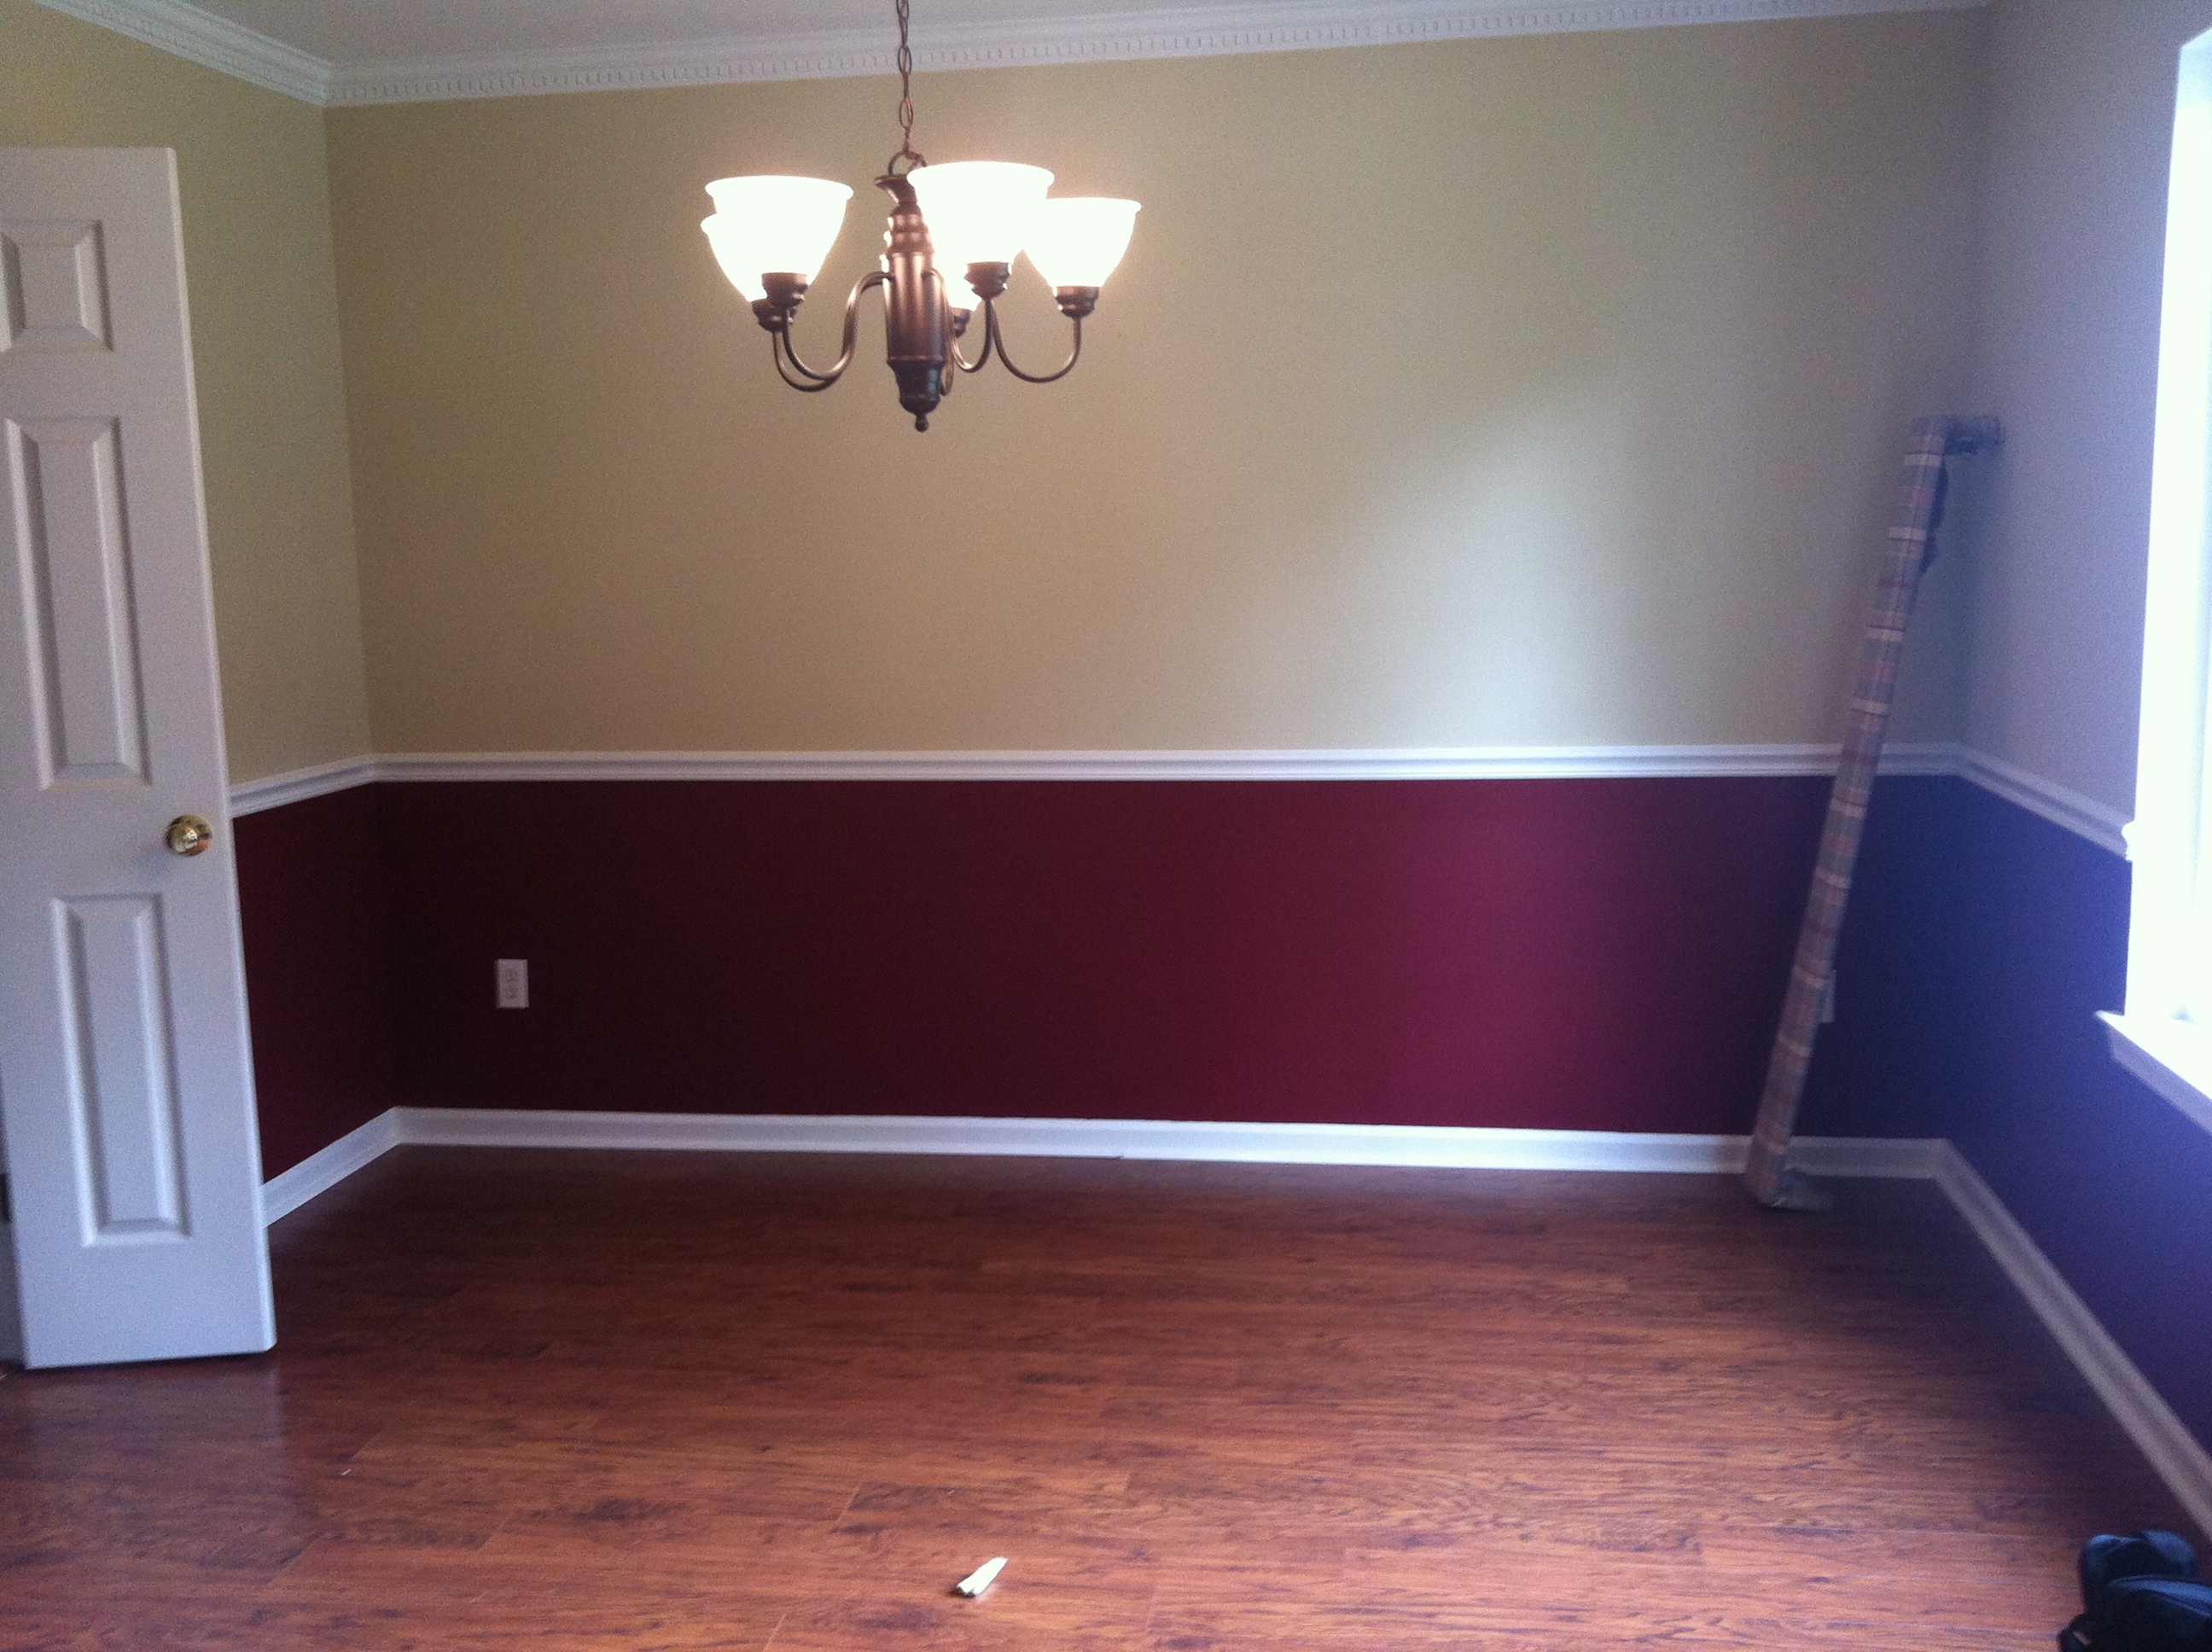
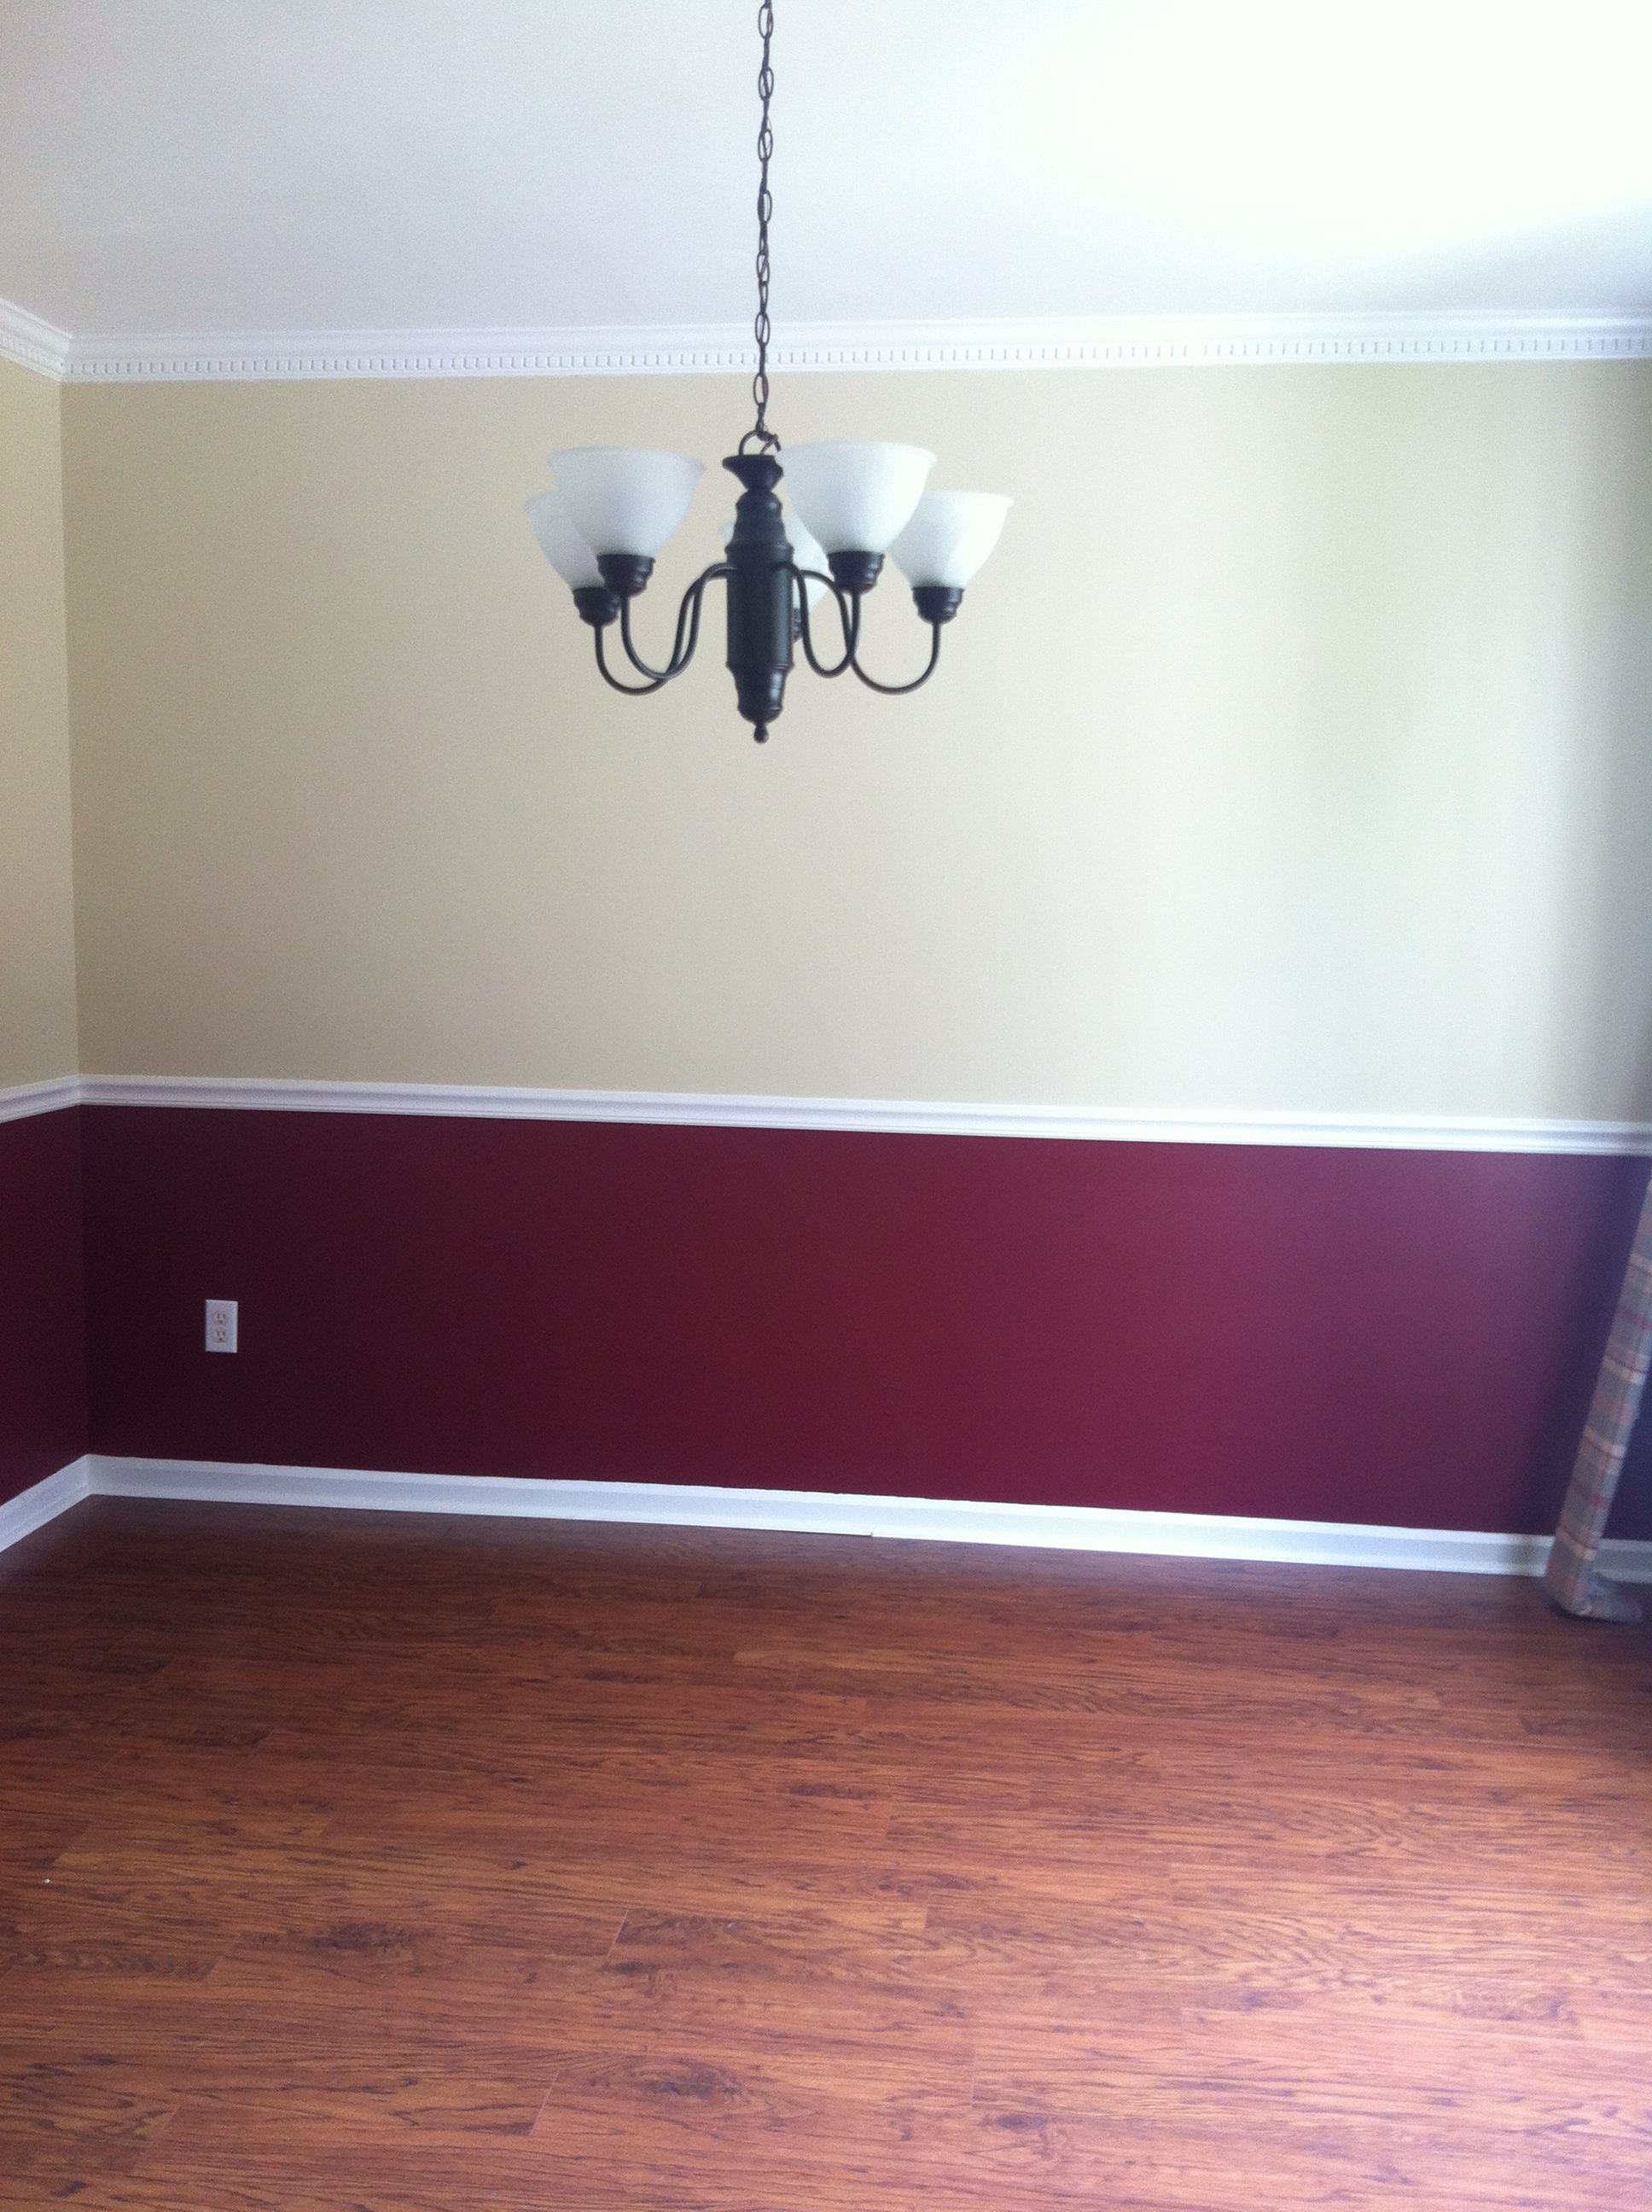
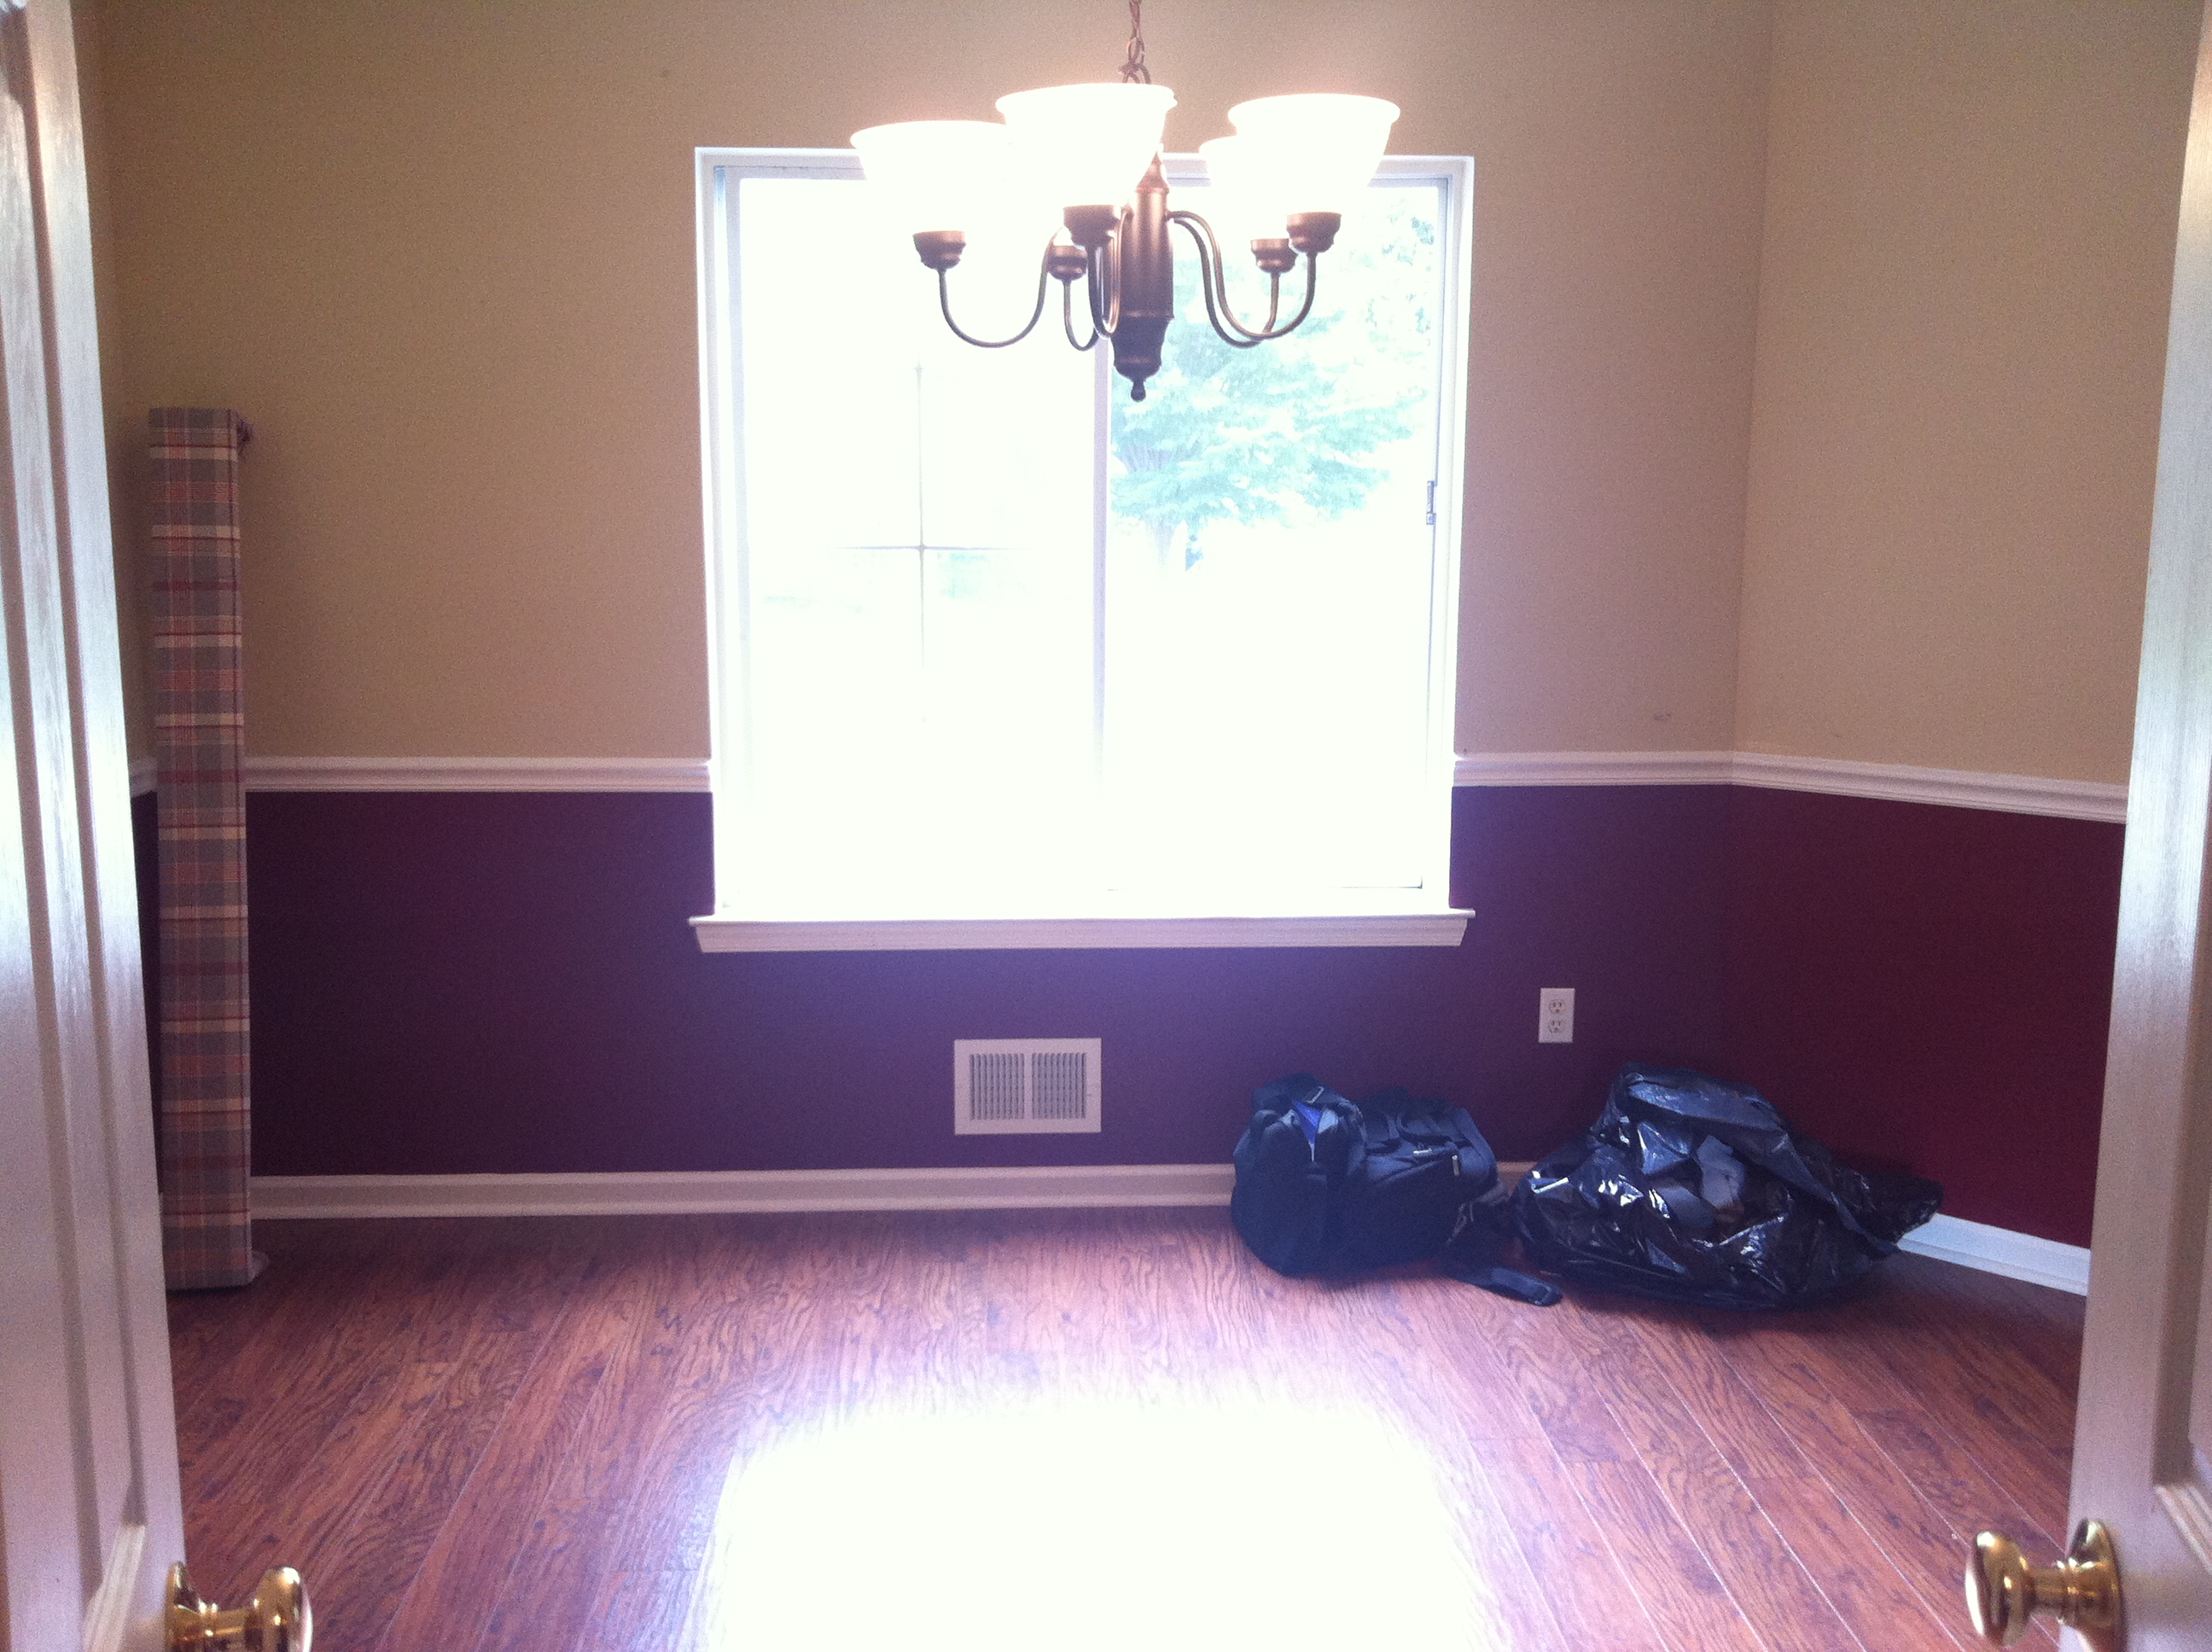
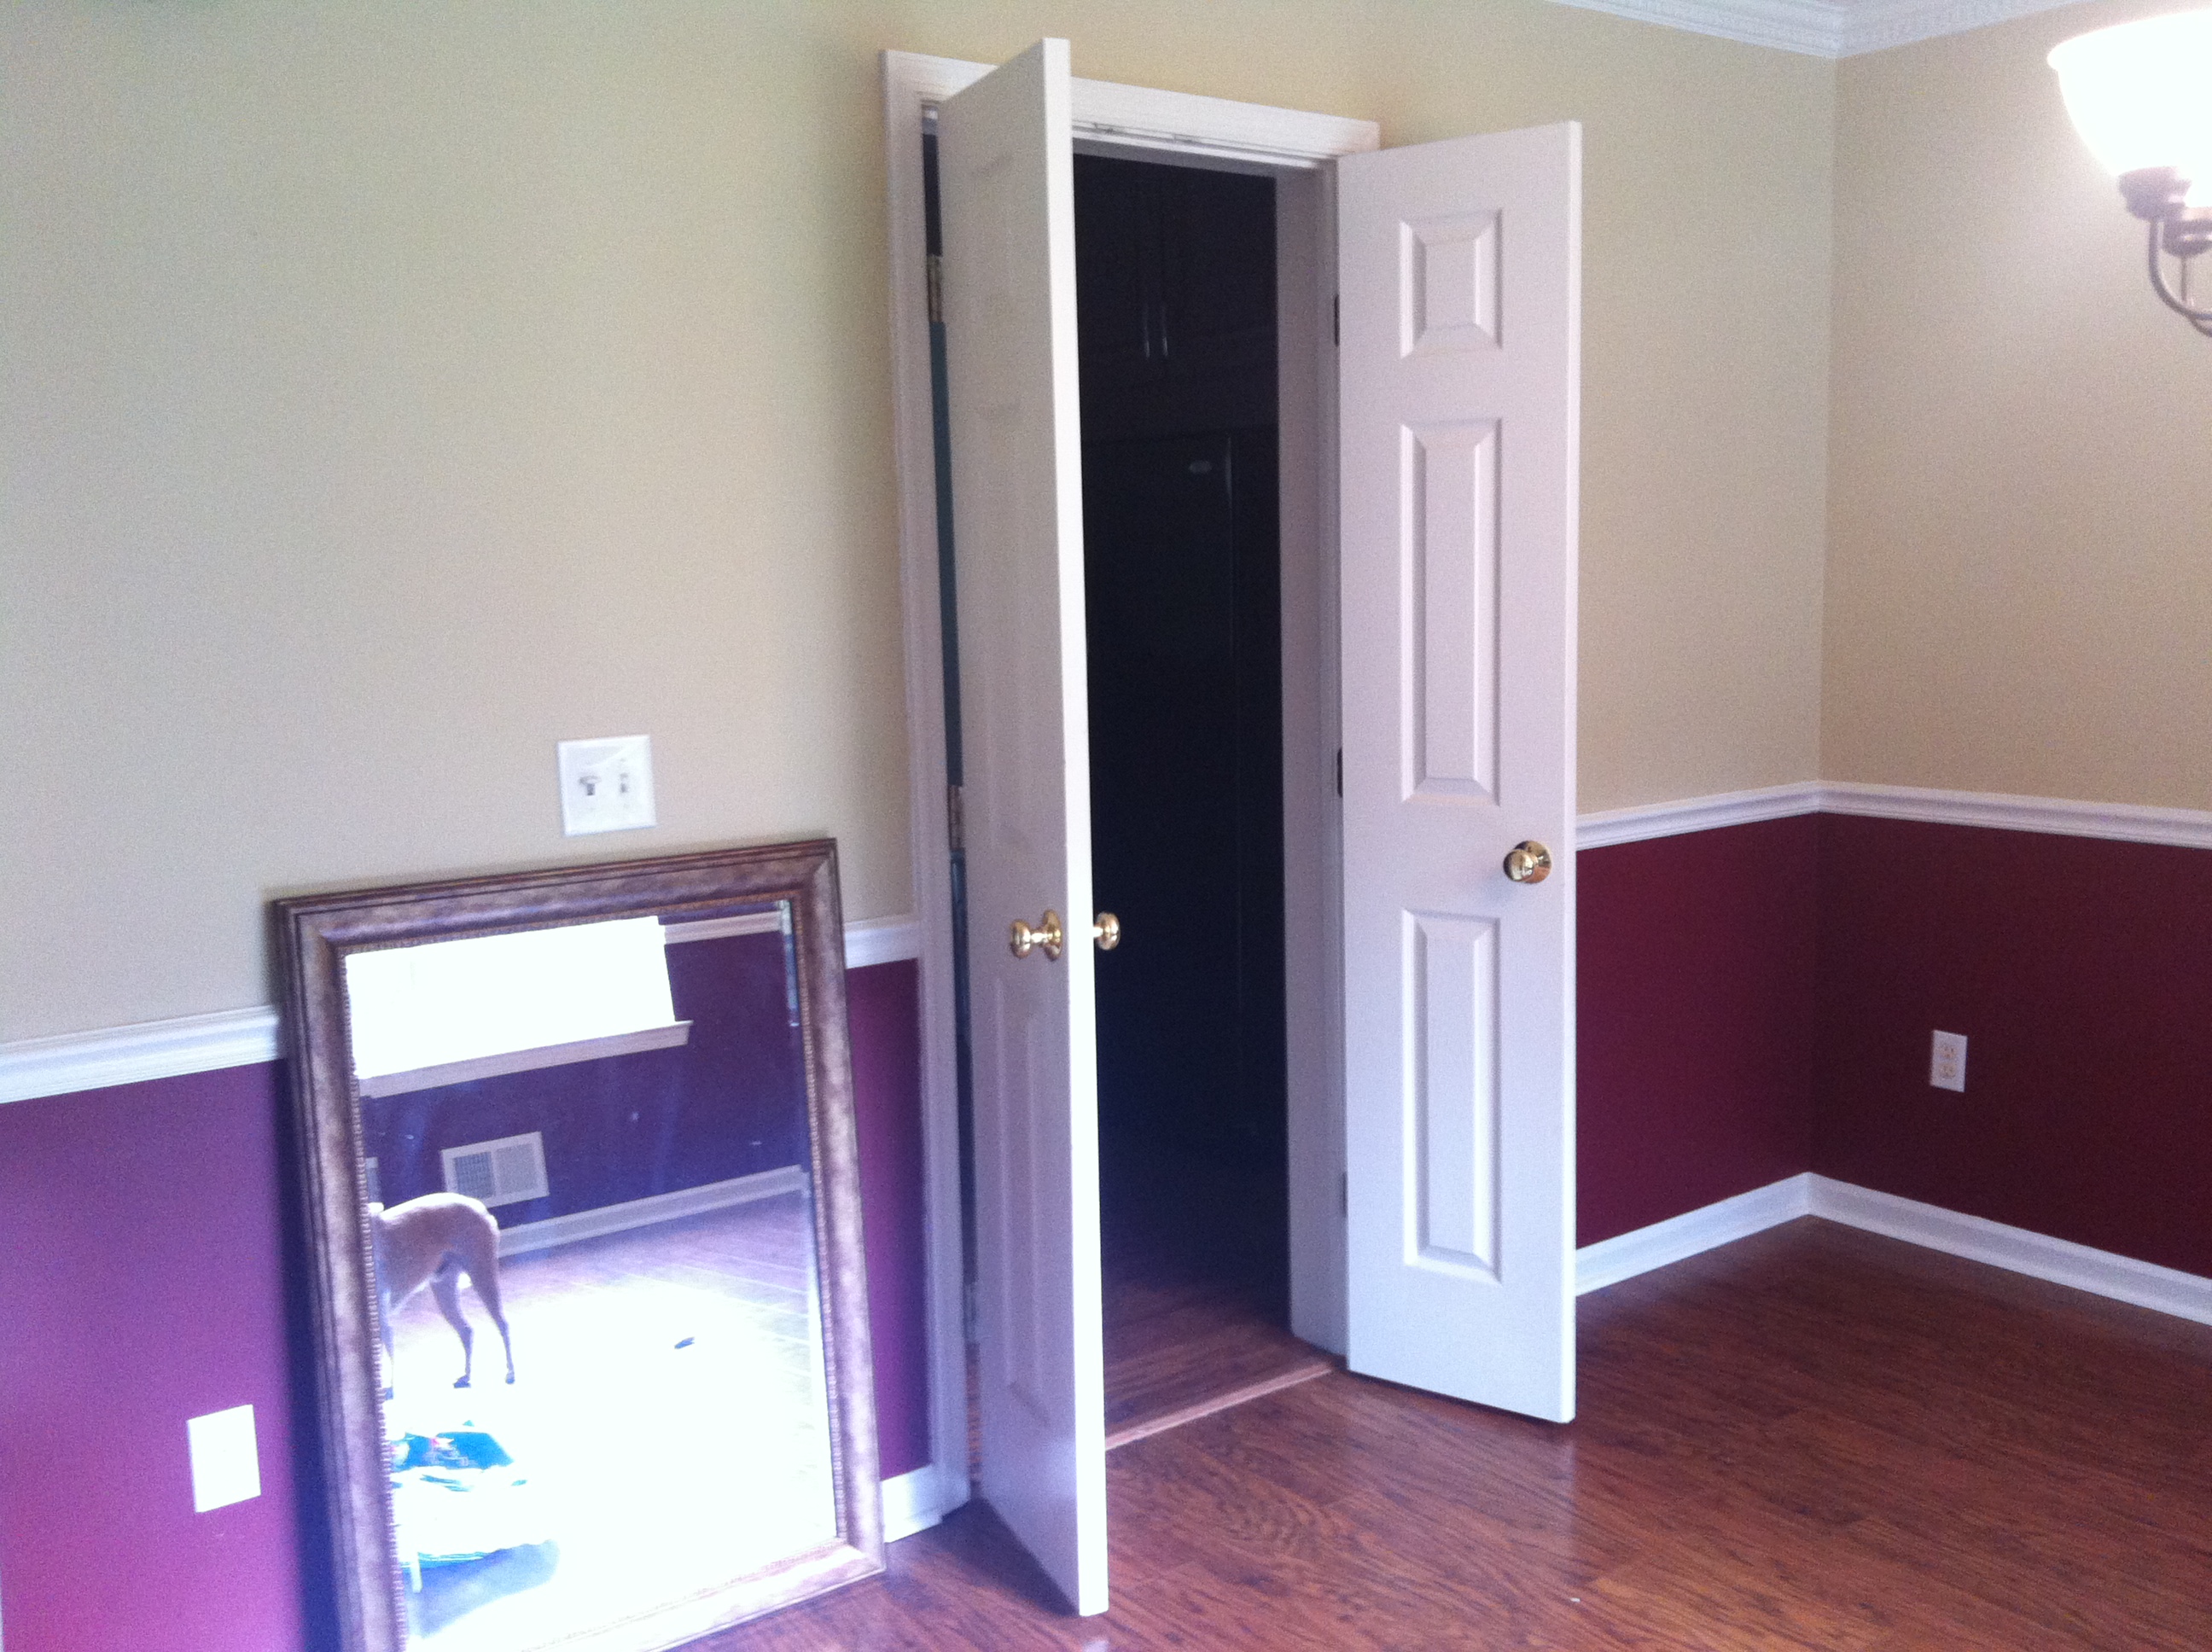
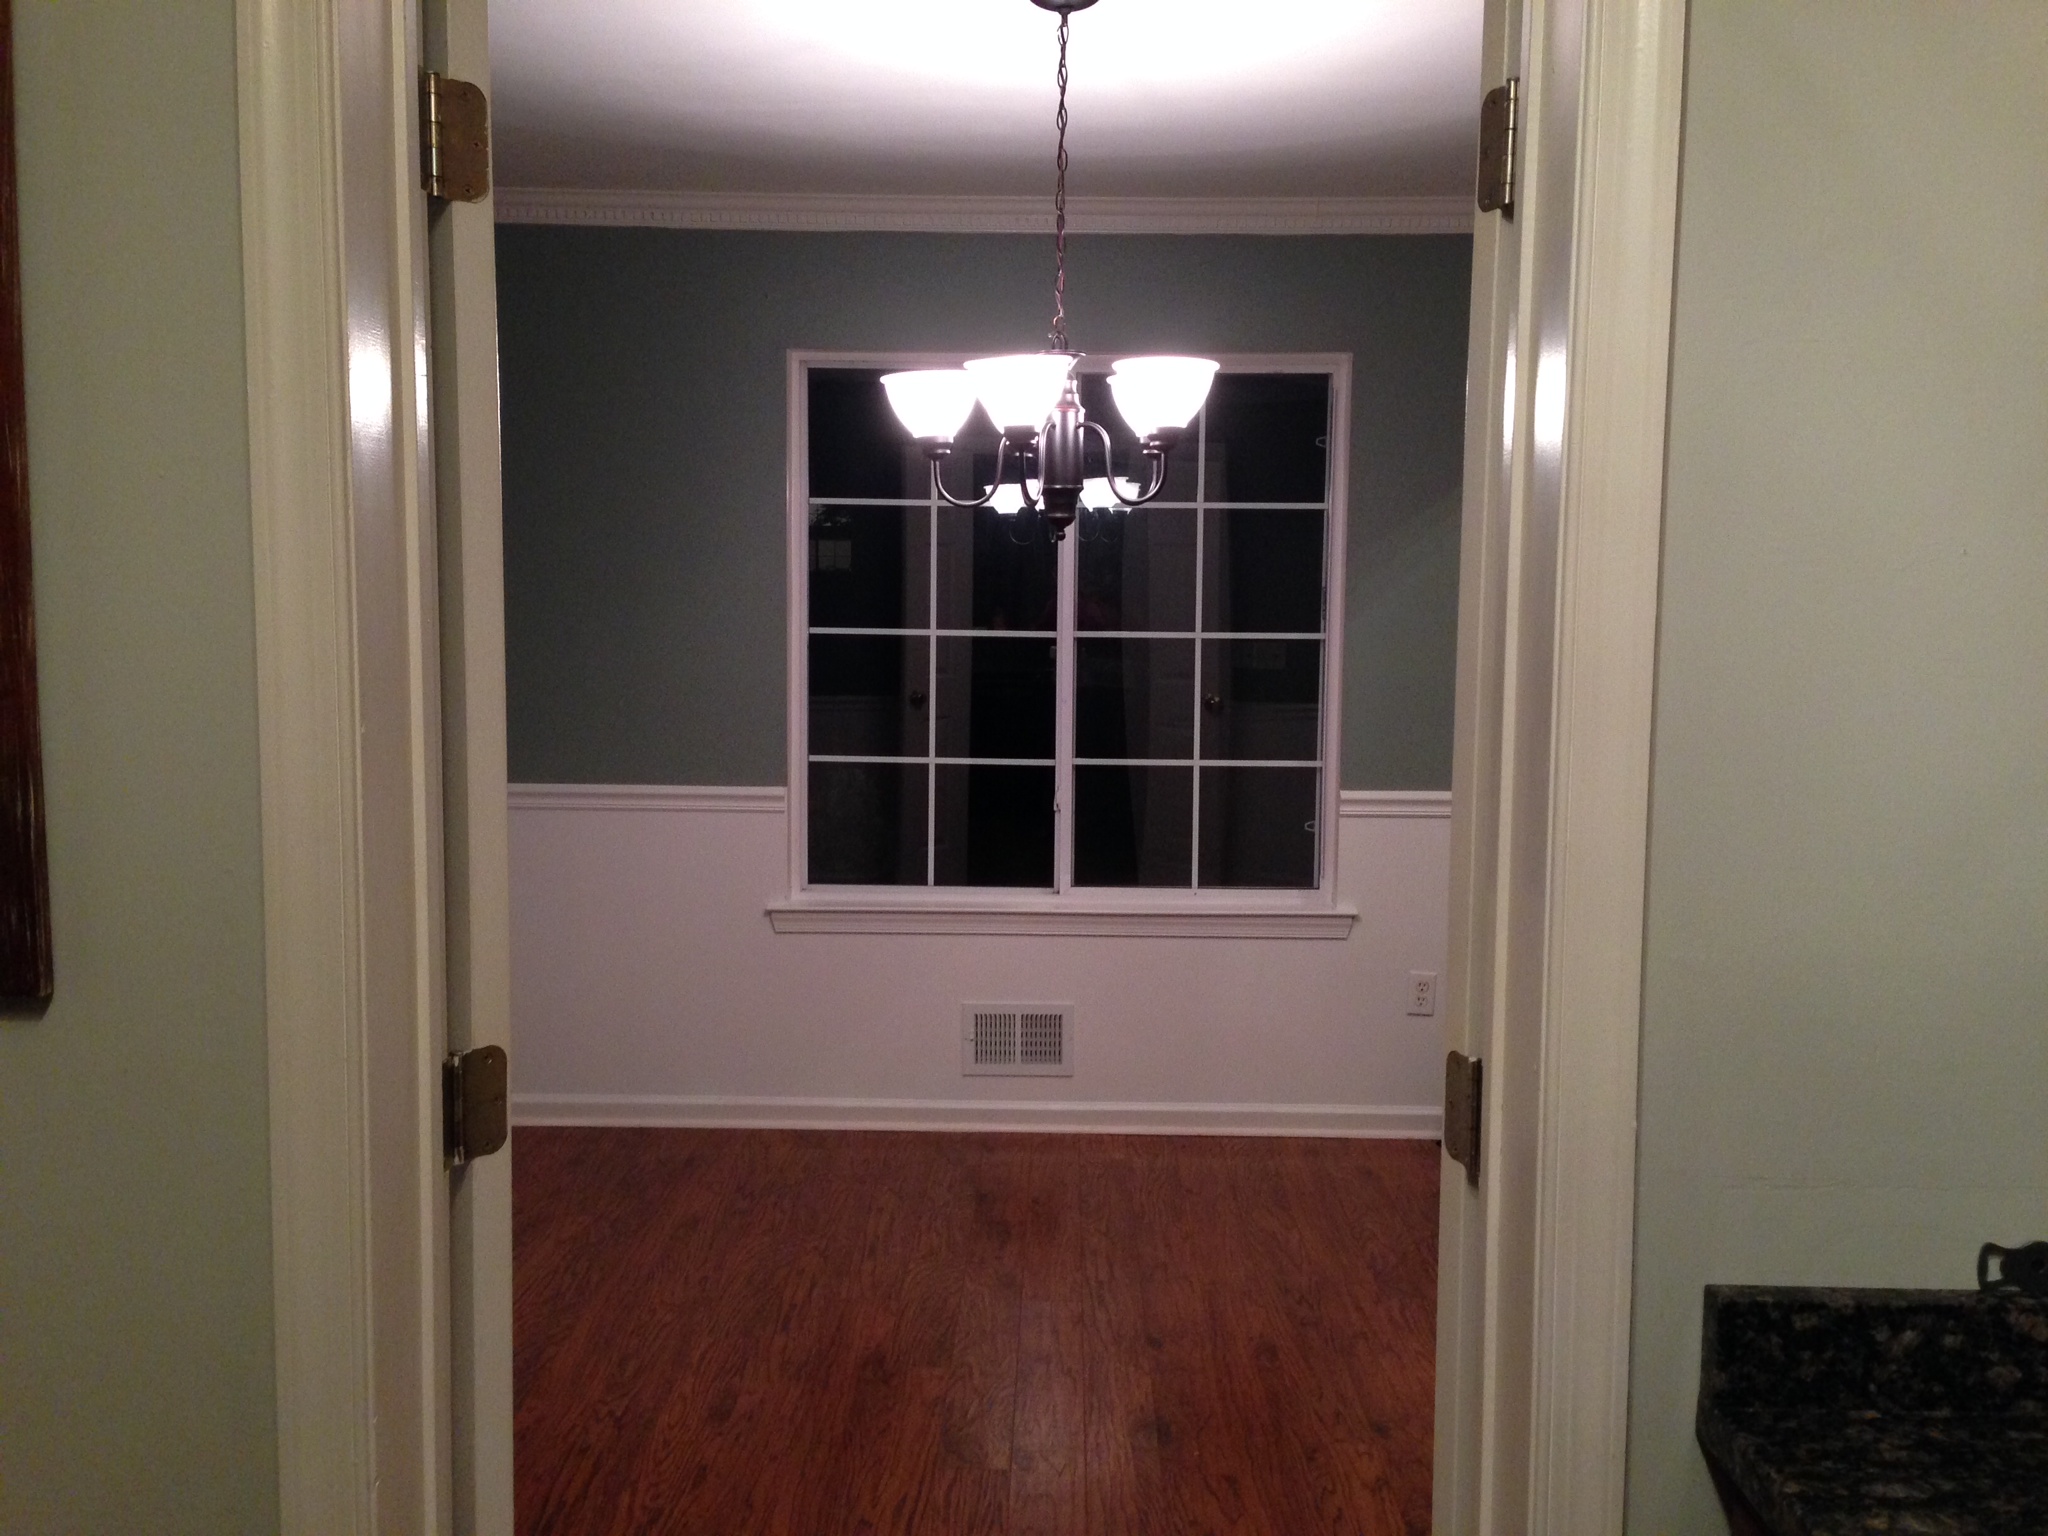
Because this is one of the first rooms you see when you enter into my foyer, I knew that I wanted to tackle this space immediately. Below are a few photos of what it looked like when we first moved in:


Not terrible. The bones were definitely there:
- The floors were in great shape and a nice color
- The chair rail and crown molding were already installed
- The room got a lot of light due to the bright front window
All this room needed was a little paint and some creativity!
Whenever I start designing a new space, I like to work off of a piece of inspiration. This inspiration can come from a movie I saw, a room I saw on pinterest, or simply a fabulous pillow I found at HomeGoods! What’s great about using a piece of inspiration is that it helps you to streamline your thoughts and focus on what you really want the space to evolve into. You know you want the room to be “pretty”, but what does that really mean?
For my dining room, my inspiration came from makeovers done by fellow bloggers:
 Photo coutesey of houseofhydrangeas.com
 Photo courtesy of makeupalley.com
I knew I loved the spaces above, but exactly what was I trying to convey in my space and how would I get there?
The easiest way to use inspiration, especially when in the form of a photo, is simply to copy. If you are new to decorating or just love everything in your inspiration space already, then go ahead– go out and try to recreate the room piece by piece. If you can’t find the exact pieces, follow the same furniture lines or curtain patterns and you’re sure to be successful in your design.
However, if you’re like me and you want to put your own spin on an idea and make it truly your own, then follow my 3 Inspiration to Imitation Guidelines:
- Hue
-
Mood
- Elements
Let’s look at them each in a bit more detail.
1. Hue– I use the word “hue” instead of “color” on purpose. You don’t always need to copy the exact colors in your inspiration to have the same feel in the room so avoid using specific colors to describe the hugh of the room. Don’t get me wrong, sometimes you’ll want to find that same wall color because it’s sooo right (as you’ll see I did below), but it’s not always necessary.
In my inspiration photos, what really spoke to me about the hue was the fact that the room was light and airy. I knew I wanted to focus on flowing fabrics and cool neutral tones.
2. Mood- When evaluating the mood you want to create, ask yourself “how does my inspiration piece make me feel?” Do you feel vibrant? Do you feel welcomed? Do you feel serious? Do you feel playful? Make sure it’s a feeling you want because chance are if you feel that way, your guests will too!
For me, my inspiration piece feels both elegant and casual. It is well put together but not overly thought out. I don’t feel uninvited to the party as I would in something perhaps a bit more formal. But I also don’t feel that I would want to crash in the room with my sweat pants on!
3. Elements- Once you figure out the mood, you need to identify what elements make you feel that way. If you’re using a pillow, maybe it’s the fabric or the shape. If your inspiration is a place, perhaps it’s the vibe of the city. This is where you can start to get specific.
The mood I felt from the photos was casual elegance. Some of the elegant elements I love are the wainscoting in both photos and the fabric chairs in the second, while the casual elements include the light window treatments instead of heavy drapery and the use of a wooden farmhouse table rather than glass. I also love that neither blogger chose to go with a traditional crystal chandelier.
Now you’re ready to identify what you want to keep from your inspiration, what you want to change, and what you want to add to the space.
In my design, I want to keep the wall color, the white molding, and the fabric chairs. However, I want to change the curtains to something with a more floral print and will not be using a china cabinet. To really make it my own I would love to add a bit of shimmer through my accessories.
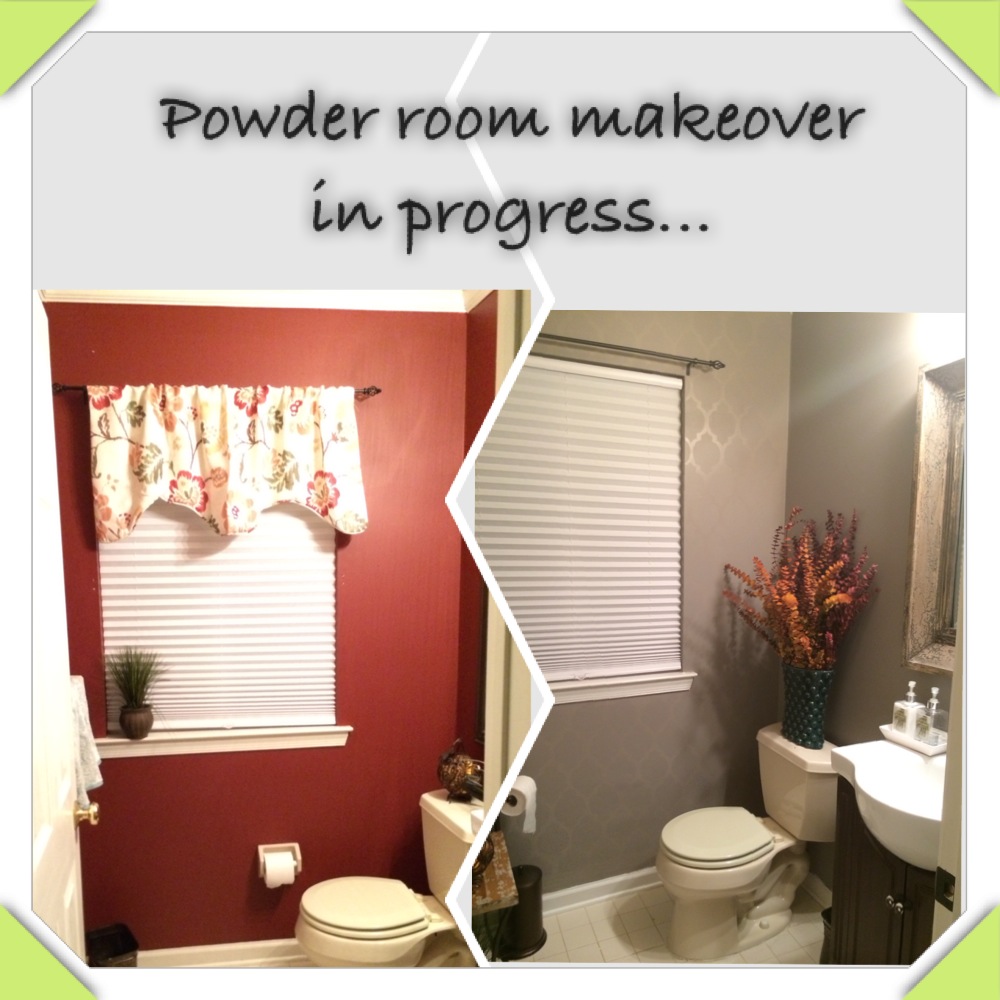
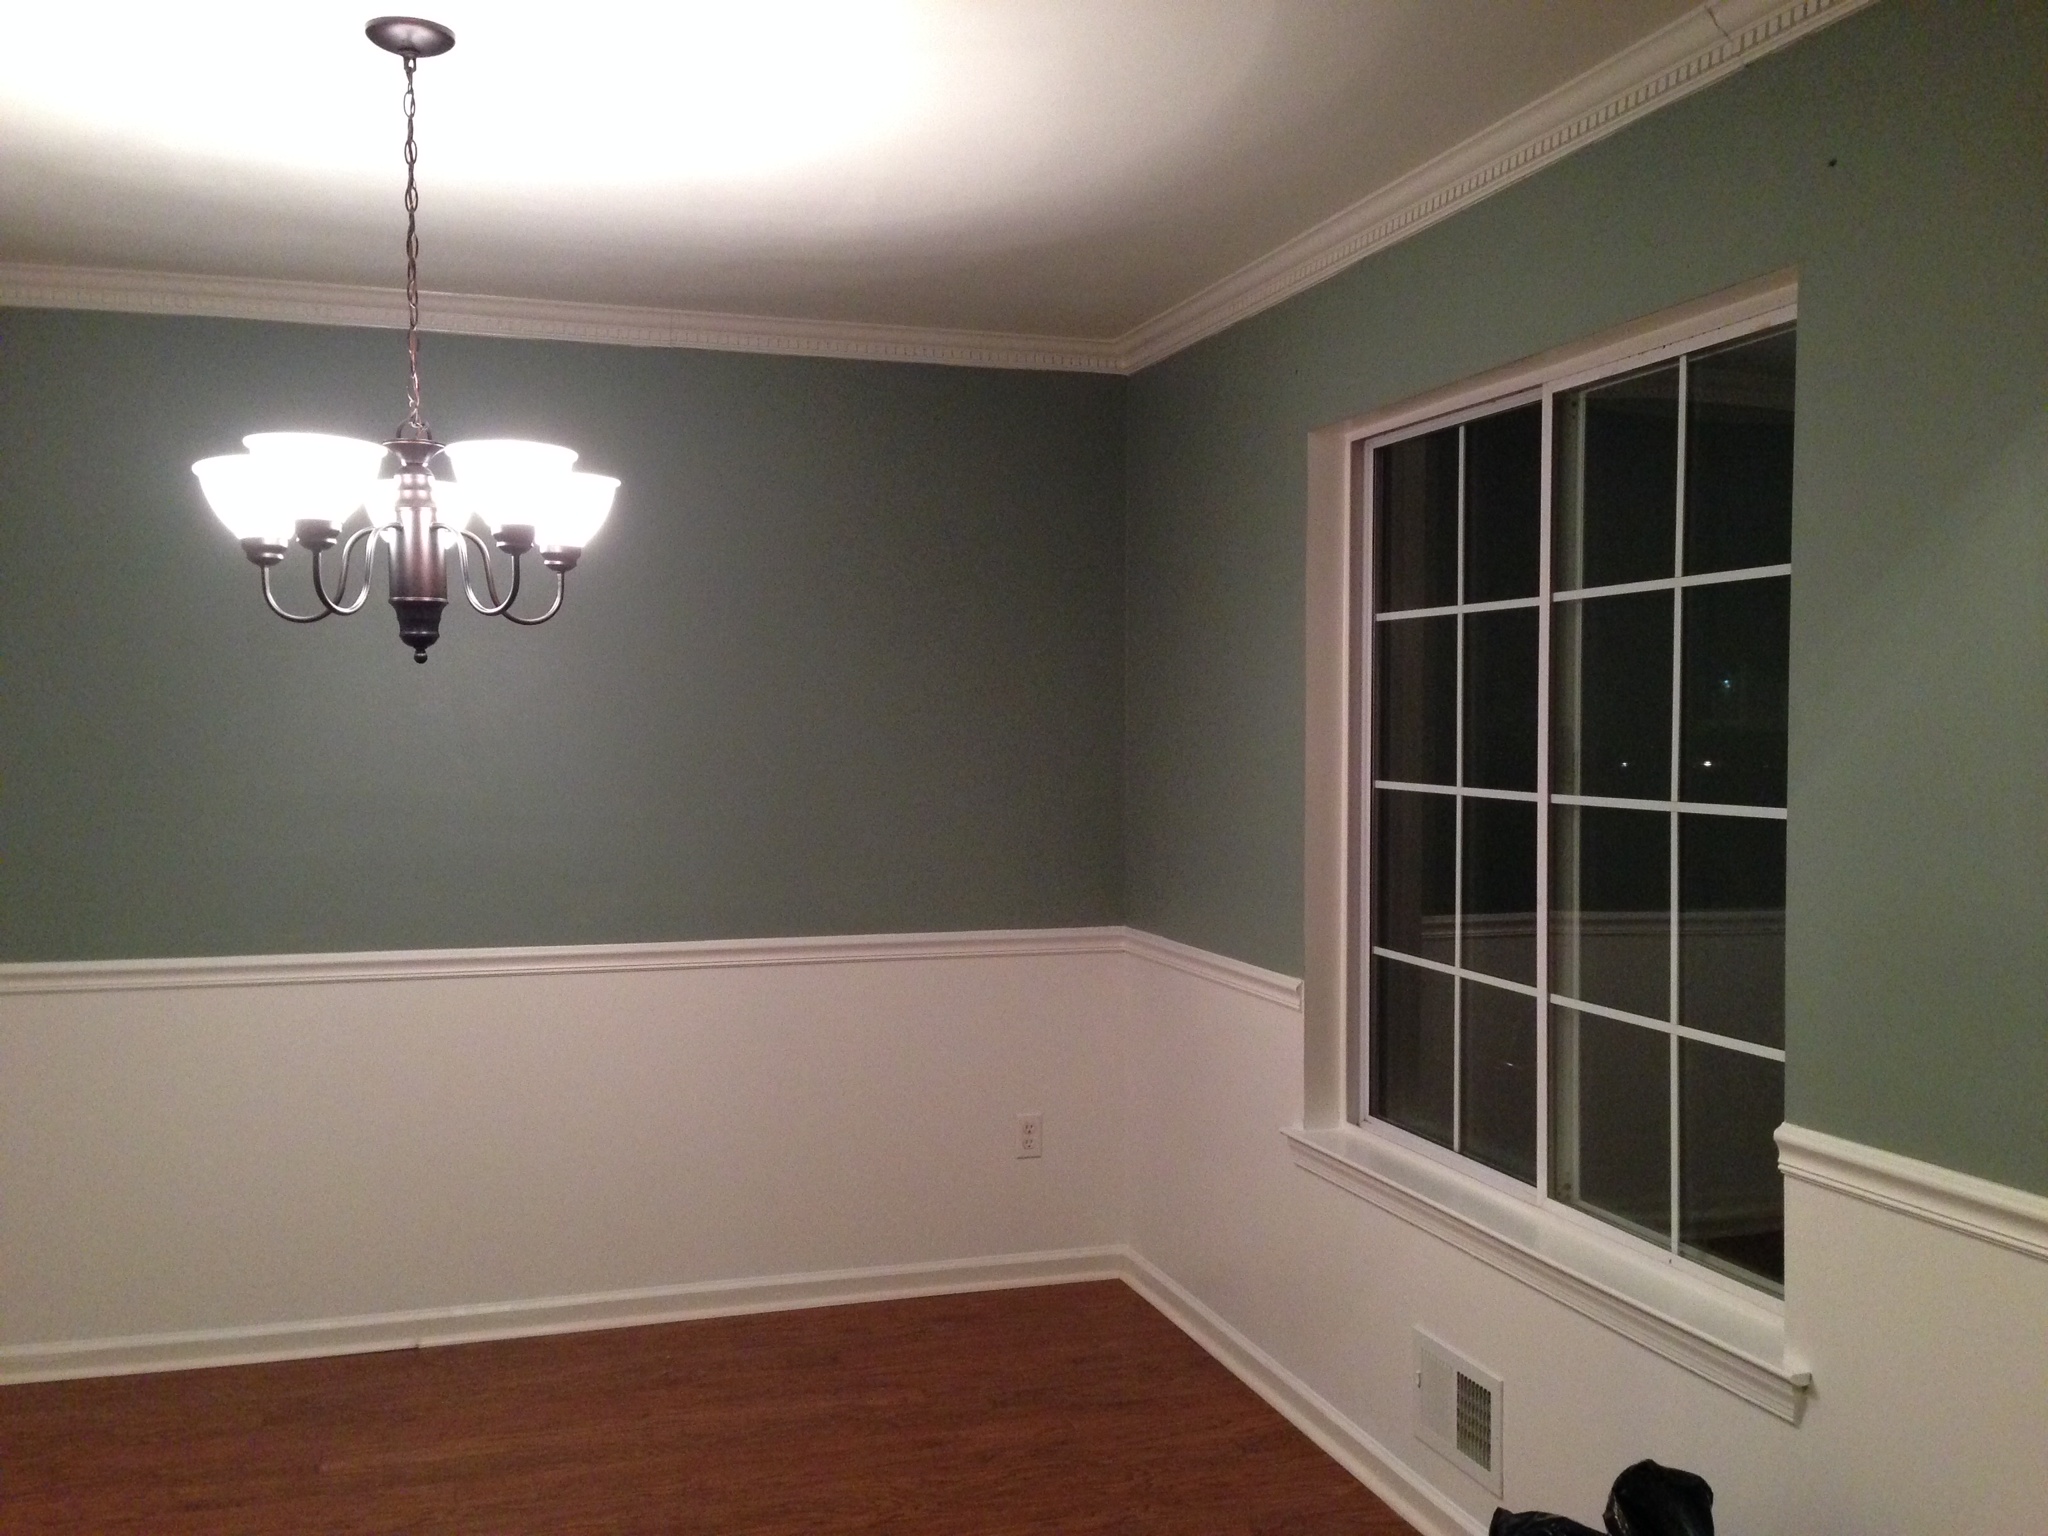
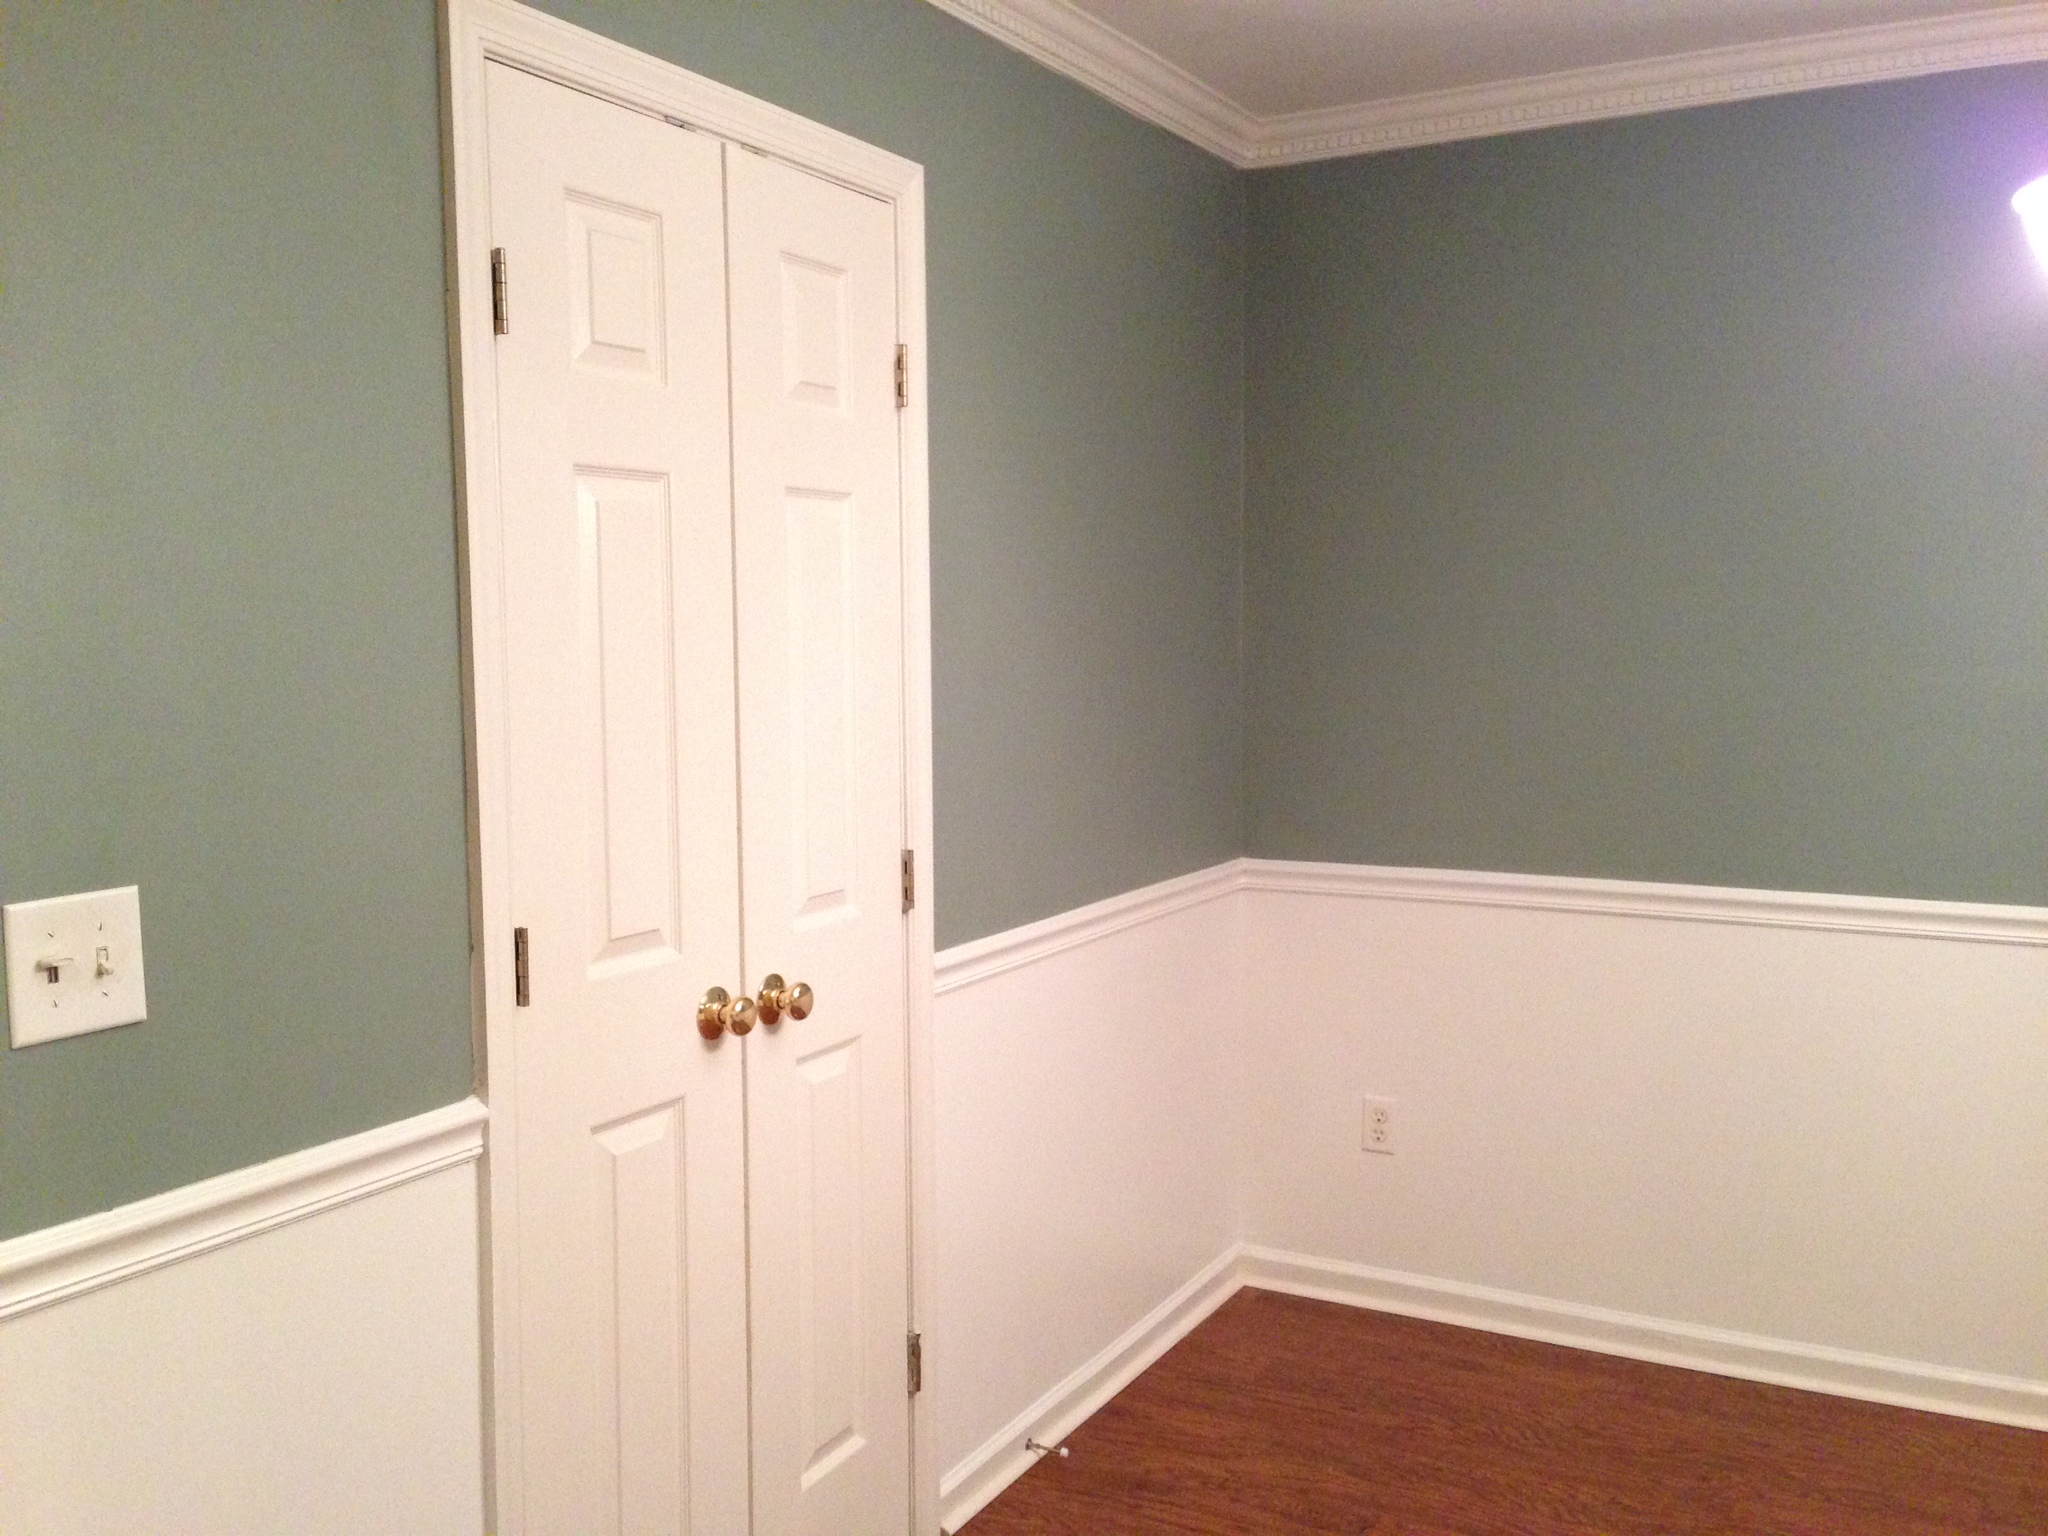
Here’s a quick look at how I’m doing so far!


Still have a long way to go (you’ll notice I don’t even have my table yet!) but having a little inspiration goes a long way! Keep in mind the 3 Inspiration to Imitation guidelines and you’ll have the space you’ve always dreamed of!
Here’s to hoping your inspiration finds you!